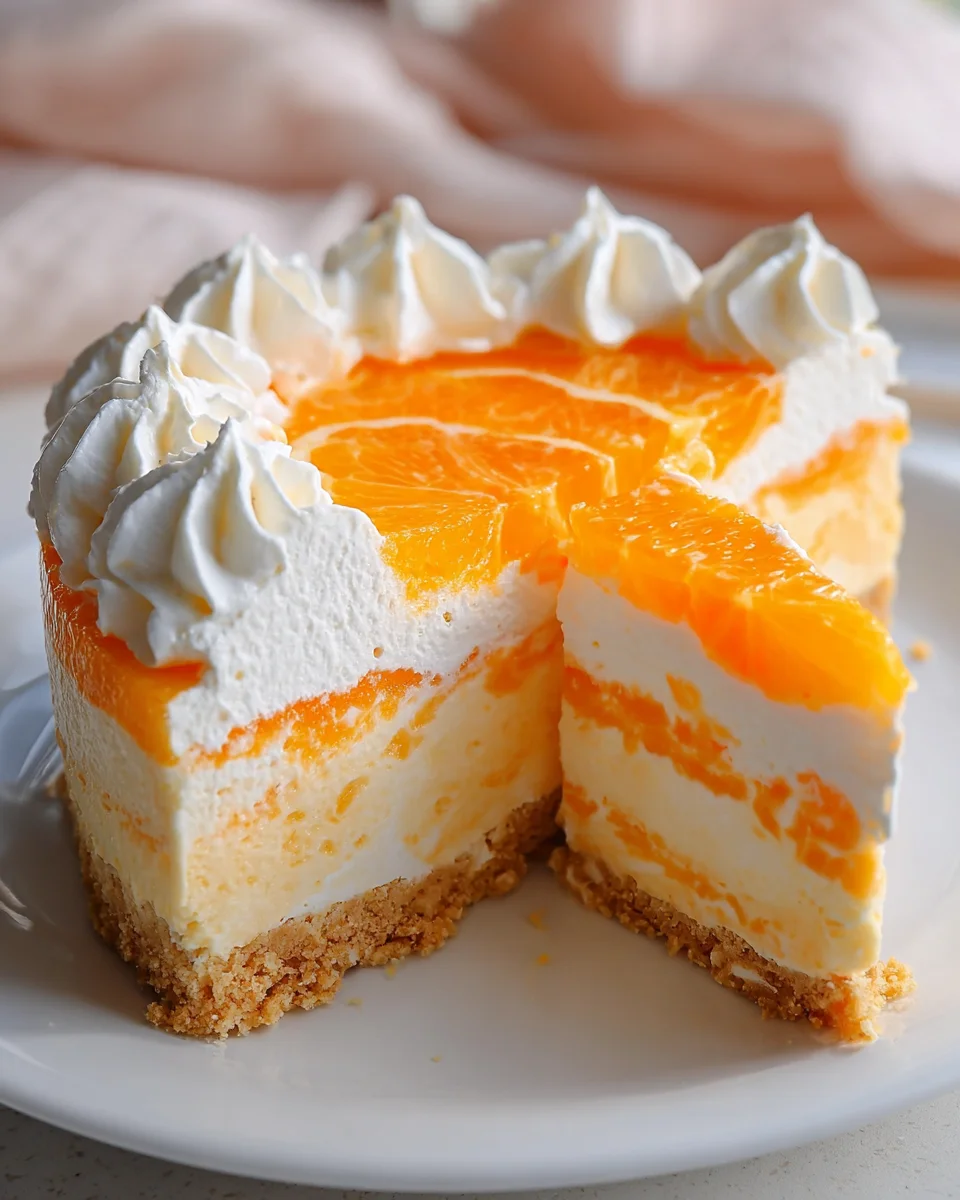
Soft, rich, and oh-so-fruity, this No-Bake Orange Creamsicle Cheesecake is an irresistible summer dessert that tastes just like the classic frozen treat. Perfect for gatherings, picnics, or simply enjoying at home, its creamy texture and zesty flavor will delight everyone. Plus, it’s easy to make and doesn’t require any baking, making it a foolproof choice for dessert lovers of all ages.
Jump to:
- Why You’ll Love This Recipe
- Tools and Preparation
- Essential Tools and Equipment
- Importance of Each Tool
- Ingredients
- For the Cheesecake Filling
- How to Make No-Bake Orange Creamsicle Cheesecake
- Step 1: Make the Orange Jello
- Step 2: Prepare the Springform Pan
- Step 3: Make the Crust
- Step 4: Prepare the Cheesecake Filling
- Step 5: Whip Heavy Cream
- Step 6: Combine With Jello Mixture
- Step 7: Assemble Your Cheesecake
- Step 8: Chill Until Set
- Step 9: Serve Your Cheesecake
- How to Serve No-Bake Orange Creamsicle Cheesecake
- Classic Presentation
- Fruit Garnish
- Creative Additions
- Serving Style
- How to Perfect No-Bake Orange Creamsicle Cheesecake
- Best Side Dishes for No-Bake Orange Creamsicle Cheesecake
- Common Mistakes to Avoid
- Storage & Reheating Instructions
- Refrigerator Storage
- Freezing No-Bake Orange Creamsicle Cheesecake
- Reheating No-Bake Orange Creamsicle Cheesecake
- Frequently Asked Questions
- Can I use other flavors of jello?
- How do I make this cheesecake gluten-free?
- What can I substitute for heavy whipping cream?
- How long does the cheesecake need to set?
- Final Thoughts
- 📖 Recipe Card
Why You’ll Love This Recipe
- Effortless Preparation: No baking required! Just mix, layer, and chill.
- Refreshing Flavor: The bright orange flavor brings a sunshine vibe to any occasion.
- Crowd-Pleaser: Perfect for parties and family gatherings; everyone loves cheesecake!
- Versatile Dessert: Great for summer barbecues or holiday celebrations.
- Make Ahead Option: Prepare it in advance and enjoy the convenience!
Tools and Preparation
To create your delicious no-bake orange creamsicle cheesecake, you’ll need a few essential tools. Having the right equipment can simplify the process and yield better results.
Essential Tools and Equipment
- 9-inch springform pan
- Mixing bowls (medium and large)
- Electric mixer
- Whisk
- Spatula
- Measuring cups and spoons
Importance of Each Tool
- 9-inch springform pan: Provides easy removal of the cheesecake without damaging its shape.
- Electric mixer: Ensures a smooth cream cheese mixture by beating ingredients quickly.
- Whisk: Helps to combine jello with water thoroughly for a perfect texture.
Ingredients
Here’s what you’ll need to make the No-Bake Orange Creamsicle Cheesecake:
For the Cheesecake Filling
- 1 (3 ounce) box orange jello
- 1 cup boiling water
- 2 cups Graham Cracker crumbs (about 14 sheets)
- 6 tablespoon unsalted butter, melted
- pinch salt
- 2 (8 ounce) blocks cream cheese, softened
- 1 1/2 cups powdered sugar, divided
- 2 cups heavy whipping cream
- 1/2 teaspoon vanilla extract
- zest of 1 orange, optional
How to Make No-Bake Orange Creamsicle Cheesecake
Step 1: Make the Orange Jello
Add the orange jello powder and boiling water to a heat-proof bowl. Whisk until well combined. Set aside to cool fully, about 30 minutes.
Step 2: Prepare the Springform Pan
Spray a 9-inch springform pan with cooking spray. Line the bottom and sides with parchment paper for easy removal.
Step 3: Make the Crust
In a medium bowl, combine the Graham Cracker crumbs, melted butter, and salt. Mix until well combined. Press this mixture evenly into the bottom and slightly up the sides of the pan. Place in the freezer for at least 30 minutes.
Step 4: Prepare the Cheesecake Filling
In a large bowl, beat together softened cream cheese and 1 cup powdered sugar using an electric mixer until smooth and creamy—about 2 minutes. Set aside.
Step 5: Whip Heavy Cream
In another bowl, whip together heavy cream, remaining 1/2 cup powdered sugar, vanilla extract, and optional orange zest until stiff peaks form. Gently fold half of this whipped cream into the cream cheese mixture until fully combined.
Step 6: Combine With Jello Mixture
Fold in the remaining whipped cream into your cooled jello mixture gently.
Step 7: Assemble Your Cheesecake
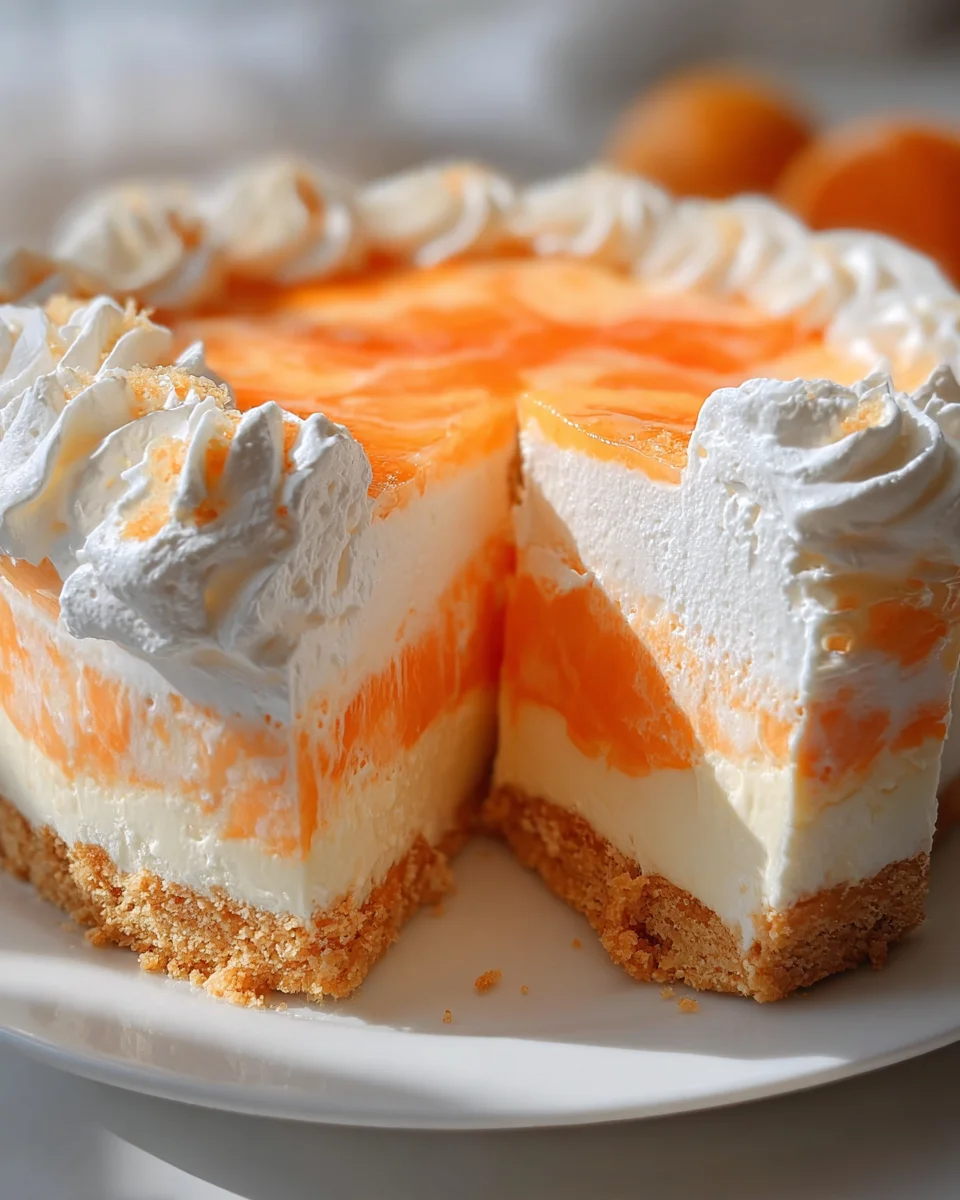
Alternate spooning layers of cream cheese mixture and jello mixture into your prepared crust. Use a butter knife to swirl them together gently.
Step 8: Chill Until Set
Cover your cheesecake with plastic wrap or foil. Refrigerate for at least 6 hours or overnight until completely set.
Step 9: Serve Your Cheesecake
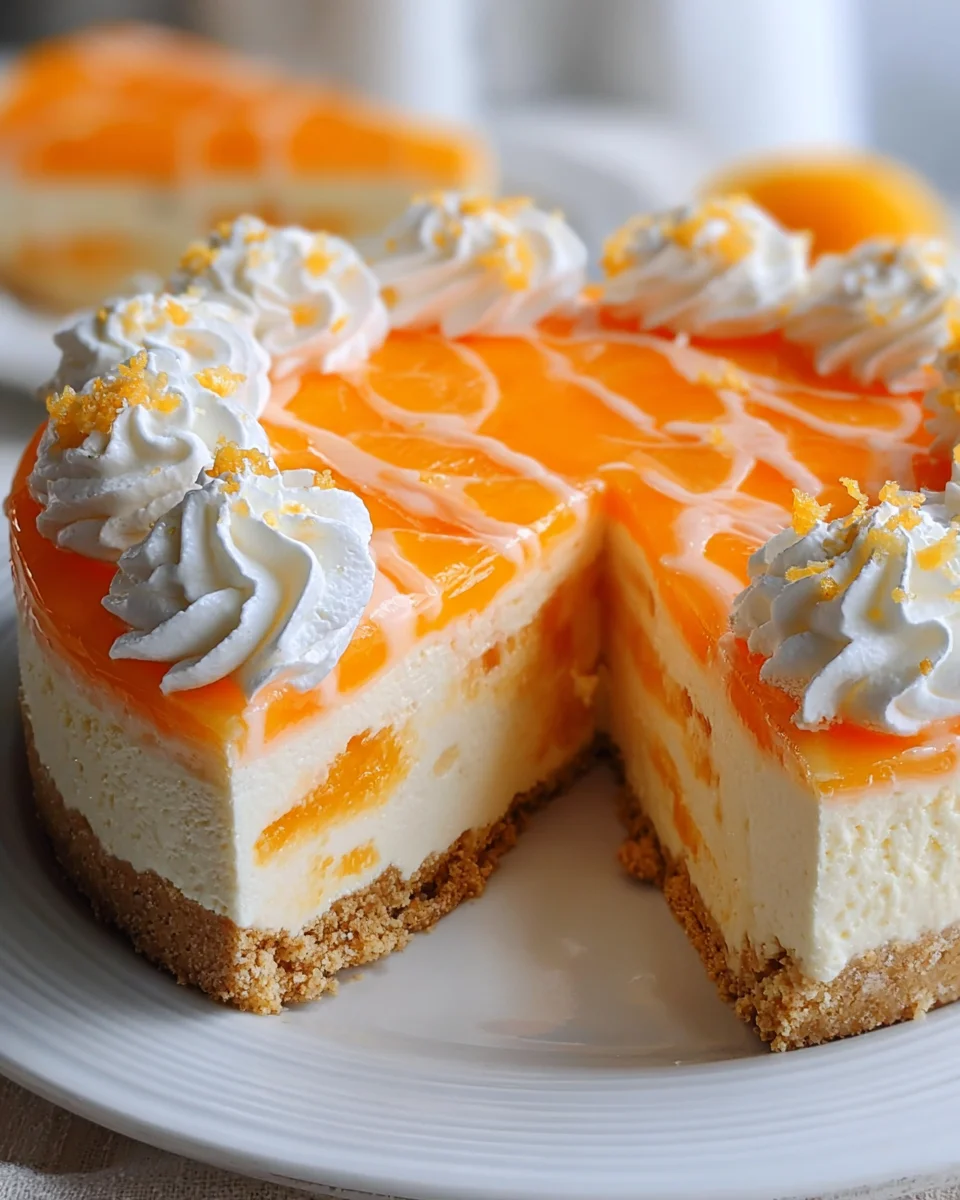
Once set, remove the sides of your springform pan. If desired, pipe dollops of whipped cream around the edges and garnish with fresh orange slices before slicing. Enjoy!
How to Serve No-Bake Orange Creamsicle Cheesecake
Serving your No-Bake Orange Creamsicle Cheesecake can elevate the experience for you and your guests. Here are some delightful serving suggestions that will enhance this refreshing dessert.
Classic Presentation
- Chilled Slices – Serve chilled slices straight from the refrigerator for a cool treat.
- Whipped Cream Topping – Add dollops of whipped cream on each slice for extra creaminess.
Fruit Garnish
- Fresh Orange Slices – Garnish with thin slices of fresh orange to complement the citrus flavor.
- Berries – Top with a mix of fresh berries like strawberries or blueberries for a pop of color and tartness.
Creative Additions
- Chocolate Drizzle – Drizzle melted chocolate over the cheesecake for a decadent twist.
- Coconut Flakes – Sprinkle toasted coconut flakes on top for added texture and flavor.
Serving Style
- Individual Cups – For a fun twist, serve in individual cups or jars for easy handling at parties.
- Cheesecake Parfaits – Layer cheesecake pieces with fruit and whipped cream in a glass for an attractive parfait.
How to Perfect No-Bake Orange Creamsicle Cheesecake
Creating the perfect No-Bake Orange Creamsicle Cheesecake requires attention to detail. Here are some tips to ensure your dessert turns out flawlessly every time.
- Chill Thoroughly – Ensure the cheesecake sets in the refrigerator for at least 6 hours or overnight for optimal firmness.
- Use Room Temperature Ingredients – Bring cream cheese and heavy cream to room temperature before mixing; this helps achieve a smooth texture.
- Avoid Overmixing Whipped Cream – Whip just until stiff peaks form; overmixing can cause it to become grainy.
- Layer Carefully – When assembling, alternate layers gently to create beautiful swirls without mixing too much.
- Customize Flavors – Experiment with different extracts, like almond or lemon, to personalize your cheesecake.
- Store Properly – Keep leftovers covered in the refrigerator for up to 3 days to maintain freshness.
Best Side Dishes for No-Bake Orange Creamsicle Cheesecake
Pairing side dishes with your No-Bake Orange Creamsicle Cheesecake can create a well-rounded meal. Here are some great options that complement its flavors beautifully.
- Fruit Salad – A refreshing mix of seasonal fruits adds brightness and balance.
- Vanilla Ice Cream – Serve alongside a scoop of vanilla ice cream for an extra creamy experience.
- Minted Cucumber Salad – This light salad offers a crisp contrast to the richness of the cheesecake.
- Lemonade Sparkler – An effervescent drink enhances the citrus theme while keeping things refreshing.
- Chocolate-Covered Strawberries – These sweet treats make a classic pairing with cheesecake desserts.
- Pineapple Salsa – A zesty pineapple salsa can provide a tropical twist that complements the orange flavor perfectly.
Common Mistakes to Avoid
When making your No-Bake Orange Creamsicle Cheesecake, a few common pitfalls can arise. Here are some mistakes to watch out for:
- Skipping the cooling step: Allow the orange jello to cool completely before mixing. If it’s too warm, it can alter the texture of your cheesecake.
- Inadequate whipping of cream: Make sure to whip the heavy cream until stiff peaks form. This step adds lightness and volume to your cheesecake filling.
- Not chilling long enough: Refrigerate the cheesecake for at least 6 hours or overnight. Rushing this step can lead to a runny dessert.
- Ignoring crust preparation: Press the Graham Cracker mixture firmly into the pan. A loose crust may crumble when you slice it.
- Using cold cream cheese: Ensure that your cream cheese is at room temperature for easy mixing. Cold cream cheese can create lumps in your filling.
Storage & Reheating Instructions
Refrigerator Storage
- Store in an airtight container: Make sure to cover the cheesecake well so it doesn’t absorb odors.
- Consume within 5 days: For best taste and texture, enjoy your cheesecake within this timeframe.
Freezing No-Bake Orange Creamsicle Cheesecake
- Wrap tightly: Use plastic wrap or aluminum foil to protect against freezer burn.
- Freeze for up to 2 months: This dessert holds well in the freezer, but for best flavor, enjoy it sooner.
Reheating No-Bake Orange Creamsicle Cheesecake
- Oven: Preheat to 350°F (175°C) and warm slices gently for about 10 minutes.
- Microwave: Heat on medium power in 15-second intervals until slightly warmed; avoid overheating.
- Stovetop: Place slices in a covered pan over low heat just until warmed through.
Frequently Asked Questions
Here are answers to some common questions about the No-Bake Orange Creamsicle Cheesecake.
Can I use other flavors of jello?
Yes, you can use different jello flavors like strawberry or lime. Just follow the same steps, and you’ll have a new variation!
How do I make this cheesecake gluten-free?
Use gluten-free Graham Cracker crumbs instead of regular ones. This will make your cheesecake suitable for those with gluten sensitivities.
What can I substitute for heavy whipping cream?
You can use coconut cream or whipped topping as an alternative to heavy whipping cream if you’re looking for a lighter option.
How long does the cheesecake need to set?
The cheesecake should set for at least 6 hours or preferably overnight. This helps achieve the right consistency.
Final Thoughts
This No-Bake Orange Creamsicle Cheesecake is not only easy to make but also incredibly delicious and refreshing. Its creamy texture combined with vibrant orange flavor makes it a perfect summer treat. Feel free to customize it by adding different fruit zests or toppings like chocolate shavings or fresh berries. Enjoy experimenting with this delightful recipe!
Did You Enjoy Making This Recipe? Please rate this recipe with ⭐⭐⭐⭐⭐ or leave a comment.
📖 Recipe Card
Print
No-Bake Orange Creamsicle Cheesecake
- Total Time: 0 hours
- Yield: Serves approximately 10 slices 1x
Description
Indulge in a delightful slice of No-Bake Orange Creamsicle Cheesecake, the perfect summer dessert that captures the essence of your favorite frozen treat. This creamy and luscious cheesecake combines a zesty orange flavor with a light and airy texture, making it an irresistible choice for gatherings, picnics, or simply enjoying at home. With no baking required, this easy-to-make cheesecake is a hit for dessert lovers of all ages. Just mix, layer, and chill for a refreshing treat that’s sure to impress!
Ingredients
- 1 (3 ounce) box orange jello
- 1 cup boiling water
- 2 cups Graham Cracker crumbs
- 6 tablespoons unsalted butter, melted
- 2 (8 ounce) blocks cream cheese, softened
- 1 ½ cups powdered sugar (divided)
- 2 cups heavy whipping cream
- ½ teaspoon vanilla extract
- Zest of 1 orange (optional)
Instructions
- In a heat-proof bowl, whisk together the orange jello powder and boiling water until dissolved. Let cool completely.
- Prepare a 9-inch springform pan by spraying with cooking spray and lining with parchment paper.
- Combine Graham Cracker crumbs, melted butter, and salt in a bowl; press into the bottom of the pan and freeze for at least 30 minutes.
- Beat softened cream cheese with 1 cup powdered sugar until smooth. Set aside.
- Whip heavy cream with remaining powdered sugar, vanilla extract, and optional orange zest until stiff peaks form; fold half into the cream cheese mixture.
- Gently fold the remaining whipped cream into the cooled jello mixture.
- Layer spoonfuls of both mixtures into the prepared crust and swirl gently with a knife. Cover and refrigerate for at least 6 hours or overnight until set.
- Once set, remove from springform pan, garnish as desired, slice, and serve.
- Prep Time: 30 minutes
- Cook Time: None
- Category: Dessert
- Method: No-bake
- Cuisine: American
Nutrition
- Serving Size: 1 slice (approximately 100g)
- Calories: 350
- Sugar: 26g
- Sodium: 200mg
- Fat: 24g
- Saturated Fat: 14g
- Unsaturated Fat: 8g
- Trans Fat: 0g
- Carbohydrates: 30g
- Fiber: <1g
- Protein: 4g
- Cholesterol: 60mg
