Apple crisp is a delightful dessert that combines tender, spiced apples with a crunchy, buttery topping. This Apple Crisp recipe is not only easy to make but also perfect for any occasion, whether it’s a cozy family dinner or a festive gathering. The warm flavors of cinnamon and nutmeg complement the sweetness of the apples, creating a comforting treat that everyone will love.

Jump to:
- Why You’ll Love This Recipe
- Tools and Preparation
- Essential Tools and Equipment
- Importance of Each Tool
- Ingredients
- How to Make Apple Crisp
- Step 1: Preheat the Oven
- Step 2: Prepare the Apple Filling
- Step 3: Transfer Filling to Baking Dish
- Step 4: Make the Crisp Topping
- Step 5: Incorporate Butter into Topping
- Step 6: Assemble the Apple Crisp
- Step 7: Bake
- Step 8: Cool Before Serving
- How to Serve Apple Crisp
- A La Mode
- With Whipped Cream
- Drizzled with Caramel Sauce
- Pairing with Fresh Fruit
- Accompanied by Coffee or Tea
- Served in Individual Bowls
- How to Perfect Apple Crisp
- Best Side Dishes for Apple Crisp
- Common Mistakes to Avoid
- Storage & Reheating Instructions
- Refrigerator Storage
- Freezing Apple Crisp
- Reheating Apple Crisp
- Frequently Asked Questions
- What is the best type of apple for Apple Crisp?
- Can I make Apple Crisp ahead of time?
- How do I customize my Apple Crisp?
- Is Apple Crisp gluten-free?
- Final Thoughts
- 📖 Recipe Card
Why You’ll Love This Recipe
- Quick and Easy: With minimal prep time, this recipe allows you to whip up a delicious dessert in just over an hour.
- Versatile Enjoyment: Serve it warm, cold, or with a scoop of ice cream for an extra indulgent experience.
- Crowd-Pleaser: The combination of sweet apples and crunchy topping makes it a favorite among friends and family.
- Customizable Ingredients: Use different apple varieties or add nuts and dried fruits to make it your own.
- Make Ahead Option: Prepare the filling in advance and bake it fresh when you’re ready to serve.
Tools and Preparation
To make this Apple Crisp recipe, you’ll need some essential tools that will help streamline your cooking process.
Essential Tools and Equipment
- 9×13 baking dish
- Mixing bowls
- Measuring cups
- Measuring spoons
- Spoon or spatula for mixing
Importance of Each Tool
- 9×13 baking dish: Provides ample space for the apple filling and ensures even baking.
- Mixing bowls: Allows for easy mixing of ingredients without spills.
- Measuring cups and spoons: Guarantees accurate ingredient proportions for the best flavor.
- Spoon or spatula: Important for evenly combining ingredients and spreading mixtures.
Ingredients
Ingredients:
– 10 cups Granny Smith apples (peeled, cored and sliced into ⅛ inch thick slices then cut the slices in half)
– ½ cup light brown sugar (tightly packed)
– ⅓ cup all-purpose flour
– ¼ cup granulated sugar
– 2 teaspoons ground cinnamon
– ½ teaspoon ground nutmeg
– 1 teaspoon vanilla extract
– 1 ⅓ cups quick cooking oats
– 1 ⅓ cups all-purpose flour
– 1 cup light brown sugar (tightly packed)
– 1 ½ teaspoons ground cinnamon
– ½ teaspoon salt
– ½ teaspoon baking powder
– ¾ cup unsalted butter (melted)
Grab This Chef Knife Now - Almost Gone!
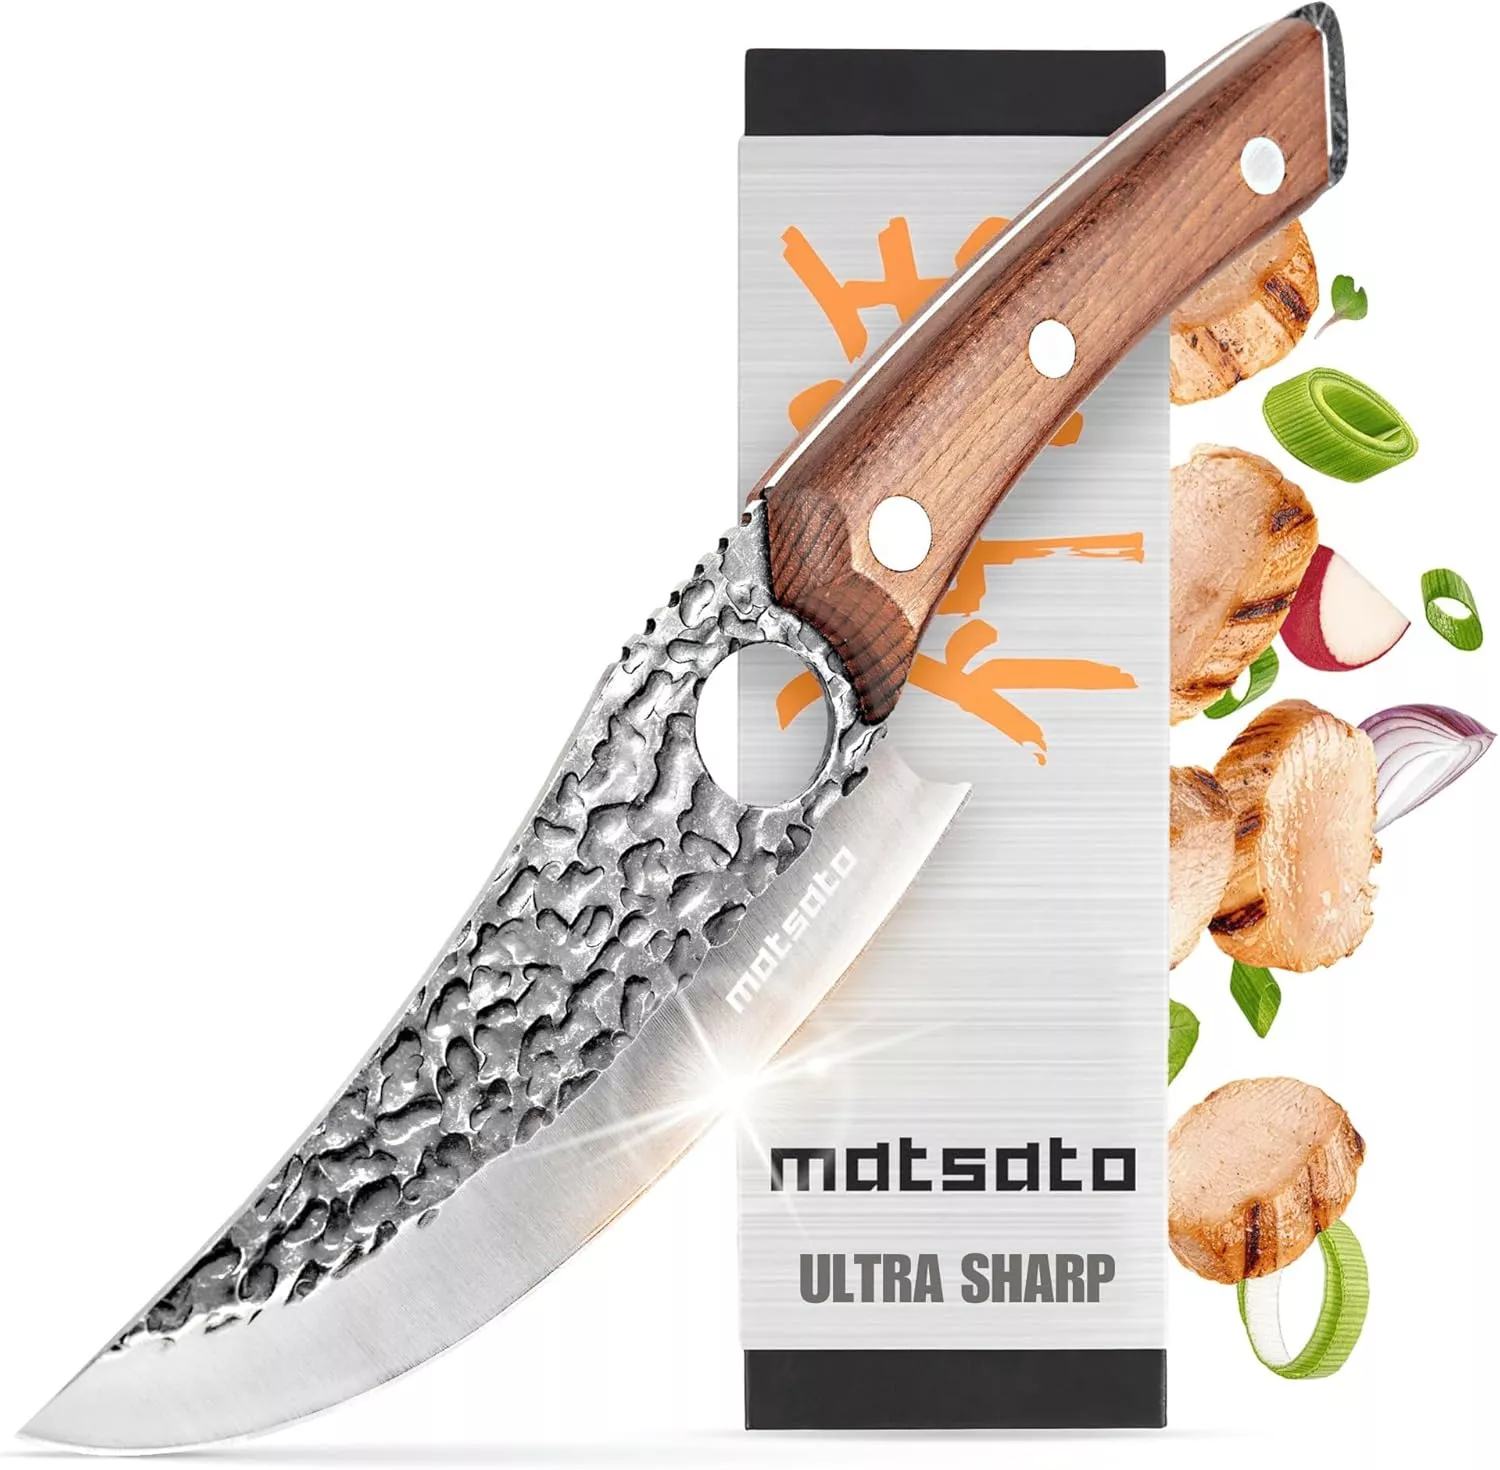
- Stays Razor-Sharp: Ice-hardened blade keeps its edge longer than ordinary knives
- Superior Grip Control: Unique finger hole design gives you perfect balance and safety
- Built to Last a Lifetime: Premium stainless steel blade with elegant beech wood handle
Customer Reviews ★★★★★
How to Make Apple Crisp
Step 1: Preheat the Oven
Preheat your oven to 350°F. Lightly spray a 9×13 baking dish with non-stick baker’s spray. Set aside.
Step 2: Prepare the Apple Filling
In a very large mixing bowl:
1. Add the apple slices, light brown sugar, all-purpose flour, granulated sugar, ground cinnamon, ground nutmeg, and vanilla extract.
2. Gently fold all the ingredients together until the apple slices are evenly coated with sugars and spices.
Step 3: Transfer Filling to Baking Dish
Carefully transfer the apple filling mixture to the prepared baking dish. Spread it out into an even layer without packing it too tightly.
Step 4: Make the Crisp Topping
In another large mixing bowl:
1. Combine quick cooking oats, all-purpose flour, light brown sugar, ground cinnamon, salt, and baking powder.
2. Stir until well mixed.
Step 5: Incorporate Butter into Topping
Pour melted butter into the oat mixture:
1. Stir until all butter is fully incorporated and no dry pockets of flour remain.
Step 6: Assemble the Apple Crisp
Top the prepared apple filling with the crisp topping mixture:
1. Evenly distribute the topping over the apples so that every bit of filling is covered.
Step 7: Bake
Place in the preheated oven and bake uncovered for about 40–45 minutes:
1. Look for a golden brown topping and bubbly juices from the apple filling.
Step 8: Cool Before Serving
Allow your Apple Crisp to cool on the counter for about five minutes:
1. This helps thicken the juices before serving. Enjoy warm!
How to Serve Apple Crisp
Apple crisp is a delightful dessert that can be enjoyed in various ways. Whether you’re serving it at a family gathering or for a cozy night in, there are plenty of options to enhance your experience.
A La Mode
- Serve warm apple crisp with a scoop of vanilla ice cream on top for a delightful contrast of temperatures and flavors.
With Whipped Cream
- Top your apple crisp with freshly whipped cream to add a light and airy texture that complements the rich flavors.
Drizzled with Caramel Sauce
- Add a drizzle of caramel sauce over the apple crisp for an extra layer of sweetness and richness.
Pairing with Fresh Fruit
- Serve slices of fresh fruit on the side, like strawberries or blueberries, to provide a refreshing counterbalance to the dessert.
Accompanied by Coffee or Tea
- Enjoy apple crisp with a hot cup of coffee or tea; the warm beverage enhances the comforting nature of this dish.
Served in Individual Bowls
- For a more elegant presentation, serve apple crisp in individual ramekins, allowing each guest their own portion.

How to Perfect Apple Crisp
Perfecting apple crisp is all about balancing flavors and textures. Here are some tips to elevate your dish:
- Choose the right apples: Use tart apples like Granny Smith for the best flavor contrast against the sweet topping.
- Don’t overmix: When combining the apples and spices, fold gently to keep the apple slices intact.
- Let it cool slightly: Allowing the apple crisp to cool for about 5 minutes helps the juices set, making it easier to serve.
- Experiment with toppings: Try adding nuts or oats for added crunch and flavor variation in your topping.
- Add citrus zest: A touch of lemon or orange zest can brighten up the flavors of your apple filling remarkably.
- Store properly: If you have leftovers, store them in an airtight container in the fridge to maintain freshness.
Best Side Dishes for Apple Crisp
Apple crisp pairs beautifully with several side dishes that complement its sweet and spiced flavors. Here are some great options:
- Vanilla Ice Cream: Creamy and cold, it contrasts perfectly with warm apple crisp.
- Pecan Pie Bars: Rich and nutty desserts that enhance your dessert spread.
- Sweet Potato Casserole: Its natural sweetness harmonizes well with apple crisp’s flavors.
- Cheese Platter: Include sharp cheddar or creamy brie for a savory balance.
- Pumpkin Bread: The spiced flavors will echo those found in your apple crisp.
- Fruit Salad: A mix of fresh fruits adds brightness and refreshment next to rich desserts.
- Chocolate Chip Cookies: Classic cookies that appeal to all ages; they add an extra sweet touch.
- Crusty Bread: Serve slices alongside for textural contrast and warmth.
Common Mistakes to Avoid
Making apple crisp can be simple, but there are a few common mistakes that can affect the outcome. Here are some pitfalls to avoid for the best results.
- Using the wrong type of apples: Not all apples work well in apple crisp. Stick with tart varieties like Granny Smith for the best flavor and texture.
- Packing apple filling too tightly: Overcrowding the baking dish can lead to uneven cooking. Spread the apples in a single layer for even baking.
- Skipping the spices: Missing out on cinnamon and nutmeg can result in bland flavors. Always use spices to enhance the apple’s natural sweetness.
- Not allowing cooling time: Cutting into your apple crisp immediately can cause it to fall apart. Let it cool for about 5 minutes before serving to help it set.
- Overbaking or underbaking: Keep an eye on your apple crisp while baking. It should be golden brown and bubbly, so adjust baking time as needed.

Storage & Reheating Instructions
Refrigerator Storage
- Store in an airtight container for up to 3-4 days.
- Make sure it has cooled completely before sealing to prevent moisture buildup.
Freezing Apple Crisp
- Freeze in a freezer-safe container or wrap tightly with plastic wrap for up to 3 months.
- Thaw overnight in the refrigerator before reheating.
Reheating Apple Crisp
- Oven: Preheat to 350°F and bake covered with foil for about 20 minutes until heated through.
- Microwave: Heat individual servings on high for 30-60 seconds, checking frequently.
- Stovetop: Warm on medium heat in a skillet, stirring gently until heated throughout.
Frequently Asked Questions
Here are some common questions about making apple crisp that many cooks have.
What is the best type of apple for Apple Crisp?
Granny Smith apples are ideal due to their tartness, which balances well with sugar and spices. Other firm varieties like Honeycrisp also work well.
Can I make Apple Crisp ahead of time?
Yes, you can prepare the apple filling and topping separately. Assemble them just before baking for fresh results.
How do I customize my Apple Crisp?
You can add nuts, dried fruits, or different spices like cardamom or ginger for added flavor and texture.
Is Apple Crisp gluten-free?
To make a gluten-free version, substitute regular flour with a gluten-free flour blend and ensure oats are certified gluten-free.
Final Thoughts
Apple crisp is a delightful dessert that brings warmth and comfort to any occasion. Its delicious combination of spiced apples and crunchy topping makes it versatile enough for any gathering or cozy night in. Feel free to customize your recipe by adding nuts or experimenting with different apples!
Did You Enjoy Making This Recipe? Please rate this recipe with ⭐⭐⭐⭐⭐ or leave a comment.
📖 Recipe Card
Print
Apple Crisp
- Total Time: 1 hour 5 minutes
- Yield: Serves approximately 8
Description
Apple Crisp is the ultimate dessert that combines tender, spiced apples with a crunchy, buttery topping. This easy recipe is perfect for any occasion, from cozy family dinners to festive gatherings. The warm flavors of cinnamon and nutmeg complement the sweetness of the apples, creating a comforting treat that everyone will love.
Ingredients
- 10 cups Granny Smith apples (peeled, cored, sliced)
- ½ cup light brown sugar
- ¼ cup granulated sugar
- 1 ⅓ cups quick cooking oats
- 1 cup unsalted butter (melted)
- 2 teaspoons ground cinnamon
- ½ teaspoon ground nutmeg
Instructions
- Preheat your oven to 350°F and lightly spray a 9×13 baking dish.
- In a large mixing bowl, combine apple slices with light brown sugar, granulated sugar, flour, cinnamon, nutmeg, and vanilla extract. Gently fold until apples are coated.
- Spread the apple mixture evenly in the prepared baking dish.
- In another bowl, mix oats, flour, brown sugar, cinnamon, salt, and baking powder. Stir in melted butter until fully combined.
- Pour the topping over the apples evenly.
- Bake for 40-45 minutes or until the topping is golden brown and juices are bubbly.
- Let cool for about five minutes before serving.
- Prep Time: 20 minutes
- Cook Time: 45 minutes
- Category: Dessert
- Method: Baking
- Cuisine: American
Nutrition
- Serving Size: 1 slice (approximately 150g)
- Calories: 290
- Sugar: 24g
- Sodium: 105mg
- Fat: 12g
- Saturated Fat: 7g
- Unsaturated Fat: 4g
- Trans Fat: 0g
- Carbohydrates: 44g
- Fiber: 4g
- Protein: 3g
- Cholesterol: 30mg