The Cherry Crisp Recipe combines the vibrant flavors of tart cherries with a crunchy oat topping, creating a dessert that is both comforting and delightful. This recipe is perfect for family gatherings, summer picnics, or cozy nights at home. What sets this cherry crisp apart is its simple preparation and the ability to serve it warm, ideally alongside a scoop of vanilla ice cream.

Jump to:
- Why You’ll Love This Recipe
- Tools and Preparation
- Essential Tools and Equipment
- Importance of Each Tool
- Ingredients
- For the Pastry
- For the Filling
- For the Topping
- How to Make Cherry Crisp Recipe
- Step 1: Preheat the Oven
- Step 2: Prepare the Cherry Filling
- Step 3: Make the Topping
- How to Serve Cherry Crisp Recipe
- Classic Vanilla Ice Cream
- Fresh Whipped Cream
- Yogurt Parfait
- Chocolate Drizzle
- Nuts and Seeds
- Mint Leaves
- How to Perfect Cherry Crisp Recipe
- Best Side Dishes for Cherry Crisp Recipe
- Common Mistakes to Avoid
- Storage & Reheating Instructions
- Refrigerator Storage
- Freezing Cherry Crisp Recipe
- Reheating Cherry Crisp Recipe
- Frequently Asked Questions
- What is a Cherry Crisp Recipe?
- Can I use frozen cherries in my Cherry Crisp Recipe?
- How do I make my Cherry Crisp Recipe gluten-free?
- How long does Cherry Crisp last?
- Can I customize my Cherry Crisp Recipe?
- Final Thoughts
- 📖 Recipe Card
Why You’ll Love This Recipe
- Delicious Flavor: The sweet-tart cherries paired with a crunchy topping deliver a satisfying taste experience.
- Easy to Make: With just a few simple ingredients and steps, this recipe is beginner-friendly and quick.
- Versatile Dessert: Perfect for any occasion, from casual dinners to festive celebrations.
- Homemade Goodness: Enjoy the freshness of homemade desserts with minimal effort.
- Perfect Pairing: Serve it warm with ice cream for an extra indulgent treat.
Tools and Preparation
Before you start your cherry crisp adventure, gather your tools to ensure a smooth cooking process.
Essential Tools and Equipment
- Mixing bowls
- Saucepan
- Baking dish (2-quart or 11×7-inch)
- Measuring cups and spoons
- Whisk or spoon for mixing
Importance of Each Tool
- Mixing bowls: Essential for combining dry ingredients evenly.
- Saucepan: Required for cooking the cherry filling to the perfect consistency.
- Baking dish: A proper size ensures even baking and an ideal crust-to-filling ratio.
Ingredients
The delightful contrast of juicy tart cherries and a crunchy oat topping creates an absolutely irresistible cherry crisp recipe. Serve it warm with your favorite vanilla ice cream!
Grab This Chef Knife Now - Almost Gone!
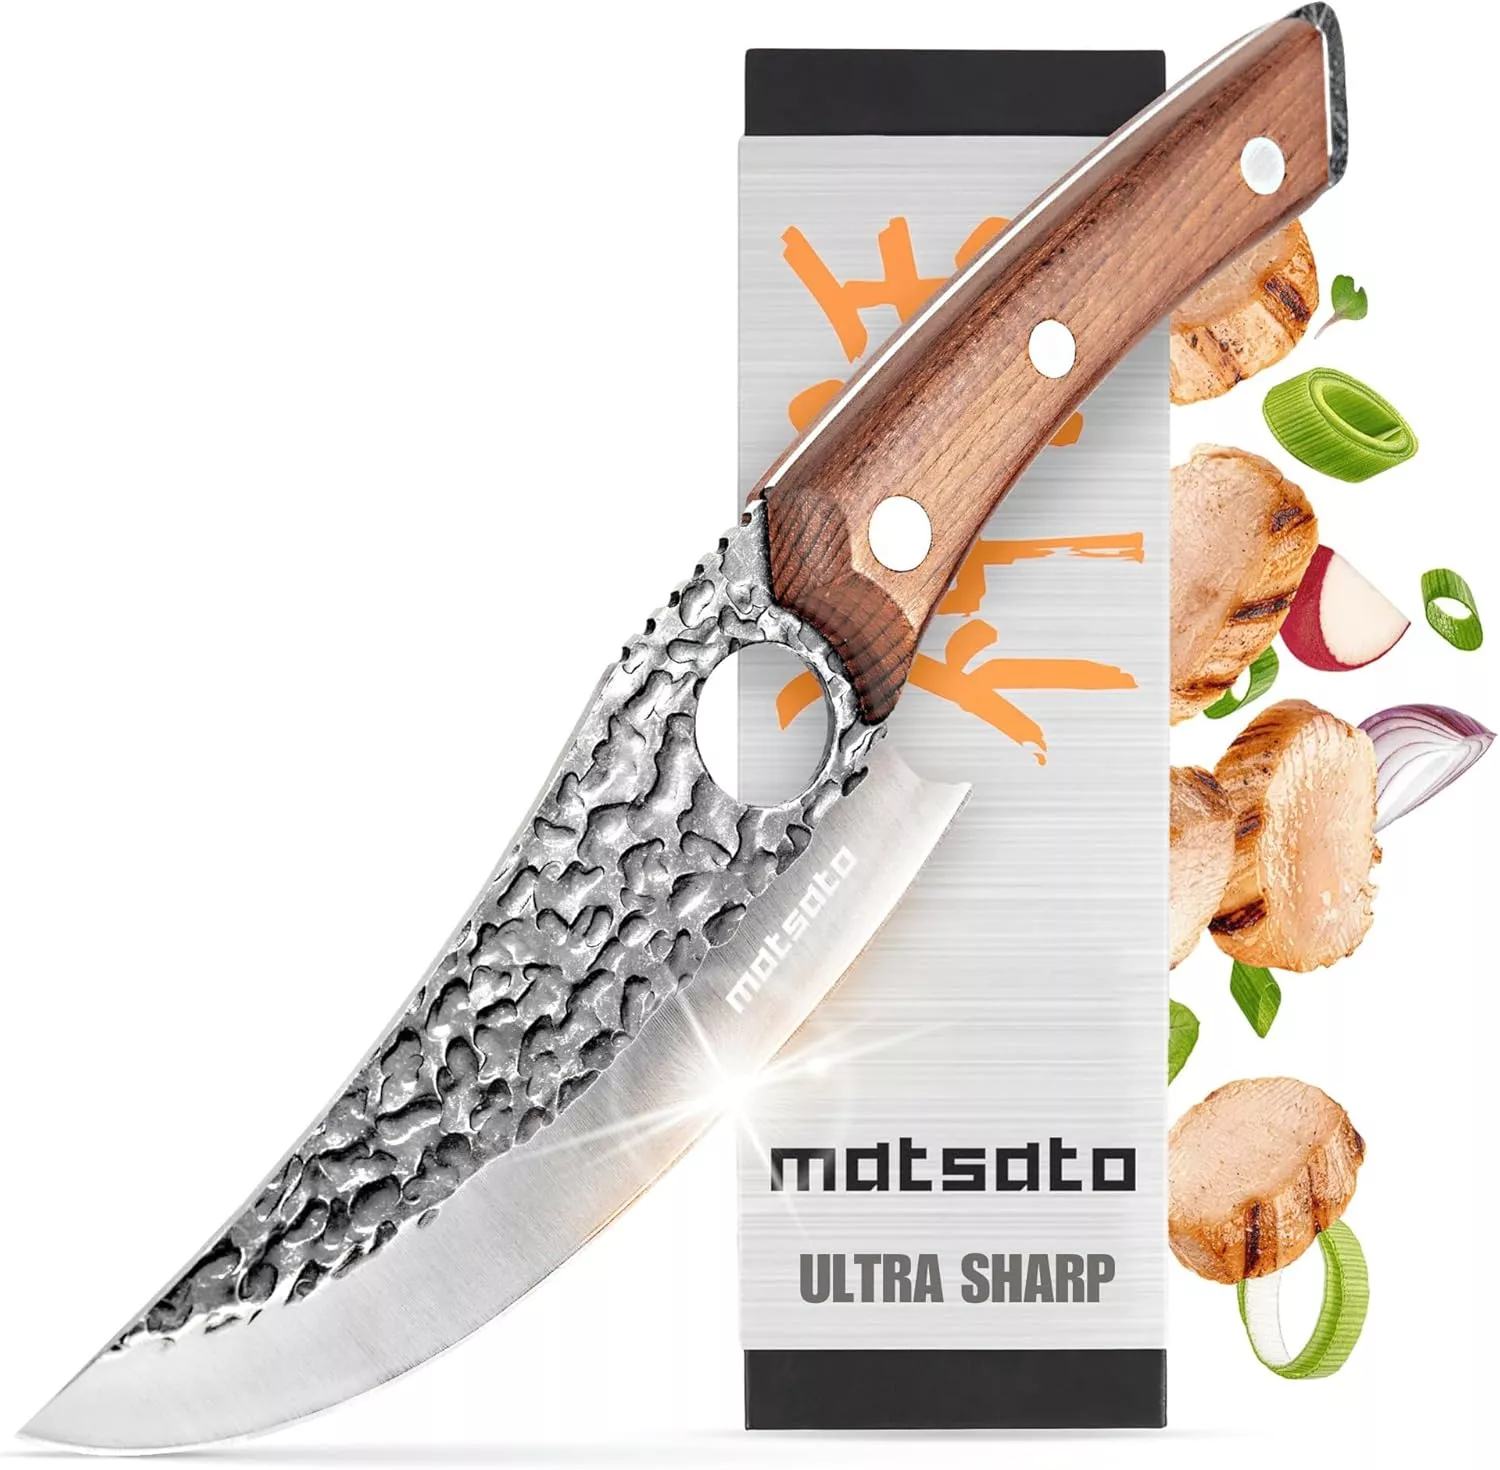
- Stays Razor-Sharp: Ice-hardened blade keeps its edge longer than ordinary knives
- Superior Grip Control: Unique finger hole design gives you perfect balance and safety
- Built to Last a Lifetime: Premium stainless steel blade with elegant beech wood handle
Customer Reviews ★★★★★
For the Pastry
- 1/4 teaspoon salt
- 1/2 cup packed brown sugar
- 1 cup all-purpose flour
- 1/2 cup cold butter, cubed
For the Filling
- 1 cup sugar
- 1/4 cup cornstarch
- 1 cup cherry juice blend
- 4 cups pitted tart red cherries
For the Topping
- 1-1/2 cups quick-cooking rolled oats
- 1/2 cup packed brown sugar
- 1/4 cup all-purpose flour
- 5 tablespoons butter, melted
How to Make Cherry Crisp Recipe
Step 1: Preheat the Oven
Preheat your oven to 350°F degrees. In a large mixing bowl, combine salt, brown sugar, and flour. Use your hands or a pastry cutter to cut in the cold butter until the mixture resembles coarse crumbs. Press this dough into a greased 2-quart or 11×7-inch baking dish. Bake in the preheated oven for 15 minutes.
Step 2: Prepare the Cherry Filling
While the pastry bakes, take a saucepan and combine sugar and cornstarch. Gradually stir in the cherry juice blend. Cook over medium heat until thickened while stirring constantly. Gently fold in the pitted tart red cherries once thickened, then pour this mixture over your baked crust.
Step 3: Make the Topping
In a small bowl, combine quick-cooking rolled oats, brown sugar, and flour for the topping. Cut in melted butter until crumbly. Evenly sprinkle this topping over the cherry filling. Bake for another 20 to 25 minutes or until golden brown and bubbly around the edges.
Now you’re ready to enjoy your delicious homemade cherry crisp!
How to Serve Cherry Crisp Recipe
Serving your cherry crisp can elevate the experience and make it even more enjoyable. Whether you prefer it warm or cold, here are some delightful serving suggestions.
Classic Vanilla Ice Cream
- A scoop of creamy vanilla ice cream on top of warm cherry crisp creates a heavenly combination that balances the tartness of the cherries.
Fresh Whipped Cream
- Light and fluffy whipped cream adds a rich texture to your cherry crisp, making each bite feel indulgent and satisfying.
Yogurt Parfait
- Layering cherry crisp with Greek yogurt makes for a healthier option. The tangy yogurt complements the sweetness of the cherries beautifully.
Chocolate Drizzle
- Adding a drizzle of melted chocolate over the top can turn your cherry crisp into a decadent dessert that chocolate lovers will adore.
Nuts and Seeds
- Sprinkle some toasted almonds or sunflower seeds on top for added crunch and nutrition, enhancing both flavor and texture.
Mint Leaves
- Fresh mint leaves offer a refreshing touch. They add color and contrast to the rich flavors of the cherry crisp, making the dish visually appealing.

How to Perfect Cherry Crisp Recipe
To ensure your cherry crisp turns out perfect every time, consider these helpful tips.
-
Use fresh cherries: Fresh tart cherries enhance the flavor significantly compared to canned ones, providing that juicy burst in every bite.
-
Adjust sweetness: Depending on your taste preference, you can modify the sugar amount in both filling and topping. Tasting as you go is key!
-
Don’t skip chilling butter: Cold butter in both crust and topping creates flaky layers. Make sure it’s cubed and chilled before mixing.
-
Watch baking time: Keep an eye on your cherry crisp during baking. It should be golden brown but not too dark—this ensures a perfect texture.
-
Let it cool slightly: Allowing your cherry crisp to cool for about 10 minutes before serving helps the filling set up nicely for easier serving.
Best Side Dishes for Cherry Crisp Recipe
Pairing side dishes with your cherry crisp can create a well-rounded meal. Here are some delicious options that complement this dessert perfectly.
-
Grilled Peaches
The sweet smokiness from grilling peaches pairs wonderfully with the tartness of cherries, creating an excellent contrast. -
Coconut Macaroons
These chewy treats add a tropical flair that enhances the overall dessert experience without overpowering it. -
Cheese Platter
A selection of cheeses, particularly creamy Brie or tangy goat cheese, provides saltiness that balances the sweetness of your cherry crisp. -
Lemon Sorbet
This refreshing palate cleanser contrasts nicely with the richness of cherry crisp while adding a zesty twist. -
Fruit Salad
A light fruit salad with seasonal berries can provide freshness and balance alongside your warm dessert. -
Spiced Nuts
Roasted spiced nuts offer crunch and savory notes that complement the sweet flavors in your cherry crisp delightfully. -
Homemade Biscotti
Dipping biscotti into warm cherry filling adds an extra layer of flavor while providing a satisfying crunch. -
Chocolate-Covered Strawberries
These sweet bites add elegance and are perfect for those who enjoy fruit desserts paired with chocolate!
Common Mistakes to Avoid
Making a cherry crisp can be simple, but certain mistakes can affect the final result. Here are some common pitfalls to avoid.
- Using warm butter: This can lead to a soggy crust instead of a flaky one. Always use cold butter for best results.
- Skipping the baking time for the crust: Not pre-baking the crust may result in a doughy texture. Be sure to bake it for 15 minutes as directed.
- Not measuring cherries properly: Using too many or too few cherries can alter the flavor and consistency. Always measure carefully for balance.
- Overmixing the topping: Mixing too much can result in a dense topping. Mix until just crumbly for that perfect crunch.
- Ignoring the cooling time: Cutting into the crisp while it’s still hot can make it fall apart. Let it cool slightly before serving to allow it to set.
Storage & Reheating Instructions
Refrigerator Storage
- Duration: Store your cherry crisp in an airtight container for up to 3 days.
- Container: Use a glass or plastic container with a tight-fitting lid to keep it fresh.
Freezing Cherry Crisp Recipe
- Duration: You can freeze your cherry crisp for up to 3 months.
- Container: Use a freezer-safe container or wrap tightly in plastic wrap and foil.
Reheating Cherry Crisp Recipe
- Oven: Preheat oven to 350°F (175°C). Place the crisp in an oven-safe dish and cover with foil. Heat for about 15-20 minutes until warmed through.
- Microwave: Place individual servings on a microwave-safe plate. Heat on high for about 30-60 seconds, depending on your microwave‘s power.
- Stovetop: In a pan over low heat, stir until warmed, adding a splash of water if needed to prevent sticking.
Frequently Asked Questions
What is a Cherry Crisp Recipe?
A cherry crisp recipe features tart cherries topped with a crunchy oat mixture, baked until bubbly and golden brown.
Can I use frozen cherries in my Cherry Crisp Recipe?
Yes, frozen cherries work well! Just thaw them and drain any excess liquid before using.
How do I make my Cherry Crisp Recipe gluten-free?
You can substitute regular flour with gluten-free flour and ensure that all other ingredients are certified gluten-free.
How long does Cherry Crisp last?
Cherry crisp lasts about 3 days in the refrigerator and up to 3 months when frozen if stored properly.
Can I customize my Cherry Crisp Recipe?
Absolutely! You can add nuts, spices like cinnamon, or even mix in other fruits like blueberries or raspberries for variety.
Final Thoughts
This delicious cherry crisp recipe combines sweet and tart flavors with crunchy oats, making it an irresistible dessert. It’s versatile enough to be customized with different fruits or toppings, ensuring you can enjoy it year-round. Give this recipe a try and delight your family with this comforting treat!
Did You Enjoy Making This Recipe? Please rate this recipe with ⭐⭐⭐⭐⭐ or leave a comment.
📖 Recipe Card
Print
Cherry Crisp Recipe
- Total Time: 55 minutes
- Yield: Serves approximately 8
Description
Indulge in the delightful flavors of our Cherry Crisp Recipe, a perfect blend of tart cherries and a crunchy oat topping that’s sure to please any palate. This comforting dessert is ideal for family gatherings, summer picnics, or cozy evenings at home. With its easy preparation and warm serving suggestion alongside a scoop of vanilla ice cream, you’ll find it hard to resist. Whether enjoyed as a simple weeknight treat or dressed up for special occasions, this cherry crisp is a timeless favorite.
Ingredients
- 4 cups pitted tart red cherries
- 1 cup sugar
- 1/4 cup cornstarch
- 1 cup all-purpose flour
- 1/2 cup packed brown sugar (for topping)
- 1 1/2 cups quick-cooking rolled oats
- 1/2 cup cold butter (cubed)
- 5 tablespoons melted butter (for topping)
- Salt
Instructions
- Preheat your oven to 350°F (175°C). In a mixing bowl, combine salt, brown sugar, and flour. Cut in cold butter until crumbly. Press into a greased baking dish and bake for 15 minutes.
- For the filling, mix sugar and cornstarch in a saucepan. Gradually stir in cherry juice blend and cook over medium heat until thickened. Fold in the cherries and spread over the baked crust.
- In another bowl, combine oats, brown sugar, flour, and melted butter for the topping. Sprinkle evenly over the cherry filling. Bake for an additional 20-25 minutes until golden brown.
- Prep Time: 15 minutes
- Cook Time: 40 minutes
- Category: Dessert
- Method: Baking
- Cuisine: American
Nutrition
- Serving Size: 1/8 of recipe (approximately 115g)
- Calories: 300
- Sugar: 25g
- Sodium: 150mg
- Fat: 12g
- Saturated Fat: 7g
- Unsaturated Fat: 4g
- Trans Fat: 0g
- Carbohydrates: 43g
- Fiber: 3g
- Protein: 3g
- Cholesterol: 30mg