Classic Chocolate Snowball Cookies are a delightful treat that combines the rich flavor of chocolate with a melt-in-your-mouth texture. These cookies are perfect for holiday gatherings, cozy family nights, or anytime you crave something sweet. Their unique snowball shape and powdered sugar coating make them visually appealing, while their soft and chewy center will keep everyone coming back for more.

Jump to:
- Why You’ll Love This Recipe
- Tools and Preparation
- Essential Tools and Equipment
- Importance of Each Tool
- Ingredients
- For the Cookie Dough
- How to Make Classic Chocolate Snowball Cookies
- Step 1: Preheat the Oven
- Step 2: Cream the Butter and Sugar
- Step 3: Mix the Dry Ingredients
- Step 4: Fold in the Nuts and Chocolate Chips
- Step 5: Shape the Cookies
- Step 6: Bake
- Step 7: Roll in Sugar
- How to Serve Classic Chocolate Snowball Cookies
- With a Glass of Milk
- Ice Cream Sandwiches
- Coffee or Espresso
- Festive Platters
- Gift Packaging
- How to Perfect Classic Chocolate Snowball Cookies
- Best Side Dishes for Classic Chocolate Snowball Cookies
- Common Mistakes to Avoid
- Storage & Reheating Instructions
- Refrigerator Storage
- Freezing Classic Chocolate Snowball Cookies
- Reheating Classic Chocolate Snowball Cookies
- Frequently Asked Questions
- How do I make Classic Chocolate Snowball Cookies gluten-free?
- Can I add different nuts or chocolate types?
- What is the best way to store Classic Chocolate Snowball Cookies?
- Can I freeze Classic Chocolate Snowball Cookies?
- Final Thoughts
- 📖 Recipe Card
Why You’ll Love This Recipe
- Easy to Make: With simple ingredients and straightforward steps, these cookies are perfect for bakers of all levels.
- Rich Chocolate Flavor: The combination of cocoa powder and mini chocolate chips creates a decadent chocolate experience in every bite.
- Versatile Ingredients: You can customize these cookies by adding nuts or leaving them out for a nut-free option.
- Perfect for Sharing: Ideal for cookie swaps, holiday parties, or as a charming gift for friends and family.
- Classic Appeal: These cookies have a timeless look and taste that everyone loves, making them a staple in any dessert repertoire.
Tools and Preparation
Before you begin baking Classic Chocolate Snowball Cookies, gather your tools to make the process smooth and enjoyable.
Essential Tools and Equipment
- Stand mixer or hand mixer
- Mixing bowls
- Measuring cups and spoons
- Baking sheets
- Parchment paper or silicone baking mats
- Wire rack
Importance of Each Tool
- Stand mixer or hand mixer: Saves time and effort in creaming butter and sugar to achieve the perfect light texture.
- Mixing bowls: Essential for preparing different components of the recipe without mixing them prematurely.
- Baking sheets: Provide an even surface for baking cookies, ensuring they cook uniformly.
Ingredients
For the Cookie Dough
- 1 cup (2 sticks) unsalted butter, softened – Try Kerrygold Butter for premium flavor and texture.
- 1/2 cup powdered sugar (plus extra for rolling) – Domino Confectioners’ Sugar is my go-to for smooth coatings.
- 1 teaspoon vanilla extract
- 1 3/4 cups all-purpose flour – King Arthur Flour delivers consistent, high-quality results.
- 1/4 cup unsweetened cocoa powder – Ghirardelli Premium Cocoa Powder is perfect for rich chocolate notes.
- 1/2 teaspoon salt
- 1 cup finely chopped pecans or walnuts (optional)
- 1/2 cup mini chocolate chips (optional)
How to Make Classic Chocolate Snowball Cookies
Step 1: Preheat the Oven
Set your oven to 350°F (175°C). Line two baking sheets with parchment paper or silicone baking mats for easy cleanup.
Grab This Chef Knife Now - Almost Gone!
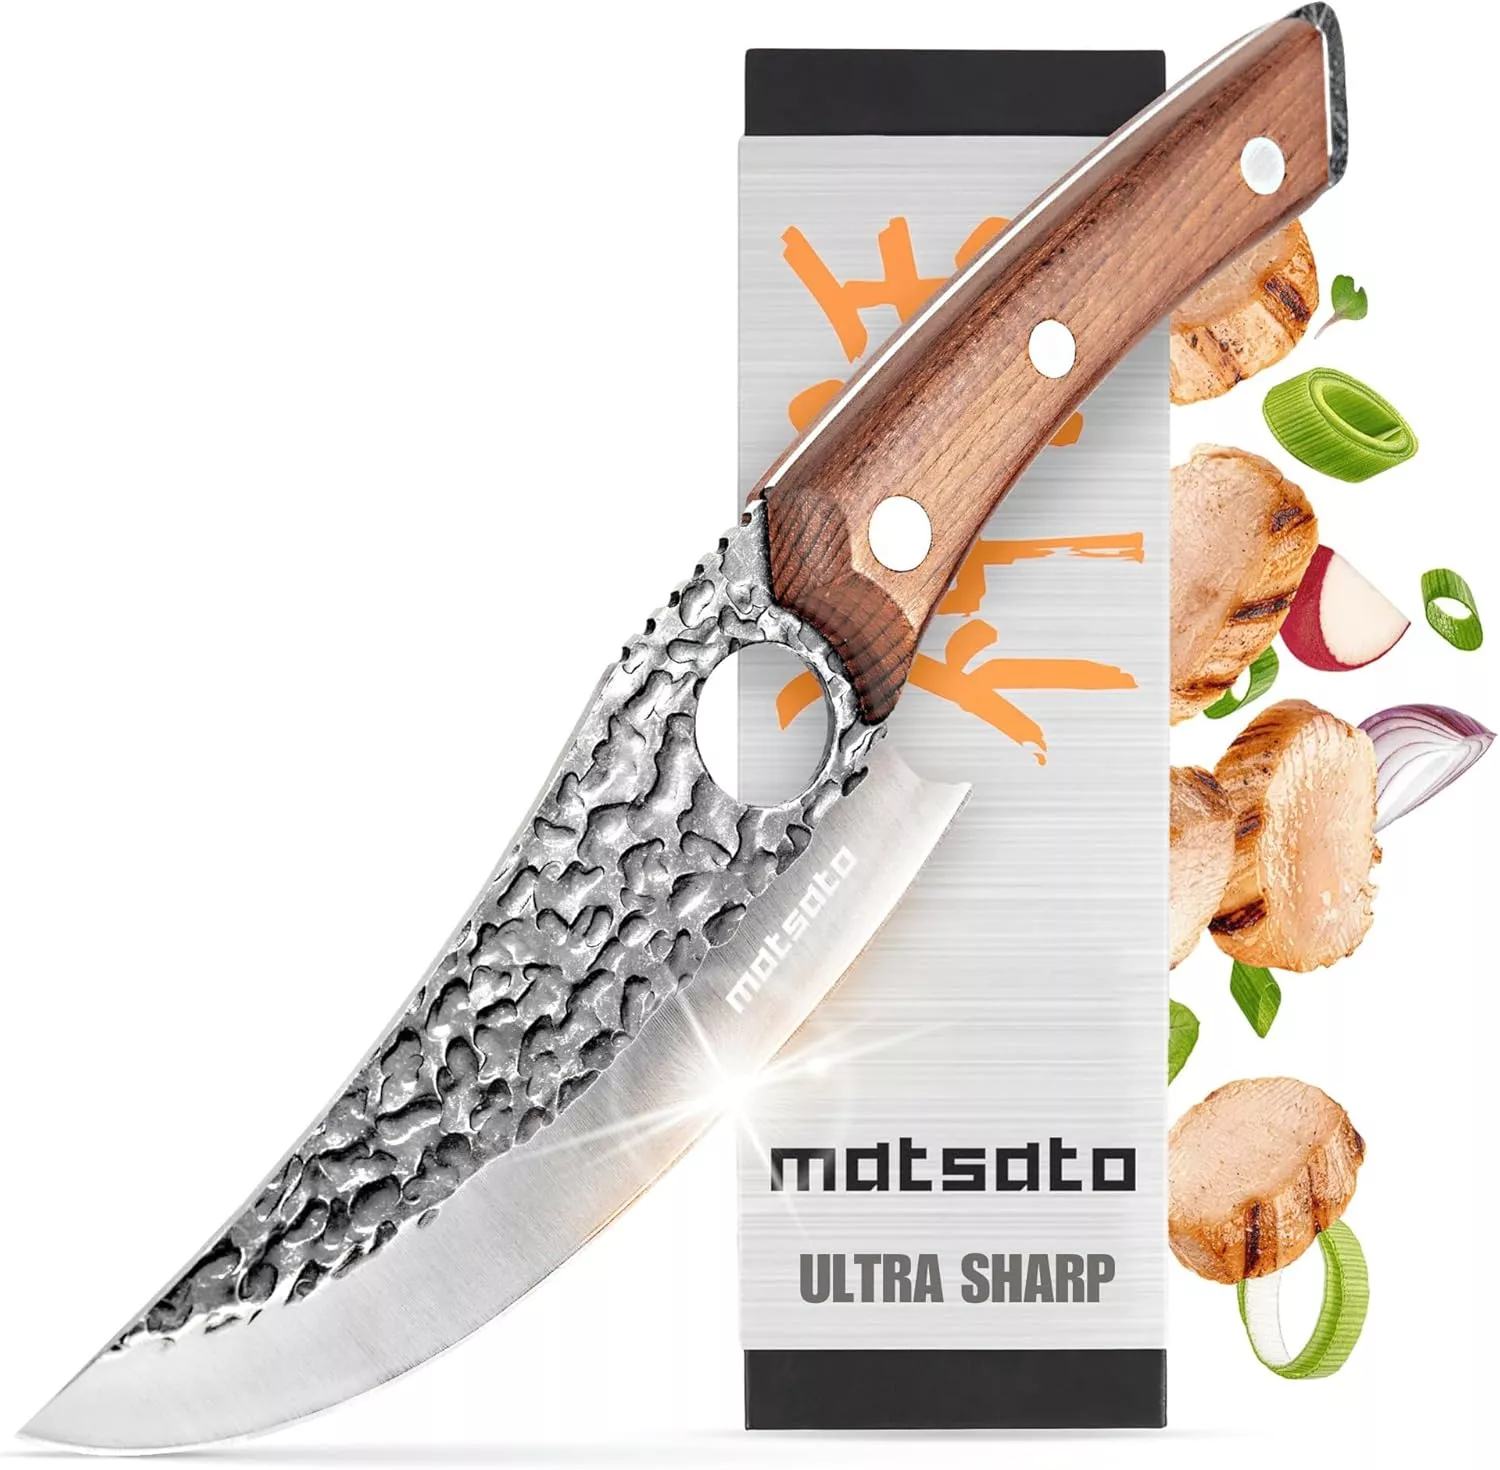
- Stays Razor-Sharp: Ice-hardened blade keeps its edge longer than ordinary knives
- Superior Grip Control: Unique finger hole design gives you perfect balance and safety
- Built to Last a Lifetime: Premium stainless steel blade with elegant beech wood handle
Customer Reviews ★★★★★
Step 2: Cream the Butter and Sugar
In a large mixing bowl, use a stand mixer or hand mixer to beat the softened butter and powdered sugar until light and fluffy. Add the vanilla extract and mix until combined.
Step 3: Mix the Dry Ingredients
In a separate bowl, whisk together the flour, cocoa powder, and salt. Gradually add the dry ingredients to the butter mixture, mixing just until combined.
Step 4: Fold in the Nuts and Chocolate Chips
Stir in the finely chopped nuts and mini chocolate chips (if using) until evenly distributed throughout the dough.
Step 5: Shape the Cookies
Scoop out about a tablespoon of dough and roll it into a ball. Place the dough balls onto the prepared baking sheets, spacing them about an inch apart.
Step 6: Bake
Bake the cookies in the preheated oven for 12-15 minutes, or until the edges are set and the bottoms are lightly browned. Be careful not to overbake; these cookies should remain soft and tender inside.
Step 7: Roll in Sugar
Allow the cookies to cool slightly on the baking sheet for about 5 minutes. While still warm, roll each cookie in a generous amount of powdered sugar, ensuring they’re fully coated. Place the cookies on a wire rack to cool completely, then give them one more roll in powdered sugar for that classic snowball look.
How to Serve Classic Chocolate Snowball Cookies
Classic Chocolate Snowball Cookies are delightful treats that can be enjoyed in various ways. Serving these cookies with complementary flavors enhances their rich chocolate taste and makes for a perfect dessert experience.
With a Glass of Milk
- A classic pairing, milk complements the sweetness and richness of the cookies perfectly.
Ice Cream Sandwiches
- Use two cookies to create an ice cream sandwich. Choose vanilla or mint chocolate chip for a refreshing twist.
Coffee or Espresso
- Enjoy your cookies alongside a cup of coffee or espresso. The bitterness of the coffee balances the sweetness of the snowballs.
Festive Platters
- Arrange these cookies on a festive platter as part of your holiday dessert table. They make a great addition to any gathering.
Gift Packaging
- Package these cookies in decorative bags or boxes to give as gifts during the holiday season. They’re sure to be a hit!

How to Perfect Classic Chocolate Snowball Cookies
To achieve the best results with your Classic Chocolate Snowball Cookies, consider these helpful tips for baking perfection.
- Use Room Temperature Butter: Soften your butter at room temperature for better creaming with sugar, resulting in fluffier cookies.
- Chill Your Dough: If your dough is too soft, chill it for 30 minutes before rolling into balls. This prevents spreading during baking.
- Don’t Overbake: Keep an eye on the cookies as they bake. They should look set but still soft in the center for a tender texture.
- Double Roll in Sugar: For that iconic snowball appearance, roll your cookies in powdered sugar twice; once when warm and again after cooling.
- Experiment with Mix-Ins: Try different nuts or chocolate chips to customize your cookie flavor profile according to your preference.
Best Side Dishes for Classic Chocolate Snowball Cookies
When serving Classic Chocolate Snowball Cookies, pairing them with delightful side dishes elevates their enjoyment. Here are some great options to consider:
- Fresh Berries: Strawberries, raspberries, or blueberries provide a tart contrast that complements the sweetness of the cookies.
- Fruit Salad: A mix of seasonal fruits adds freshness and color, making it visually appealing alongside your cookies.
- Cheese Platter: Pairing these sweet treats with mild cheeses can create a delicious balance of flavors and textures.
- Chocolate Fondue: Dip cookie halves into warm chocolate fondue for an indulgent treat everyone will love.
- Whipped Cream: Serve with dollops of homemade whipped cream for added richness and creaminess.
- Pecan Pie Bars: For those who love desserts, adding pecan pie bars creates a variety of textures and flavors on your dessert table.
Common Mistakes to Avoid
When making Classic Chocolate Snowball Cookies, it’s easy to overlook a few key details that can affect the final product. Here are some common mistakes and how to avoid them.
- Using cold butter – Cold butter won’t cream properly with the sugar, leading to dense cookies. Always ensure your butter is softened before mixing.
- Overmixing the dough – Mixing too much can develop gluten, resulting in tough cookies. Mix just until the ingredients come together for a tender texture.
- Not measuring flour correctly – Packing flour can lead to dry cookies. Spoon flour into your measuring cup and level it off for accuracy.
- Skipping the cooling step – Rolling cookies in powdered sugar while they’re too hot can cause it to melt away. Allow cookies to cool slightly before coating.
- Overbaking the cookies – These cookies should be soft and tender inside. Keep an eye on them while baking; pulling them out just as they set will yield the best results.

Storage & Reheating Instructions
Refrigerator Storage
- Store Classic Chocolate Snowball Cookies in an airtight container for up to one week.
- Place parchment paper between layers of cookies to prevent sticking.
Freezing Classic Chocolate Snowball Cookies
- Freeze cookies in a single layer on a baking sheet before transferring them to a freezer-safe bag or container.
- They can be stored frozen for up to three months without losing flavor.
Reheating Classic Chocolate Snowball Cookies
- Oven – Preheat the oven to 350°F (175°C) and warm cookies for about 5 minutes for a freshly baked feel.
- Microwave – Heat each cookie for about 10-15 seconds for a quick warm-up; watch closely to avoid overheating.
- Stovetop – Use a pan on low heat with a lid for about 1-2 minutes, ensuring they don’t burn.
Frequently Asked Questions
Here are some common questions about Classic Chocolate Snowball Cookies that might help you bake these delightful treats perfectly.
How do I make Classic Chocolate Snowball Cookies gluten-free?
You can substitute all-purpose flour with a gluten-free blend. Ensure it measures cup-for-cup like regular flour for best results.
Can I add different nuts or chocolate types?
Absolutely! Feel free to swap pecans or walnuts with almonds or hazelnuts, and use dark or white chocolate chips instead of mini ones.
What is the best way to store Classic Chocolate Snowball Cookies?
Store them in an airtight container at room temperature or refrigerate them for longer freshness without altering their texture.
Can I freeze Classic Chocolate Snowball Cookies?
Yes! These cookies freeze well, allowing you to enjoy them later. Just follow proper freezing instructions mentioned above.
Final Thoughts
Classic Chocolate Snowball Cookies are not only delicious but also versatile. You can easily customize them with different nuts or chocolate types according to your taste. Their appealing look and rich flavor make them perfect for any occasion, especially during the holiday season. Give this recipe a try, and enjoy these delightful treats!
Did You Enjoy Making This Recipe? Please rate this recipe with ⭐⭐⭐⭐⭐ or leave a comment.
📖 Recipe Card
Print
Classic Chocolate Snowball Cookies
- Total Time: 30 minutes
- Yield: About 24 servings 1x
Description
Indulge in the joy of baking with Classic Chocolate Snowball Cookies, a delightful treat that combines soft, rich chocolate flavor with a snowy powdered sugar coating. These cookies are perfect for holiday gatherings, cozy family nights, or simply satisfying your sweet tooth. With their melt-in-your-mouth texture and visually appealing snowball shape, they’re sure to become a favorite at any dessert table. Easy to make with simple ingredients, these cookies can also be customized by adding your choice of nuts or chocolate chips. Share them with loved ones or package them as gifts; either way, they promise to bring smiles and warmth during the festive season.
Ingredients
- 1 cup unsalted butter (softened)
- 1/2 cup powdered sugar (plus extra for rolling)
- 1 teaspoon vanilla extract
- 1 3/4 cups all-purpose flour
- 1/4 cup unsweetened cocoa powder
- 1/2 teaspoon salt
- Optional: 1 cup chopped pecans/walnuts
- Optional: 1/2 cup mini chocolate chips
Instructions
- Preheat the oven to 350°F (175°C) and line baking sheets with parchment paper.
- Cream softened butter and powdered sugar until fluffy, then mix in vanilla extract.
- In another bowl, whisk together flour, cocoa powder, and salt before gradually combining it with the butter mixture.
- Fold in optional nuts and chocolate chips.
- Roll tablespoon-sized portions of dough into balls and place on prepared sheets.
- Bake for 12-15 minutes until edges are set but centers remain soft.
- Cool slightly before rolling in powdered sugar; repeat once cooled for a snowy finish.
- Prep Time: 15 minutes
- Cook Time: 15 minutes
- Category: Dessert
- Method: Baking
- Cuisine: American
Nutrition
- Serving Size: 1 cookie
- Calories: 95
- Sugar: 3g
- Sodium: 50mg
- Fat: 6g
- Saturated Fat: 4g
- Unsaturated Fat: 2g
- Trans Fat: 0g
- Carbohydrates: 10g
- Fiber: <1g
- Protein: <1g
- Cholesterol: 15mg