Energy balls are a fantastic no-bake snack that combines the goodness of oats and nut butter into a delicious bite-sized treat. These little powerhouses are perfect for any occasion, whether you need a quick pick-me-up during work or a healthy dessert option. With their easy preparation and customizable ingredients, energy balls stand out as a versatile choice for anyone looking to boost their energy levels without compromising on taste.

Jump to:
- Why You’ll Love This Recipe
- Tools and Preparation
- Essential Tools and Equipment
- Importance of Each Tool
- Ingredients
- Base Ingredients
- Optional Add-Ins
- How to Make Energy Balls
- Step 1: Warm the Nut Butter
- Step 2: Combine Dry Ingredients
- Step 3: Mix Wet Ingredients
- Step 4: Shape Your Energy Balls
- Step 5: Store Properly
- How to Serve Energy Balls
- As a Quick Breakfast
- On-the-Go Snack
- Post-Workout Fuel
- Sweet Treat Alternative
- How to Perfect Energy Balls
- Best Side Dishes for Energy Balls
- Common Mistakes to Avoid
- Storage & Reheating Instructions
- Refrigerator Storage
- Freezing Energy Balls
- Reheating Energy Balls
- Frequently Asked Questions
- Can I customize my energy balls?
- What are Energy Balls made of?
- How long do Energy Balls last?
- Are Energy Balls healthy?
- Final Thoughts
- 📖 Recipe Card
Why You’ll Love This Recipe
- Quick and Easy: This recipe takes just 5 minutes to prepare, making it ideal for busy days.
- Healthy Ingredients: Packed with oats, chia seeds, and nut butter, these energy balls provide essential nutrients.
- Customizable Flavors: Feel free to add your favorite mix-ins like chocolate chips or dried fruit to suit your taste.
- Perfect Snack for All Occasions: Whether it’s after workouts, during the afternoon slump, or as a school snack, energy balls fit right in.
- No Baking Required: Skip the oven! These energy balls come together without any baking hassle.
Tools and Preparation
Before diving into making your energy balls, gather the necessary tools to ensure a smooth process. Having everything on hand will help you whip up this delightful snack in no time.
Essential Tools and Equipment
Importance of Each Tool
- Medium mixing bowl: A spacious bowl allows you to comfortably mix all the ingredients without spilling.
- Measuring cups: Accurate measurements ensure your energy balls have the perfect balance of flavors and textures.
- Mixing spoon: A sturdy spoon helps combine dense ingredients like peanut butter with ease.
- Airtight container: This keeps your energy balls fresh longer, so you can enjoy them anytime.
Ingredients
Try this easy recipe for oatmeal energy balls any time you are craving a no bake healthy snack!
Grab This Chef Knife Now - Almost Gone!
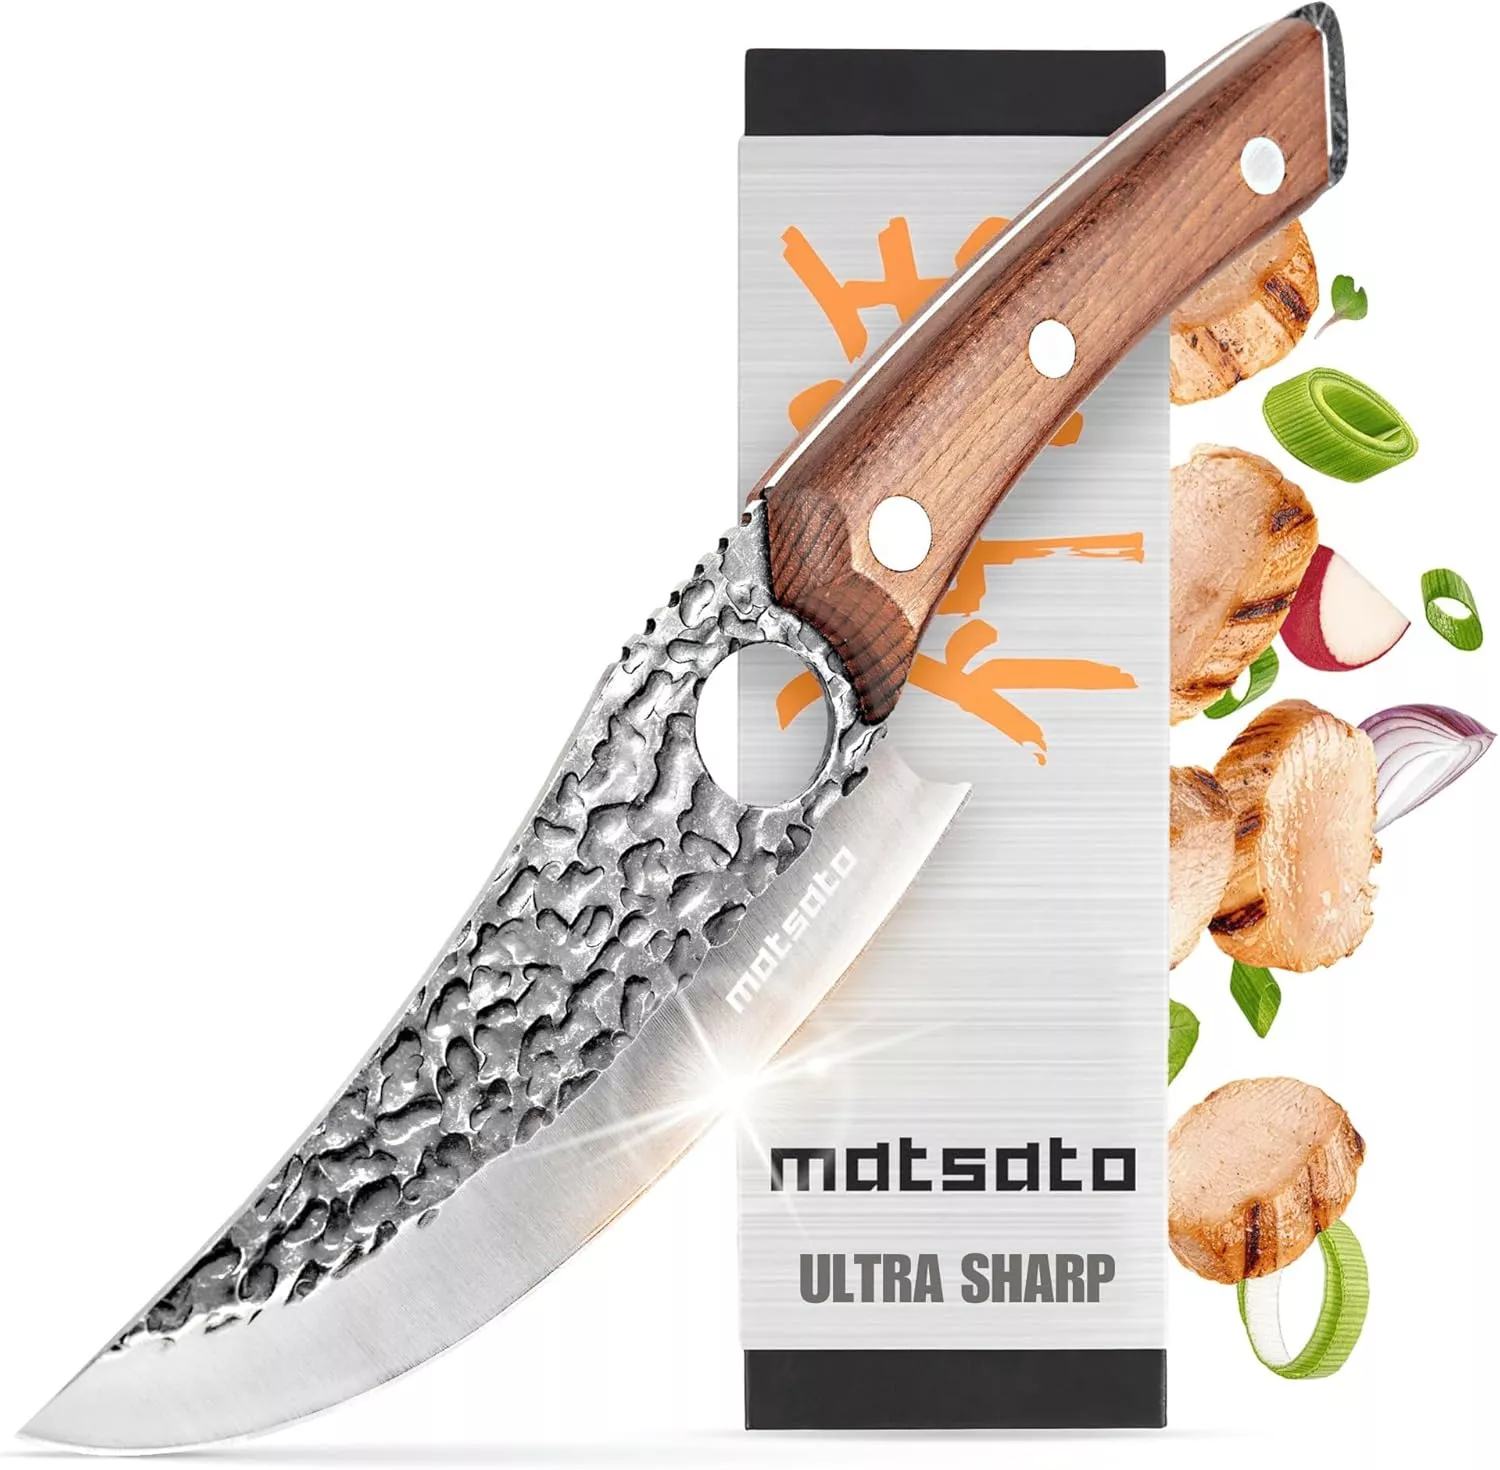
- Stays Razor-Sharp: Ice-hardened blade keeps its edge longer than ordinary knives
- Superior Grip Control: Unique finger hole design gives you perfect balance and safety
- Built to Last a Lifetime: Premium stainless steel blade with elegant beech wood handle
Customer Reviews ★★★★★
Base Ingredients
- 1 cup rolled oats
- 1/2 cup peanut butter (or allergy friendly sub)
- 1/4 cup pure maple syrup (or honey or agave)
- 1 tbsp chia seeds
- 1/8 tsp salt
Optional Add-Ins
- Handful mini chocolate chips
- Raisins
How to Make Energy Balls
Step 1: Warm the Nut Butter
If the nut butter is not already soft, gently warm it until easy to stir. This will help in mixing it thoroughly with other ingredients.
Step 2: Combine Dry Ingredients
In a medium bowl, stir together the rolled oats, chia seeds, and salt until well mixed.
Step 3: Mix Wet Ingredients
Add in the warmed nut butter and maple syrup (or your chosen sweetener). Stir until everything is evenly combined.
Step 4: Shape Your Energy Balls
Roll the mixture into small balls or press it into cookie shapes using your hands.
Step 5: Store Properly
Store leftovers in an airtight container for up to a week at room temperature, three weeks in the refrigerator, or four months in the freezer.
Enjoy these deliciously simple energy balls as a healthy snack option that will keep you fueled throughout your day!
How to Serve Energy Balls
Energy balls are a versatile snack that can be enjoyed in various ways. They are not only delicious but also packed with nutrients, making them perfect for any time of the day. Here are some creative serving suggestions to enhance your energy ball experience.
As a Quick Breakfast
- Pair with yogurt: Crumble energy balls over a bowl of Greek yogurt for added texture and flavor.
- Smoothie booster: Blend one or two energy balls into your morning smoothie for extra protein and sweetness.
On-the-Go Snack
- Travel-friendly: Pack energy balls in a small container for a nutritious snack during road trips or busy days.
- Lunchbox addition: Include them in your child’s lunchbox as a healthy treat that provides sustained energy.
Post-Workout Fuel
- Perfect recovery bite: Enjoy an energy ball immediately after your workout to replenish lost nutrients and fuel your body.
- With coconut water: Pair with coconut water for hydration and electrolytes post-exercise.
Sweet Treat Alternative
- Dessert topping: Use crumbled energy balls as a topping on ice cream or desserts for an added crunch.
- Chocolate dip: Dip half of each ball in melted dark chocolate for an indulgent twist.

How to Perfect Energy Balls
Making the best energy balls requires attention to detail. Here are some tips to ensure you create the perfect snacks every time.
- Use fresh ingredients: Always check the expiration dates on oats, nut butter, and sweeteners to maintain flavor and texture.
- Adjust sweetness: Modify the amount of maple syrup or honey based on personal preference for sweetness.
- Experiment with add-ins: Try different mix-ins like dried fruits, nuts, or seeds to customize flavors and textures.
- Chill before serving: Refrigerate the energy balls for about 30 minutes before serving to help them firm up nicely.
- Roll evenly: Use a cookie scoop for even-sized energy balls, ensuring consistent cooking and presentation.
Best Side Dishes for Energy Balls
Energy balls can be complemented by various side dishes that enhance their health benefits. Here are some great options to serve alongside them.
- Fresh Fruit – Pair with seasonal fruits like apples or berries for added vitamins and antioxidants.
- Nut Mix – A handful of mixed nuts provides healthy fats and additional protein, making it a perfect pairing.
- Vegetable Sticks – Carrot or celery sticks add crunch and fiber, balancing out the sweetness of the energy balls.
- Hummus – Serve alongside hummus for a savory contrast; it’s rich in protein and makes for a satisfying snack combo.
- Cheese Slices – A few slices of cheese can complement the nutty flavor of the energy balls while adding calcium.
- Rice Cakes – Top rice cakes with nut butter or cream cheese and enjoy with energy balls for an extra crunchy bite.
Common Mistakes to Avoid
Making energy balls can be simple, but there are some common pitfalls. Here’s how to ensure your snacks turn out perfectly.
- Skipping the nut butter softening: If your nut butter is too hard, it can make mixing difficult. Gently warm it before use to achieve a smooth blend.
- Not measuring ingredients accurately: Inaccurate measurements can lead to a poor texture. Use measuring cups and spoons for precision.
- Omitting the salt: A pinch of salt enhances flavor, even in sweet recipes. Don’t skip this step for the best taste.
- Ignoring mix-ins: Customizing your energy balls with ingredients like chocolate chips or nuts can make them more delicious. Experiment with different add-ins for variety.
- Overmixing the dough: Mix just until combined to avoid tough energy balls. This keeps them chewy and enjoyable.

Storage & Reheating Instructions
Refrigerator Storage
- Store energy balls in a covered container.
- They will keep fresh for up to one week in the refrigerator.
Freezing Energy Balls
- You can freeze energy balls for up to four months.
- Use airtight containers or freezer bags to prevent freezer burn.
Reheating Energy Balls
- Oven: Preheat to 350°F (175°C) and warm for about 5 minutes.
- Microwave: Heat on low power for 10-15 seconds until warm.
- Stovetop: Place in a non-stick pan over low heat for a few minutes, flipping occasionally.
Frequently Asked Questions
Here are some common questions about making energy balls.
Can I customize my energy balls?
Yes! You can add various ingredients such as dried fruits, seeds, or other nut butters based on your preferences.
What are Energy Balls made of?
Energy balls typically include oats, nut butter, sweeteners like honey or maple syrup, and optional add-ins like chocolate chips or seeds.
How long do Energy Balls last?
When stored properly, energy balls will last up to one week at room temperature and longer when refrigerated or frozen.
Are Energy Balls healthy?
Yes! They are packed with nutrients from oats, nut butter, and other wholesome ingredients, making them a great snack choice.
Final Thoughts
Energy balls are a versatile and satisfying snack that you can customize to fit your taste. With just a few simple ingredients, you can create a delicious treat perfect for any occasion. Give this easy recipe a try and feel free to experiment with different flavors!
Did You Enjoy Making This Recipe? Please rate this recipe with ⭐⭐⭐⭐⭐ or leave a comment.
📖 Recipe Card
Print
Energy Balls
- Total Time: 5 minutes
- Yield: Approximately 12 servings 1x
Description
Energy balls are the perfect no-bake snack that combines wholesome ingredients into a delightful treat. Ideal for anyone on the go, these nutrient-dense bites offer a quick energy boost without compromising flavor. Packed with rolled oats, nut butter, and optional add-ins like chocolate chips or dried fruit, they can be tailored to suit your taste preferences. Whether you need a post-workout recovery snack, an afternoon pick-me-up, or a healthy dessert alternative, energy balls are versatile and easy to prepare. With just five minutes of prep time and no baking required, you’ll have delicious snacks ready to enjoy anytime!
Ingredients
- 1 cup rolled oats
- 1/2 cup peanut butter (or allergy-friendly substitute)
- 1/4 cup pure maple syrup (or honey/agave)
- 1 tbsp chia seeds
- 1/8 tsp salt
- Optional: mini chocolate chips or raisins
Instructions
- Warm the nut butter slightly to ensure it mixes easily.
- In a medium bowl, combine rolled oats, chia seeds, and salt.
- Add the warmed nut butter and maple syrup to the dry mix; stir until fully combined.
- Roll the mixture into small balls or shape into cookies using your hands.
- Store in an airtight container at room temperature for up to one week, refrigerated for three weeks, or frozen for four months.
- Prep Time: 5 minutes
- Cook Time: 0 minutes
- Category: Dessert
- Method: No Bake
- Cuisine: Healthy
Nutrition
- Serving Size: 1 serving
- Calories: 120
- Sugar: 6g
- Sodium: 50mg
- Fat: 5g
- Saturated Fat: 1g
- Unsaturated Fat: 4g
- Trans Fat: 0g
- Carbohydrates: 16g
- Fiber: 2g
- Protein: 3g
- Cholesterol: 0mg