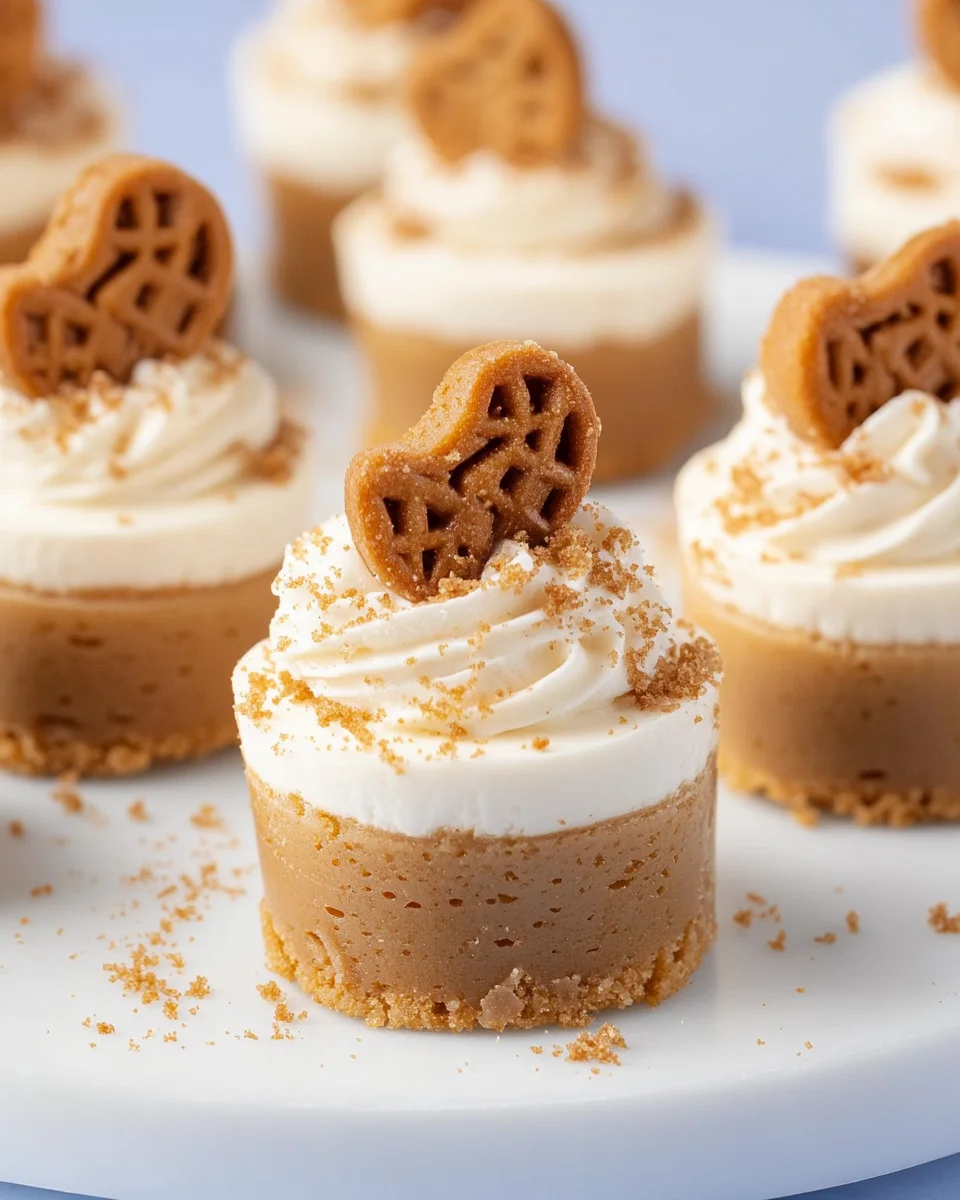
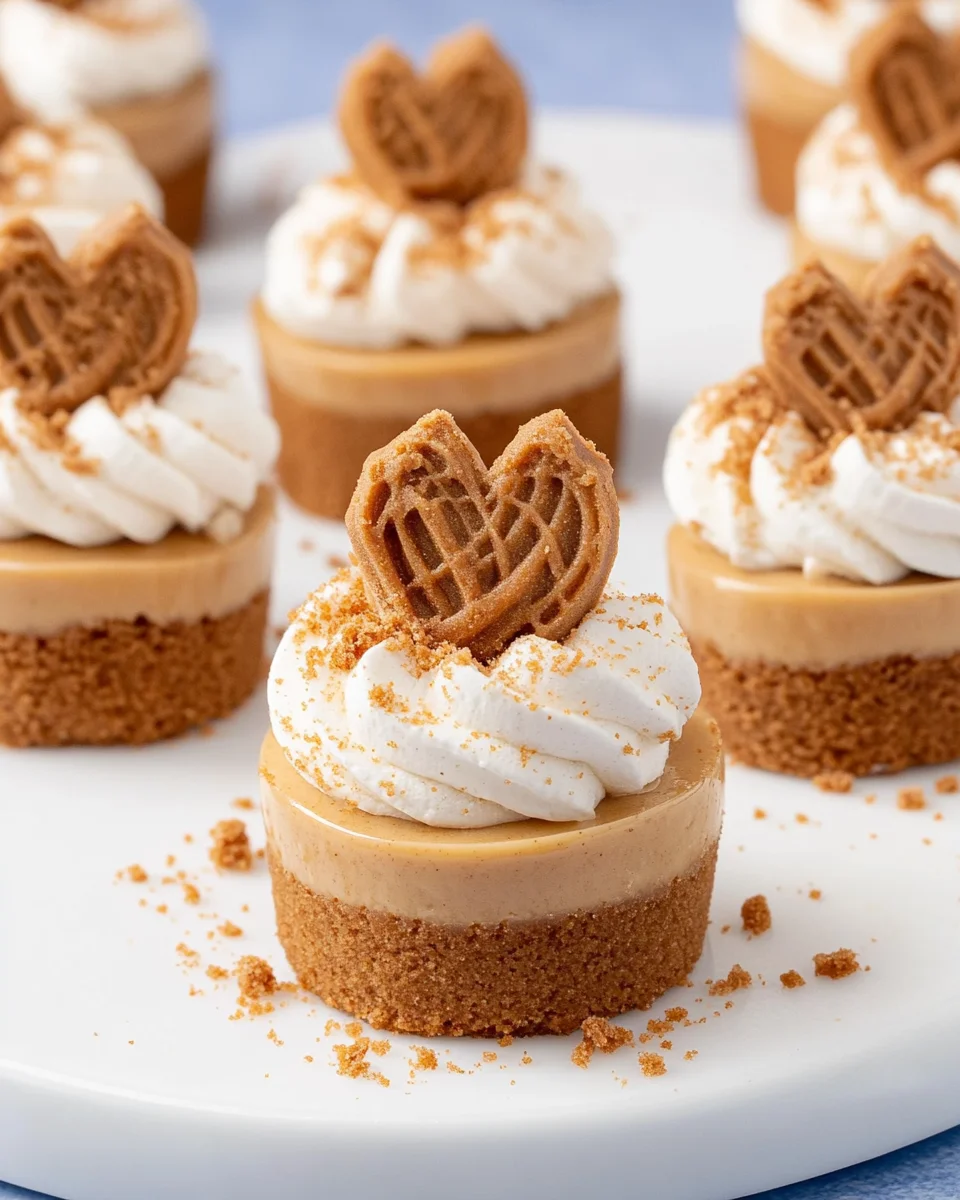
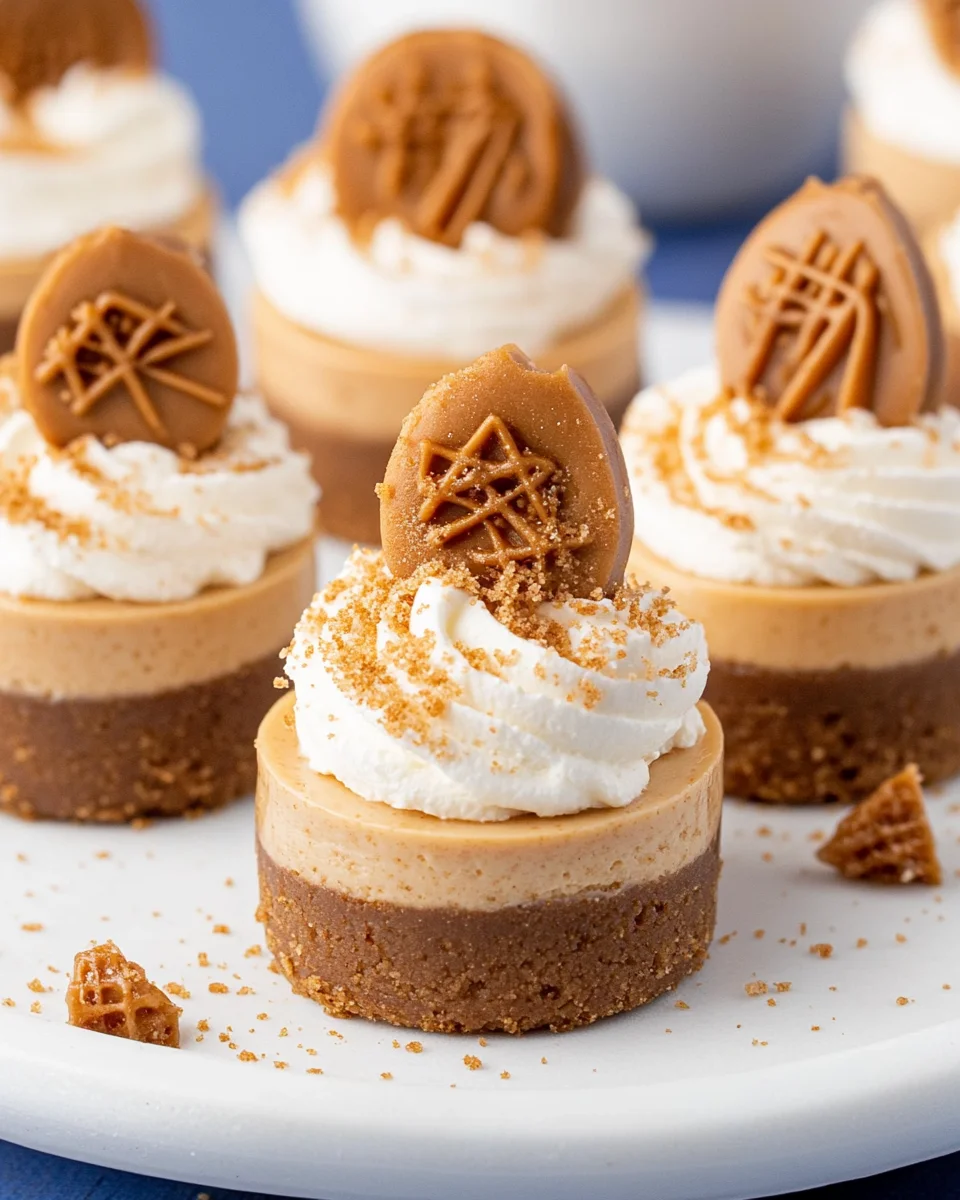
These no-bake Mini Biscoff Cheesecakes are the ultimate treat for cookie butter lovers! With a crunchy Biscoff cookie crust, creamy Biscoff cheesecake filling, and a drizzle of melted cookie butter, they’re an irresistible bite-sized dessert perfect for any occasion. Whether you’re celebrating a birthday, hosting a dinner party, or just indulging yourself, these mini cheesecakes will wow your guests with their delightful flavor and texture.
Jump to:
- Why You’ll Love This Recipe
- Tools and Preparation
- Essential Tools and Equipment
- Importance of Each Tool
- Ingredients
- For the Biscoff Cookie Crust
- For the Biscoff Cheesecake Filling
- For the Whipped Cream
- Additional Toppings
- How to Make Mini Biscoff Cheesecakes
- Step 1: Make the Biscoff Cookie Crust
- Step 2: Prepare the Cheesecake Filling
- Step 3: Assemble and Chill
- Step 4: Make the Whipped Cream
- Step 5: Decorate and Serve
- How to Serve Mini Biscoff Cheesecakes
- Individual Dessert Cups
- Tasting Platter
- Garnished with Fruit
- Drizzle of Chocolate
- Coffee Pairing
- Mini Dessert Shooters
- How to Perfect Mini Biscoff Cheesecakes
- Best Side Dishes for Mini Biscoff Cheesecakes
- Common Mistakes to Avoid
- Storage & Reheating Instructions
- Refrigerator Storage
- Freezing Mini Biscoff Cheesecakes
- Reheating Mini Biscoff Cheesecakes
- Frequently Asked Questions
- Can I use other cookie spreads?
- How do I make these gluten-free?
- Can I freeze leftover cheesecakes?
- What toppings can I use?
- How long do these cheesecakes take to set?
- Final Thoughts
- 📖 Recipe Card
Why You’ll Love This Recipe
- Quick and Easy: This no-bake recipe is simple to follow and requires minimal prep time.
- Decadent Flavor: The combination of Biscoff spread and cream cheese creates a rich, creamy filling that’s hard to resist.
- Perfect Portions: These mini cheesecakes are ideal for portion control—no need to worry about slicing!
- Versatile Toppings: Customize with additional toppings like whipped cream or extra cookie crumbs to suit your taste.
- Crowd-Pleaser: Great for parties or gatherings; everyone will love these bite-sized treats.
Tools and Preparation
Before you start, gather the essential tools that will make your baking experience smoother.
Essential Tools and Equipment
- Mini cheesecake pan
- Mixing bowls
- Electric mixer
- Piping bags
- Microwave-safe bowl
Importance of Each Tool
- Mini cheesecake pan: This specialized pan ensures your cheesecakes hold their shape and makes serving easy.
- Electric mixer: Achieves the perfect creamy consistency in your filling with less effort.
- Piping bags: Ideal for decorating your cheesecakes beautifully with whipped cream or other toppings.
Ingredients
For the Biscoff Cookie Crust
- 2 cups Biscoff cookie crumbs
- 2 tablespoons granulated sugar
- 6 tablespoons salted butter, melted
For the Biscoff Cheesecake Filling
- 16 oz cream cheese, room temperature
- 1 ¾ cups powdered sugar
- 1 cup Biscoff spread (cookie butter)
- 2 teaspoons vanilla extract
- 1 cup heavy cream
For the Whipped Cream
- ¾ cup heavy cream
- 2 tablespoons powdered sugar
- ½ teaspoon vanilla extract
Additional Toppings
- ¾ cup Biscoff spread (cookie butter), melted
- 2 tablespoons Biscoff cookie crumbs
- 12 Biscoff cookies, halved
How to Make Mini Biscoff Cheesecakes
Step 1: Make the Biscoff Cookie Crust
In a mixing bowl, stir together the Biscoff cookie crumbs, granulated sugar, and melted butter until well combined. Portion about 1 tablespoon of the mixture into each cup of a mini cheesecake pan. Firmly press the crumbs down to form the crust. Set aside.
Step 2: Prepare the Cheesecake Filling
In a large bowl, use an electric mixer to beat together the cream cheese, powdered sugar, Biscoff spread, and vanilla extract until smooth. Pour in the heavy cream and whip the mixture on medium-high speed until it thickens and becomes light and fluffy.
Step 3: Assemble and Chill
Fill a piping bag with the cheesecake mixture and pipe it onto the prepared crusts, slightly above the top of the pan. Refrigerate for at least 12 hours or overnight until fully set. After chilling, carefully remove the cheesecakes from the pan.
Step 4: Make the Whipped Cream
In a bowl, whip together the heavy cream, powdered sugar, and vanilla extract until medium-stiff peaks form. Transfer to a piping bag fitted with a Wilton 1M piping tip.
Step 5: Decorate and Serve
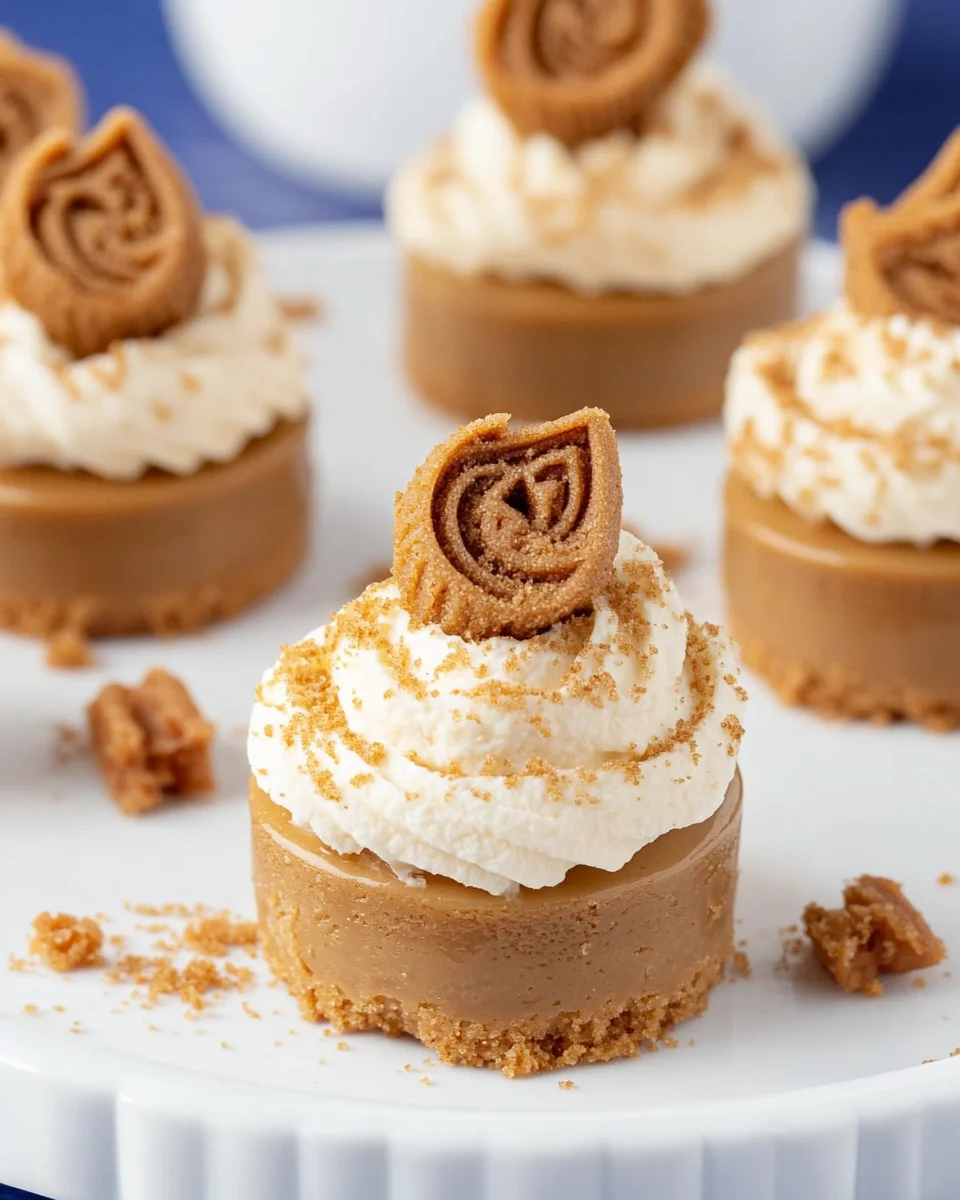
Melt the Biscoff spread in the microwave for about 30 seconds, then drizzle over each cheesecake. Pipe a small swirl of whipped cream on top. Sprinkle with additional Biscoff cookie crumbs and garnish each cheesecake with half of a Biscoff cookie.
How to Serve Mini Biscoff Cheesecakes
These Mini Biscoff Cheesecakes are delightful on their own, but there are several ways to enhance the experience. Here are some creative serving suggestions to elevate your dessert presentation.
Individual Dessert Cups
- Serve each cheesecake in a small dessert cup for a charming touch. This makes it easy for guests to enjoy them without the need for plates.
Tasting Platter
- Arrange the mini cheesecakes on a colorful platter alongside other bite-sized treats. This creates a beautiful display perfect for parties or gatherings.
Garnished with Fruit
- Top each cheesecake with fresh berries, such as strawberries or raspberries, for a burst of color and freshness that complements the rich flavors.
Drizzle of Chocolate
- Add a drizzle of melted chocolate over the cheesecakes for an extra layer of indulgence. Dark chocolate pairs wonderfully with the sweetness of Biscoff.
Coffee Pairing
- Serve these cheesecakes with a steaming cup of coffee or espresso. The bitterness of coffee balances the sweetness, making for a delightful pairing.
Mini Dessert Shooters
- Layer mini Biscoff cheesecakes in shot glasses with whipped cream and cookie crumbs. This fun presentation is perfect for events and adds an element of surprise.
How to Perfect Mini Biscoff Cheesecakes
To get the best results when making your Mini Biscoff Cheesecakes, consider these helpful tips.
- Use room temperature cream cheese: This ensures a smooth filling without lumps, making your cheesecake creamy and delicious.
- Whip heavy cream to stiff peaks: Properly whipped cream will add volume and lightness to your cheesecake filling.
- Chill thoroughly: Allowing the cheesecakes to set overnight will improve their texture and flavor. Patience pays off!
- Experiment with toppings: Try different toppings like caramel sauce or chopped nuts to personalize each cheesecake.
- Keep crusts firm: Make sure your cookie crust is well-pressed into the pan so it holds its shape when removed.
- Serve chilled: These mini cheesecakes taste best when served cold, enhancing their creamy texture.
Best Side Dishes for Mini Biscoff Cheesecakes
Pairing side dishes with your Mini Biscoff Cheesecakes can enhance your dessert table and offer variety. Here are some excellent side dish ideas:
- Fruit Salad
A refreshing mix of seasonal fruits adds brightness and contrast to the rich flavors of the cheesecakes. - Chocolate-Covered Strawberries
These sweet treats provide an elegant touch that complements the flavors of cookie butter beautifully. - Coffee Mousse
Light and airy coffee mousse offers a delightful contrast in texture while enhancing the overall dessert experience. - Vanilla Ice Cream
A scoop of creamy vanilla ice cream can bring added richness and temperature variation when enjoyed alongside the cheesecakes. - Cheese Platter
A selection of cheeses, particularly brie or goat cheese, can introduce savory notes that balance out the sweet desserts. - Pecan Pie Bars
These bars add a nutty crunch that works well with the smoothness of the cheesecakes, creating a harmonious dessert spread. - Homemade Cookies
Offer an assortment of cookies alongside your mini cheesecakes for guests who may want something more traditional. - Caramel Popcorn
Sweet and crunchy caramel popcorn provides a fun snack element that guests can munch on while enjoying their desserts.
Common Mistakes to Avoid
When making Mini Biscoff Cheesecakes, there are a few common mistakes that can affect your results. Here’s how to avoid them.
- Overmixing the Filling: Mixing too long can make the filling too airy and cause it to crack. Mix until just combined and fluffy for the best texture.
- Ignoring Temperature: Using cold cream cheese can lead to lumps in your cheesecake filling. Always ensure cream cheese is at room temperature before mixing.
- Not Chilling Long Enough: Skipping the chill time can result in a runny cheesecake. Allow at least 12 hours for proper setting.
- Skipping the Whipped Cream Step: The whipped cream adds lightness to your filling. Don’t skip this step; it’s crucial for achieving that creamy texture.
- Neglecting Toppings: While optional, toppings enhance flavor and presentation. Don’t forget to drizzle melted Biscoff spread and add cookie crumbs!
Storage & Reheating Instructions
Refrigerator Storage
- Store Mini Biscoff Cheesecakes in an airtight container.
- They will stay fresh for up to 3 days in the refrigerator.
Freezing Mini Biscoff Cheesecakes
- Wrap each cheesecake individually in plastic wrap.
- Place them in an airtight container or freezer bag for up to 2 months.
Reheating Mini Biscoff Cheesecakes
- Oven: Preheat to 350°F (175°C). Heat cheesecakes covered for about 10 minutes.
- Microwave: Heat individual servings on low power for about 15-20 seconds until just warm.
- Stovetop: Use a double boiler method, heating gently while covered until warmed through.
Frequently Asked Questions
Here are some frequently asked questions about Mini Biscoff Cheesecakes.
Can I use other cookie spreads?
Yes! You can substitute Biscoff spread with other flavors like Nutella or peanut butter, but it will change the taste.
How do I make these gluten-free?
To make gluten-free Mini Biscoff Cheesecakes, use gluten-free cookies for the crust and ensure all other ingredients are gluten-free as well.
Can I freeze leftover cheesecakes?
Absolutely! You can freeze Mini Biscoff Cheesecakes for up to 2 months. Just wrap them well before freezing.
What toppings can I use?
In addition to melted Biscoff spread, consider using chocolate ganache or fruit compote as alternative toppings for variety.
How long do these cheesecakes take to set?
Mini Biscoff Cheesecakes need at least 12 hours in the fridge to set properly before serving.
Final Thoughts
These Mini Biscoff Cheesecakes are not only delicious but also versatile. You can customize them with various toppings or even different flavored spreads. Whether you’re serving them at a party or enjoying them as a personal treat, they are sure to impress!
Did You Enjoy Making This Recipe? Please rate this recipe with ⭐⭐⭐⭐⭐ or leave a comment.
📖 Recipe Card
Print
Mini Biscoff Cheesecakes
- Total Time: 0 hours
- Yield: Makes approximately 12 mini cheesecakes 1x
Description
Mini Biscoff Cheesecakes are a delightful no-bake dessert that cookie butter enthusiasts will adore! These bite-sized treats feature a crunchy Biscoff cookie crust filled with a luscious, creamy cheesecake made with Biscoff spread. Topped with a drizzle of melted cookie butter and a swirl of whipped cream, they are perfect for any occasion—be it a birthday celebration, dinner party, or simply a personal indulgence. Easy to make and irresistibly delicious, these mini cheesecakes promise to impress your guests and satisfy your sweet cravings.
Ingredients
- 2 cups Biscoff cookie crumbs
- 2 tablespoons granulated sugar
- 6 tablespoons salted butter, melted
- 16 oz cream cheese, room temperature
- 1 ¾ cups powdered sugar
- 1 cup Biscoff spread (cookie butter)
- 2 teaspoons vanilla extract
- 1 cup heavy cream
- ¾ cup heavy cream (for whipped topping)
- 2 tablespoons powdered sugar (for whipped topping)
- ½ teaspoon vanilla extract (for whipped topping)
- ¾ cup Biscoff spread (cookie butter), melted (for drizzling)
- 2 tablespoons Biscoff cookie crumbs (for garnish)
- 12 Biscoff cookies, halved (for garnish)
Instructions
- Prepare the crust by mixing Biscoff cookie crumbs, sugar, and melted butter in a bowl. Press the mixture firmly into each cup of a mini cheesecake pan.
- In another bowl, beat cream cheese, powdered sugar, Biscoff spread, and vanilla until smooth. Add heavy cream and whip until fluffy.
- Pipe the cheesecake filling onto the crusts and refrigerate for at least 12 hours.
- Whip additional heavy cream with powdered sugar and vanilla until peaks form. Decorate each cheesecake with whipped cream and melted Biscoff spread before serving.
- Prep Time: 30 minutes
- Cook Time: None
- Category: Dessert
- Method: No-Bake
- Cuisine: American
Nutrition
- Serving Size: 1 mini cheesecake (60g)
- Calories: 220
- Sugar: 15g
- Sodium: 150mg
- Fat: 15g
- Saturated Fat: 9g
- Unsaturated Fat: 5g
- Trans Fat: 0g
- Carbohydrates: 20g
- Fiber: 1g
- Protein: 3g
- Cholesterol: 40mg
