Patriotic Fruit Cones are the perfect treat for summer celebrations and 4th of July festivities. These delightful cones are filled with vibrant berries and creamy yogurt, making them a healthier dessert choice that everyone will love. Their colorful presentation not only adds cheer to any table but also offers a fun and interactive way to enjoy fresh fruit. Whether it’s a backyard BBQ or a holiday gathering, these Patriotic Fruit Cones will surely impress your guests!

Jump to:
- Why You’ll Love This Recipe
- Tools and Preparation
- Essential Tools and Equipment
- Importance of Each Tool
- Ingredients
- For the Chocolate Coating
- For the Cones
- For the Filling
- How to Make Patriotic Fruit Cones
- Step 1: Melt the Chocolate
- Step 2: Prepare the Waffle Cones
- Step 3: Add Sprinkles
- Step 4: Chill the Cones
- Step 5: Layer Your Ingredients
- Step 6: Serve Chilled
- How to Serve Patriotic Fruit Cones
- Use Colorful Plates
- Add Fresh Mint Leaves
- Serve with Dipping Sauces
- Create a Fruit Stand
- Include Fun Napkins
- Offer Extra Toppings
- How to Perfect Patriotic Fruit Cones
- Best Side Dishes for Patriotic Fruit Cones
- Common Mistakes to Avoid
- Storage & Reheating Instructions
- Refrigerator Storage
- Freezing Patriotic Fruit Cones
- Reheating Patriotic Fruit Cones
- Frequently Asked Questions
- What are Patriotic Fruit Cones?
- How long does it take to make Patriotic Fruit Cones?
- Can I customize my Patriotic Fruit Cones?
- Are Patriotic Fruit Cones healthy?
- Final Thoughts
- 📖 Recipe Card
Why You’ll Love This Recipe
- Fun Presentation: The colorful layers of fruit and yogurt in the cones create an eye-catching dessert that brightens up any occasion.
- Healthy Choice: Packed with fresh berries and yogurt, these cones offer a nutritious option without sacrificing flavor.
- Easy to Make: With just a few simple steps, you can whip up these cones in under 30 minutes, making it a quick dessert solution.
- Customizable: Feel free to mix and match fruits based on your preference or what’s in season for endless variations.
- Kid-Friendly: Kids will love assembling their own cones, making this recipe perfect for family gatherings or playdates.
Tools and Preparation
Before you start making your Patriotic Fruit Cones, gather the necessary tools to make the process smooth and enjoyable.
Essential Tools and Equipment
Importance of Each Tool
- Small heat-safe bowl: Ideal for melting chocolate safely without risk of burning.
- Heavy cups or bowls: These provide stability while the cones cool, ensuring they stand upright during preparation.
- Small plate: Helps catch excess sprinkles, keeping your workspace tidy and reducing waste.
Ingredients
For the Chocolate Coating
- 1 cup White chocolate melting wafers or chips
For the Cones
- 6 waffle cones
- ¼ cup red and blue sugar sprinkles
- 6 vanilla pirouette cream-filled wafers
For the Filling
- 2 cups white yogurt (unflavored or vanilla)
- 1 cup raspberries
- 1 cup blueberries
- 1 cup small strawberries
How to Make Patriotic Fruit Cones
Step 1: Melt the Chocolate
- Melt the white melting wafers in a small heat-safe bowl according to the package directions.
- Ensure it is smooth and fully melted for easy dipping.
Step 2: Prepare the Waffle Cones
- Dip the top of each cone into the melted white chocolate about an inch down.
- Hold each cone above the bowl to let any excess chocolate drip back in.
Step 3: Add Sprinkles
- Quickly sprinkle each white-covered cone top with red and blue sprinkles over a small plate to catch any that fall.
- Place them upright in heavy cups or bowls as holders.
Step 4: Chill the Cones
- Put the decorated cones in your refrigerator for about 10 minutes, allowing the white chocolate to harden completely.
Step 5: Layer Your Ingredients
- Once hardened, layer your fruit between layers of yogurt in each cone.
- End with a layer of fruit on top for a beautiful finish.
Step 6: Serve Chilled
- Enjoy your Patriotic Fruit Cones chilled as a refreshing dessert that’s sure to delight!
How to Serve Patriotic Fruit Cones
Patriotic Fruit Cones are a fun and festive dessert perfect for summer celebrations. They not only look great but also taste delicious, making them a hit at any gathering. Here are some creative serving suggestions to elevate your presentation.
Grab This Chef Knife Now - Almost Gone!
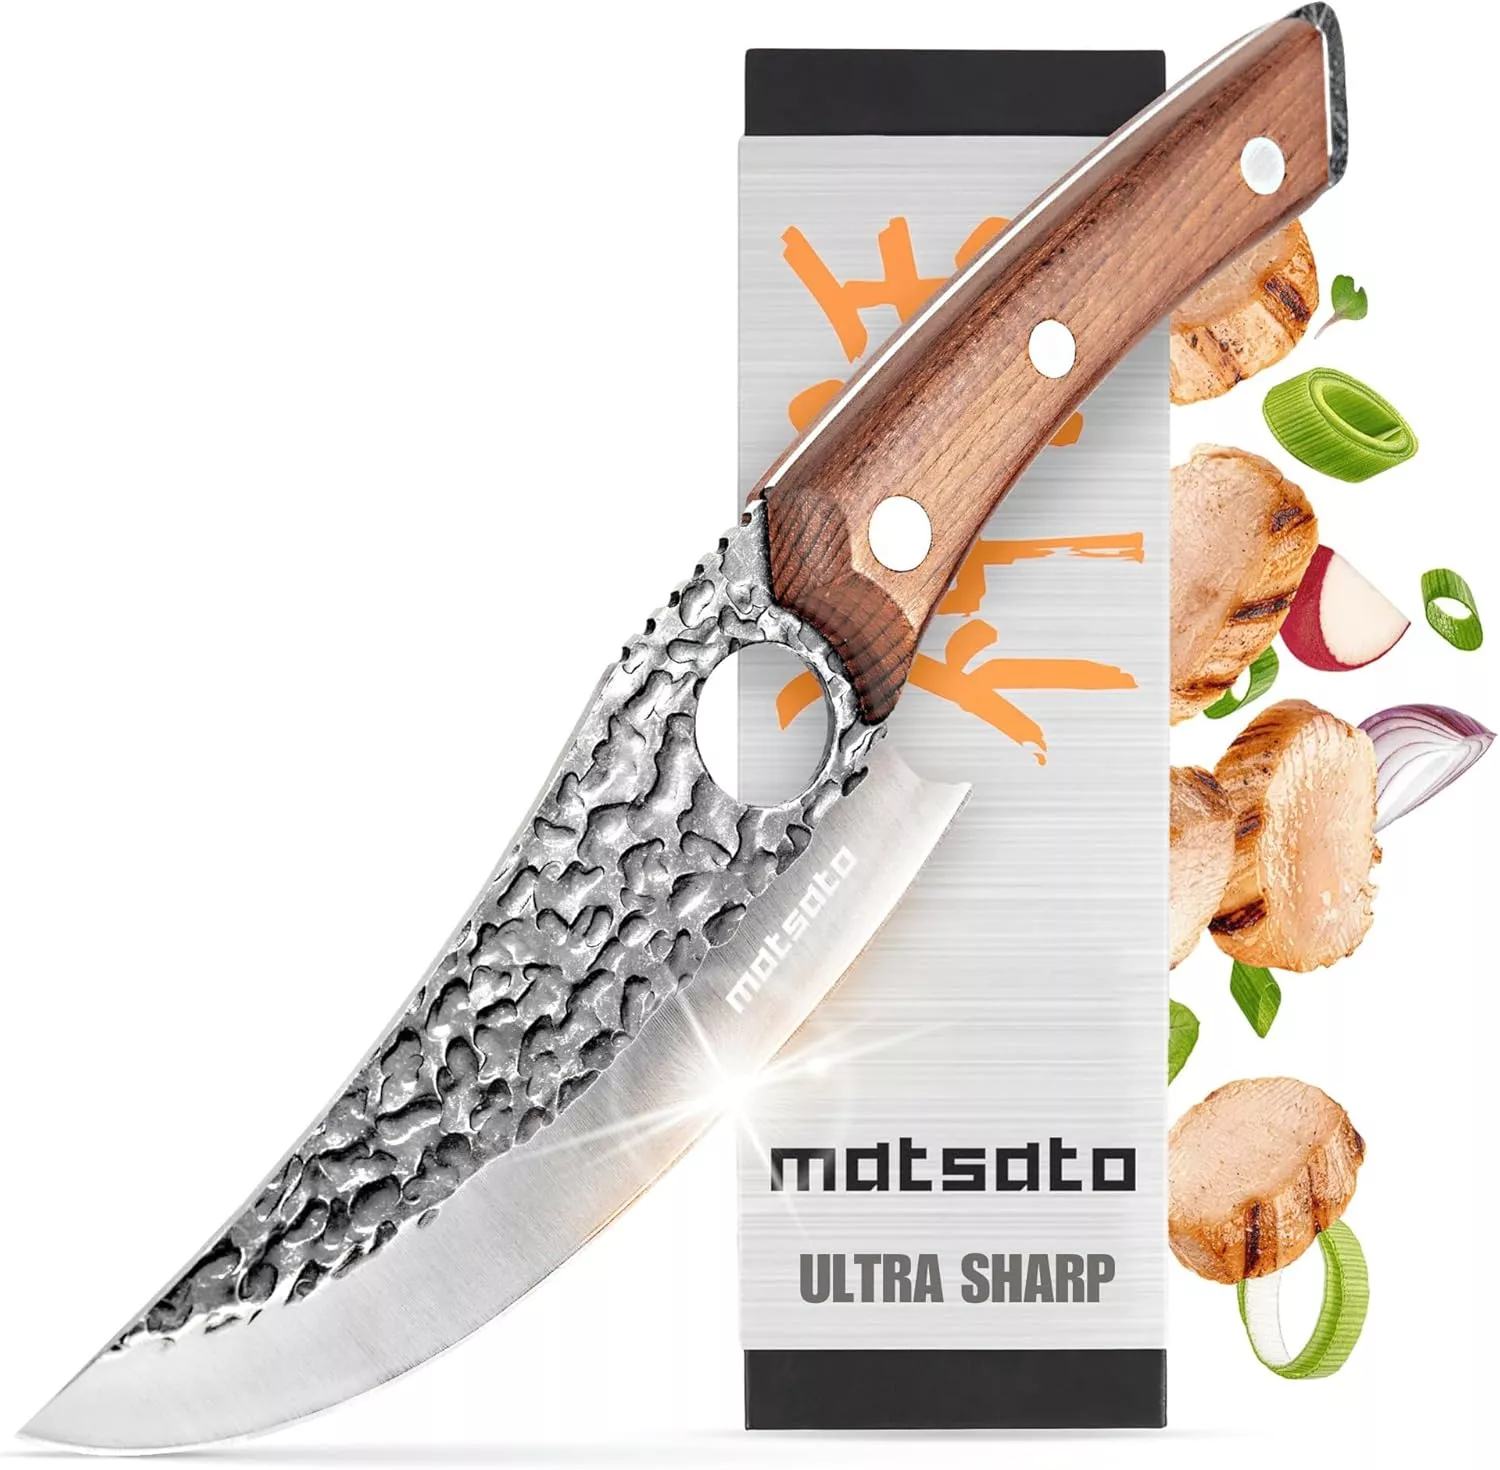
- Stays Razor-Sharp: Ice-hardened blade keeps its edge longer than ordinary knives
- Superior Grip Control: Unique finger hole design gives you perfect balance and safety
- Built to Last a Lifetime: Premium stainless steel blade with elegant beech wood handle
Customer Reviews ★★★★★
Use Colorful Plates
- Choose vibrant plates that complement the red, white, and blue theme of the cones. This adds visual appeal and enhances the festive atmosphere.
Add Fresh Mint Leaves
- Garnish each cone with a sprig of fresh mint. The green color provides a nice contrast and adds a refreshing flavor that pairs well with the fruit.
Serve with Dipping Sauces
- Place small bowls of yogurt or chocolate sauce alongside the cones. Guests can dip their cones for an extra treat.
Create a Fruit Stand
- Arrange the cones in a decorative stand or bucket filled with ice. This keeps them chilled and adds an attractive display to your table.
Include Fun Napkins
- Offer themed napkins featuring stars and stripes. This small detail ties into the holiday spirit and makes cleanup easy.
Offer Extra Toppings
- Provide additional toppings like granola or coconut flakes on the side. Guests can customize their cones according to their preferences.

How to Perfect Patriotic Fruit Cones
To ensure your Patriotic Fruit Cones turn out beautifully every time, consider these helpful tips for assembling them perfectly.
-
Choose Fresh Ingredients: Select ripe berries for the best flavor and appearance. Fresh fruit not only tastes better but also looks more appealing in your cones.
-
Melt Chocolate Carefully: When melting white chocolate, do so gently to avoid burning it. Use a microwave in short intervals or a double boiler for best results.
-
Layer Thoughtfully: Alternate layers of yogurt and fruit carefully to create a beautiful visual effect. This layering technique enhances both taste and presentation.
-
Chill Before Serving: Make sure to chill your assembled cones before serving. This helps set the layers and keeps everything fresh and cool during warm weather.
Best Side Dishes for Patriotic Fruit Cones
Pairing delicious side dishes with your Patriotic Fruit Cones can complete your meal perfectly. Here are some tasty options that complement this festive dessert:
-
Grilled Corn on the Cob: Sweet corn grilled to perfection provides a smoky flavor that balances the sweetness of the fruit cones.
-
Caprese Salad Skewers: Fresh mozzarella, basil, and cherry tomatoes on skewers make for a colorful, bite-sized treat.
-
BBQ Chicken Sliders: These mini sandwiches offer hearty satisfaction alongside lighter desserts like fruit cones.
-
Potato Salad: A classic side dish that brings creamy texture and savory flavors to complement your sweet dessert.
-
Watermelon Feta Salad: This refreshing salad combines juicy watermelon with feta cheese for a sweet-savory experience that’s perfect for summer.
-
Deviled Eggs: A crowd-pleasing appetizer that is easy to prepare ahead of time, adding protein-rich goodness to your spread.
-
Veggie Platter with Hummus: Crisp veggies paired with creamy hummus offer a healthy crunch that contrasts nicely with sweet treats.
-
Pasta Salad: A light pasta salad tossed with fresh vegetables creates a satisfying side dish bursting with flavor.
Common Mistakes to Avoid
Creating Patriotic Fruit Cones can be simple, but there are common pitfalls to watch out for.
- Overheating chocolate: Melting the white chocolate too quickly can cause it to seize. Use low heat and stir constantly to avoid this mistake.
- Skipping refrigeration: Not allowing the chocolate to harden before filling the cones can lead to a messy presentation. Always refrigerate them for at least 10 minutes.
- Ignoring fruit freshness: Using overripe or moldy fruit can ruin your dessert. Check your berries for freshness before use.
- Uneven layering: Filling the cones unevenly can make them difficult to eat. Layer yogurt and fruit evenly for a balanced cone.
- Using wrong containers: Not having sturdy cups or bowls to hold the cones may result in spills. Choose heavy containers that can support the cones upright.
Storage & Reheating Instructions
Refrigerator Storage
- Store in an airtight container for up to 2 days.
- Keep the cones upright to maintain shape and presentation.
Freezing Patriotic Fruit Cones
- Freeze for up to 1 month if you want a chilled treat.
- Wrap each cone tightly in plastic wrap before placing them in a freezer-safe bag.
Reheating Patriotic Fruit Cones
- Oven: Preheat your oven to 350°F (175°C) and warm them for about 5 minutes. This method is not typically recommended, as they are best served cold.
- Microwave: Heat on low power for about 10-15 seconds if needed, but be cautious not to melt the yogurt or fruit.
- Stovetop: This method is not applicable, as these cones should not be heated on the stovetop.
Frequently Asked Questions
What are Patriotic Fruit Cones?
Patriotic Fruit Cones are a festive dessert featuring layers of fruit and yogurt served in waffle cones, perfect for summer celebrations.
How long does it take to make Patriotic Fruit Cones?
The preparation time is about 15 minutes, with a total time of 25 minutes including chilling.
Can I customize my Patriotic Fruit Cones?
Absolutely! You can swap fruits based on what’s in season or add toppings like granola or nuts for extra crunch.
Are Patriotic Fruit Cones healthy?
Yes, they are a healthier alternative to traditional desserts, offering fresh fruits and yogurt in a fun presentation.
Final Thoughts
Patriotic Fruit Cones are not only visually appealing but also delicious and healthy. They make an excellent choice for summer gatherings or 4th of July celebrations. Feel free to customize your cones with different fruits or toppings based on your preferences!
Did You Enjoy Making This Recipe? Please rate this recipe with ⭐⭐⭐⭐⭐ or leave a comment.
📖 Recipe Card
Print
Patriotic Fruit Cones
- Total Time: 0 hours
- Yield: Makes 6 servings 1x
Description
Patriotic Fruit Cones are a delightful and healthy dessert that perfectly embodies the spirit of summer celebrations, especially during Independence Day festivities. These colorful cones, filled with vibrant layers of fresh berries and creamy yogurt, not only add a festive touch to your table but also offer a fun and interactive way for guests to enjoy a nutritious treat. With their eye-catching presentation and delicious flavor, these cones are sure to impress at any gathering. Plus, they’re simple to make, making them an ideal choice for busy summer days or family get-togethers.
Ingredients
- 1 cup white chocolate melting wafers
- 6 waffle cones
- ¼ cup red and blue sugar sprinkles
- 2 cups white yogurt (unflavored or vanilla)
- 1 cup raspberries
- 1 cup blueberries
- 1 cup small strawberries
Instructions
- Melt the white chocolate in a heat-safe bowl according to package directions.
- Dip the top of each waffle cone into the melted chocolate and let excess drip off.
- Quickly sprinkle red and blue sugar over the chocolate-covered tops and place cones upright in cups.
- Refrigerate cones for about 10 minutes until chocolate hardens.
- Once hardened, fill each cone by layering yogurt and fruit, ending with fruit on top.
- Serve chilled for a refreshing dessert.
- Prep Time: 15 minutes
- Cook Time: N/A
- Category: Dessert
- Method: No Baking
- Cuisine: American
Nutrition
- Serving Size: 1 cone
- Calories: 180
- Sugar: 20g
- Sodium: 50mg
- Fat: 6g
- Saturated Fat: 3g
- Unsaturated Fat: 2g
- Trans Fat: 0g
- Carbohydrates: 30g
- Fiber: 2g
- Protein: 4g
- Cholesterol: 5mg