This Quick and Easy No-Knead Bread is the answer to your craving for fresh, homemade bread without the hassle. Ideal for busy weeknights or weekend gatherings, this recipe combines simplicity with incredible flavor. With just a few ingredients and no kneading required, you’ll enjoy a crusty loaf that rivals bakery bread in taste and texture.

Jump to:
- Why You’ll Love This Recipe
- Tools and Preparation
- Essential Tools and Equipment
- Importance of Each Tool
- Ingredients
- For the Bread
- For Garnish
- How to Make Quick and Easy No-Knead Bread
- Step 1: Mix the Dough
- Step 2: Let the Dough Rise
- Step 3: Preheat the Oven
- Step 4: Shape the Dough
- Step 5: Transfer to Parchment Paper
- Step 6: Bake the Bread
- Step 7: Finish Baking
- Step 8: Cool and Serve
- How to Serve Quick and Easy No-Knead Bread
- Toasted with Toppings
- As a Sandwich Base
- With Soups and Salads
- How to Perfect Quick and Easy No-Knead Bread
- Best Side Dishes for Quick and Easy No-Knead Bread
- Common Mistakes to Avoid
- Storage & Reheating Instructions
- Refrigerator Storage
- Freezing Quick and Easy No-Knead Bread
- Reheating Quick and Easy No-Knead Bread
- Frequently Asked Questions
- Can I use all-purpose flour instead of bread flour?
- How do I know when my bread is done baking?
- What if my dough didn’t rise?
- Can I add herbs or cheese to this no-knead bread?
- How long does this bread last after baking?
- Final Thoughts
- 📖 Recipe Card
Why You’ll Love This Recipe
- Simple Preparation: With minimal hands-on time, this recipe is perfect for beginners.
- No Kneading Required: Say goodbye to the mess of kneading—just mix and let it rise!
- Versatile Serving Options: Great for sandwiches, toast, or as a side with soups and salads.
- Crusty Exterior and Chewy Interior: Enjoy a delightful contrast in textures that makes every bite satisfying.
- Quick Baking Time: From start to finish, you can have fresh bread in under three hours.
Tools and Preparation
Having the right tools makes this recipe even easier. Here’s what you need to get started.
Essential Tools and Equipment
Importance of Each Tool
- Mixing bowl: A large bowl allows for easy mixing of ingredients without spills.
- Dutch oven with lid: This creates a steamy environment, perfect for achieving that crusty bread texture.
- Wooden spoon or spatula: These tools help combine your dough without overworking it.
Ingredients
This crusty, chewy bread is made from just four simple ingredients:
Grab This Chef Knife Now - Almost Gone!
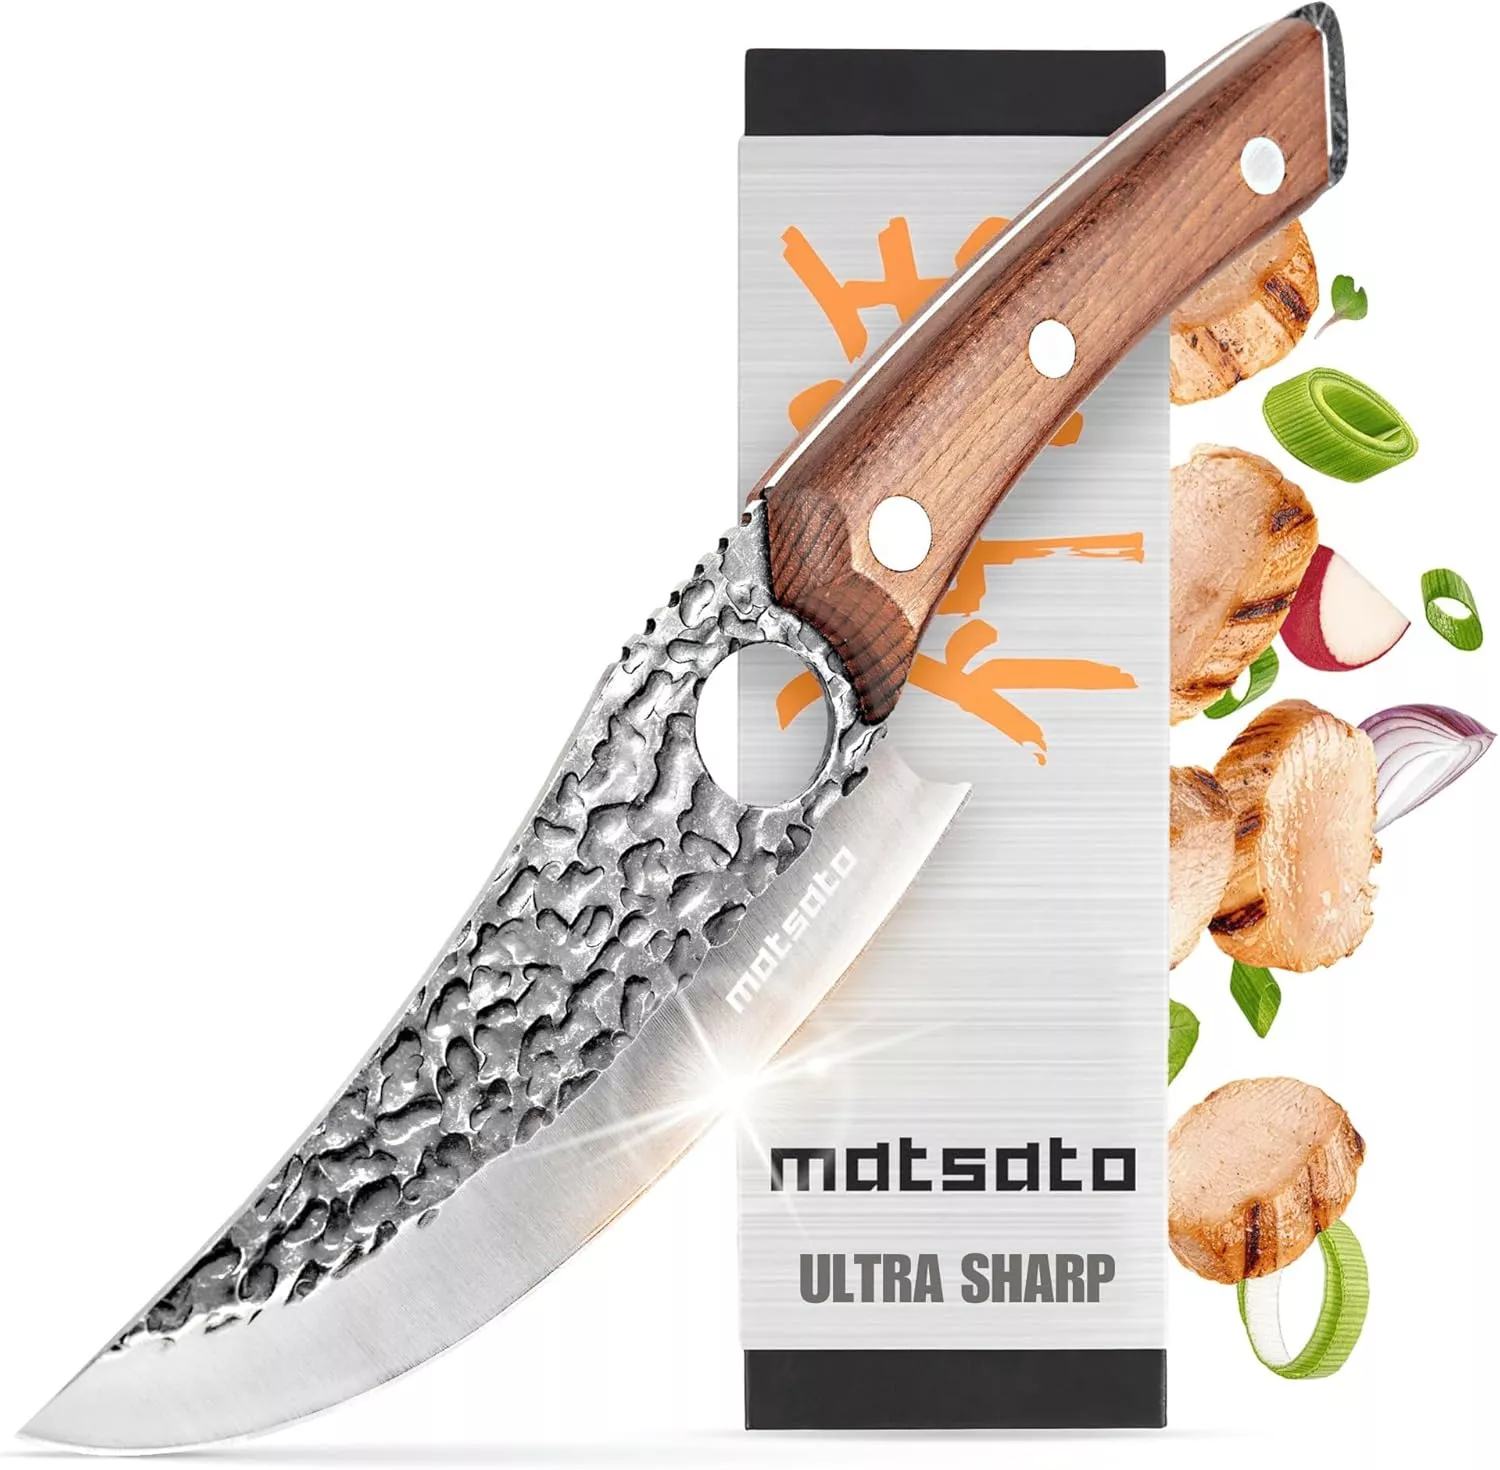
- Stays Razor-Sharp: Ice-hardened blade keeps its edge longer than ordinary knives
- Superior Grip Control: Unique finger hole design gives you perfect balance and safety
- Built to Last a Lifetime: Premium stainless steel blade with elegant beech wood handle
Customer Reviews ★★★★★
For the Bread
- 3 cups bread flour
- 1 packet (2 teaspoons) rapid rise yeast
- 1 ½ teaspoons salt
- 1 ½ cups warm water
For Garnish
- 2 tablespoons fresh parsley, finely chopped

How to Make Quick and Easy No-Knead Bread
Step 1: Mix the Dough
In a large mixing bowl, combine the flour, rapid rise yeast, and salt. Add the warm water and mix with a wooden spoon or spatula until a sticky dough forms. This is normal—don’t worry if it looks messy!
Step 2: Let the Dough Rise
Cover the bowl with a damp cloth. Let the dough rest in a draft-free place (like a turned-off oven) for 2-3 hours, or until it doubles in volume.
Step 3: Preheat the Oven
A few minutes before rising time is complete, preheat your oven to 450°F (232°C). Place your Dutch oven (with the lid on) inside to heat while preheating.
Step 4: Shape the Dough
Lightly sprinkle flour on your countertop. Turn the dough out onto it. Gently fold the sides of the dough inward about six times to form a round loaf. If it’s sticky, dust your hands lightly with flour.
Step 5: Transfer to Parchment Paper
Use a dough scraper or large knife to transfer the dough onto a piece of parchment paper. Leave enough hanging over the sides to lift later.
Step 6: Bake the Bread
Carefully remove the hot Dutch oven from your oven. Using parchment paper, transfer the dough into it and place the lid on top. Bake for 30 minutes with the lid on.
Step 7: Finish Baking
After 30 minutes, remove the lid and bake for an additional 15 minutes or until golden brown.
Step 8: Cool and Serve
Remove bread from Dutch oven using parchment paper. Let it cool on a wire rack before slicing. Enjoy your delicious homemade bread!
How to Serve Quick and Easy No-Knead Bread
Quick and Easy No-Knead Bread is versatile and pairs well with many dishes. Whether you’re serving it as an accompaniment or using it in creative ways, there are plenty of options to enjoy this delightful bread.
Toasted with Toppings
- Avocado Toast: Spread mashed avocado on a slice of toasted bread for a nutritious snack.
- Garlic Butter: Slather warm slices with garlic-infused butter for a savory treat.
- Hummus and Veggies: Serve the bread with hummus and fresh veggies for a healthy appetizer.
As a Sandwich Base
- Classic BLT: Layer crispy bacon, lettuce, and tomato for a delicious sandwich.
- Grilled Cheese: Melt your favorite cheese between two slices of this crusty bread for comfort food.
- Turkey and Cranberry: Use this bread to make a festive turkey sandwich with cranberry sauce.
With Soups and Salads
- Dipping Bread: Serve alongside soups like tomato basil or minestrone for perfect dipping.
- Salad Companion: Pair with a fresh garden salad to make the meal complete.
How to Perfect Quick and Easy No-Knead Bread
To achieve the best results with your Quick and Easy No-Knead Bread, consider these helpful tips.
- Use Quality Ingredients: Fresh bread flour and yeast make a noticeable difference in flavor and texture.
- Measure Accurately: Precision is key. Use a kitchen scale if possible to ensure correct measurements.
- Allow Full Rising Time: Don’t rush the rising process; let the dough double in size for optimal structure.
- Preheat Your Dutch Oven: A hot Dutch oven creates steam, leading to a crusty exterior.
- Cool Before Slicing: Let the bread cool completely on a wire rack before cutting to maintain its texture.

Best Side Dishes for Quick and Easy No-Knead Bread
Quick and Easy No-Knead Bread pairs wonderfully with various side dishes that enhance any meal. Here are some top choices to consider.
- Roasted Vegetables: A medley of seasonal veggies adds color and flavor, perfectly complementing the bread.
- Caesar Salad: This classic salad offers crisp romaine lettuce topped with creamy dressing, great alongside slices of bread.
- Potato Soup: Rich, creamy potato soup makes an ideal dipper for your crusty loaf.
- Bruschetta Topping: Fresh tomatoes, basil, and olive oil on toasted bread create a refreshing starter.
- Chili Con Carne: Hearty chili served with warm slices of no-knead bread creates a comforting meal.
- Cheese Platter: A selection of cheeses paired with fruit can elevate your no-knead bread experience into an elegant appetizer.
Common Mistakes to Avoid
Making Quick and Easy No-Knead Bread can be simple, but avoiding common mistakes will ensure your bread turns out perfect every time.
- Neglecting the Rising Time: If you don’t let the dough rise long enough, your bread will be dense. Always allow it to double in volume, usually 2-3 hours.
- Using Cold Water: Cold water can slow down yeast activity. Make sure to use warm water (around 110°F) for the best results.
- Over-flouring the Dough: Adding too much flour can lead to dry bread. The dough should be sticky; resist the urge to add extra flour while handling it.
- Skipping Preheating the Dutch Oven: Not preheating can result in a loaf that doesn’t have a crispy crust. Always heat your Dutch oven while the oven preheats.
- Not Using Parchment Paper: Transferring dough without parchment paper can be tricky. Always lay out parchment paper to make lifting easier.
Storage & Reheating Instructions
Refrigerator Storage
- Store in an airtight container or tightly wrapped in plastic wrap.
- Quick and Easy No-Knead Bread can last up to 3 days in the refrigerator.
Freezing Quick and Easy No-Knead Bread
- Wrap slices tightly in aluminum foil or plastic wrap, then place them in a freezer bag.
- It can be frozen for up to 3 months for best quality.
Reheating Quick and Easy No-Knead Bread
- Oven: Preheat your oven to 350°F (175°C). Wrap the bread in foil and heat for about 10-15 minutes.
- Microwave: Place a slice on a microwave-safe plate, cover it with a damp paper towel, and heat for about 10-15 seconds.
- Stovetop: Heat a skillet over low heat and toast each side of the slice for about 1-2 minutes until warmed through.

Frequently Asked Questions
Here are some frequently asked questions about making Quick and Easy No-Knead Bread.
Can I use all-purpose flour instead of bread flour?
Yes, you can use all-purpose flour; however, bread flour gives a better texture due to its higher protein content.
How do I know when my bread is done baking?
Your bread is done when it has a golden-brown crust and sounds hollow when tapped on the bottom.
What if my dough didn’t rise?
If your dough didn’t rise, it might be due to inactive yeast. Ensure your yeast is fresh and that you used warm water.
Can I add herbs or cheese to this no-knead bread?
Absolutely! Feel free to customize your Quick and Easy No-Knead Bread by adding herbs, spices, or cheese before baking.
How long does this bread last after baking?
Once baked, Quick and Easy No-Knead Bread lasts about 3 days at room temperature or up to 3 months in the freezer.
Final Thoughts
This Quick and Easy No-Knead Bread recipe is perfect for anyone looking for delicious homemade bread without the hassle. Its simple ingredients and forgiving process make it ideal for beginners. Feel free to customize with herbs or spices for added flavor!
Did You Enjoy Making This Recipe? Please rate this recipe with ⭐⭐⭐⭐⭐ or leave a comment.
📖 Recipe Card
Print
Quick and Easy No-Knead Bread
- Total Time: 55 minutes
- Yield: Approximately 12 servings 1x
Description
Discover the joy of baking with this Quick and Easy No-Knead Bread recipe! Ideal for both novices and seasoned bakers, this straightforward method delivers a rustic loaf that’s perfect for any occasion. With minimal effort and just four simple ingredients, you can create a crusty exterior and a soft, chewy interior that rivals your favorite bakery bread. Whether you’re enjoying it as toast in the morning, making sandwiches at lunch, or serving it alongside dinner soups and salads, this versatile bread is sure to impress. Best of all, no kneading is required—just mix, let rise, and bake for a delightful homemade treat!
Ingredients
- 3 cups bread flour
- 1 packet (2 teaspoons) rapid rise yeast
- 1 ½ teaspoons salt
- 1 ½ cups warm water
Instructions
- In a large mixing bowl, combine bread flour, rapid rise yeast, and salt. Add warm water and stir until a sticky dough forms.
- Cover the bowl with a damp cloth and let it rise in a warm place until doubled in size (about 2-3 hours).
- Preheat your oven to 450°F (232°C) with the Dutch oven inside.
- On a floured surface, gently fold the dough into a round shape.
- Transfer the dough onto parchment paper and carefully place it in the hot Dutch oven.
- Bake covered for 30 minutes; then uncover and bake for an additional 15 minutes until golden brown.
- Cool on a wire rack before slicing.
- Prep Time: 10 minutes
- Cook Time: 45 minutes
- Category: Bread
- Method: Baking
- Cuisine: American
Nutrition
- Serving Size: 1 slice (50g)
- Calories: 140
- Sugar: 0g
- Sodium: 300mg
- Fat: 0.5g
- Saturated Fat: 0g
- Unsaturated Fat: 0.5g
- Trans Fat: 0g
- Carbohydrates: 28g
- Fiber: 1g
- Protein: 4g
- Cholesterol: 0mg