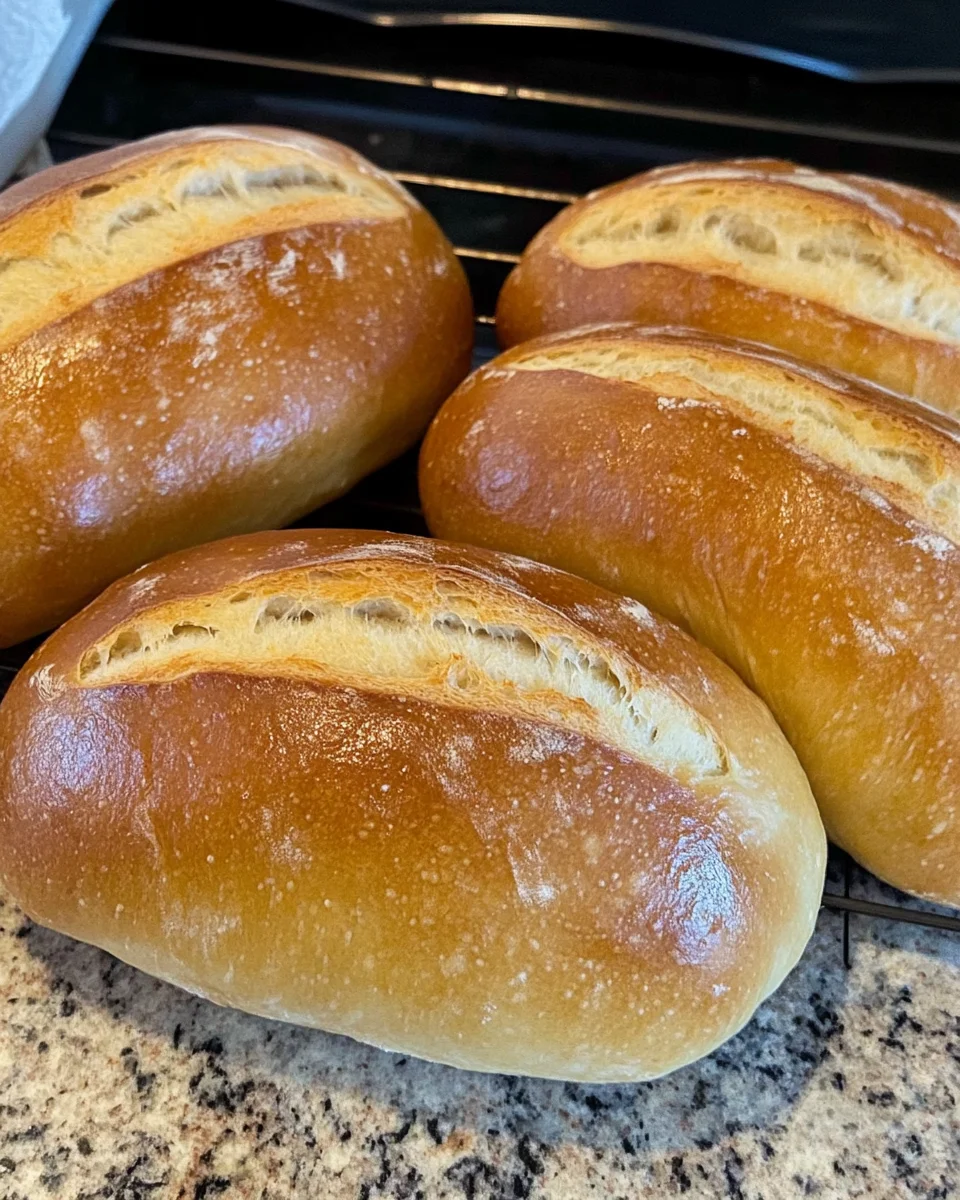
This Soft Sourdough Sandwich Bread is a delightful addition to your kitchen. With its fluffy texture and soft crust, it’s perfect for making sandwiches, avocado toast, or even French toast. This no-fuss recipe is easy to follow and requires only 10 minutes of active effort, although the entire process takes about 24 hours. Whether it’s a cozy weekend brunch or a quick weekday lunch, this sourdough bread fits seamlessly into any occasion.
Jump to:
- Why You’ll Love This Recipe
- Tools and Preparation
- Essential Tools and Equipment
- Importance of Each Tool
- Ingredients
- For Pre-ferment
- For the Dough
- How to Make Soft Sourdough Sandwich Bread
- Step 1: Feed Sourdough Starter
- Step 2: Combine Pre-ferment Ingredients
- Step 3: Mix the Dough
- Step 4: First Rise
- Step 5: Shape the Loaves
- Step 6: Second Rise
- Step 7: Bake
- Step 8: Cool and Enjoy
- How to Serve Soft Sourdough Sandwich Bread
- Classic Sandwiches
- Breakfast Options
- Party Platters
- How to Perfect Soft Sourdough Sandwich Bread
- Best Side Dishes for Soft Sourdough Sandwich Bread
- Common Mistakes to Avoid
- Storage & Reheating Instructions
- Refrigerator Storage
- Freezing Soft Sourdough Sandwich Bread
- Reheating Soft Sourdough Sandwich Bread
- Frequently Asked Questions
- How can I make my Soft Sourdough Sandwich Bread fluffier?
- Can I use whole wheat flour instead of all-purpose?
- How do I know when my dough has risen enough?
- What can I use if I don’t have a stand mixer?
- Can I add ingredients like herbs or cheese?
- Final Thoughts
- 📖 Recipe Card
Why You’ll Love This Recipe
- Fluffy Texture: The combination of sourdough starter and long fermentation gives this bread an incredible lightness.
- Versatile Uses: Perfect for sandwiches, toast, or served with butter and jam, it suits any meal.
- Simple Process: No need for stretching or folding; this recipe is straightforward and beginner-friendly.
- Long Shelf Life: This bread stays fresh longer than traditional breads when stored properly.
- Health Benefits: The fermentation process enhances digestibility and adds beneficial probiotics.
Tools and Preparation
Before you start baking your soft sourdough sandwich bread, gather the necessary tools to ensure smooth preparation.
Essential Tools and Equipment
- Stand mixer with dough hook
- Mixing bowls
- Measuring cups
- Loaf pans
- Plastic wrap or towel
- Cooling rack
Importance of Each Tool
- Stand mixer with dough hook: Makes mixing the dough easier and more efficient, ensuring proper gluten development.
- Mixing bowls: Essential for combining ingredients and allowing the dough to rise comfortably.
- Loaf pans: Help shape the bread while it rises and bakes evenly.
Ingredients
For Pre-ferment
- 2 cups active sourdough starter
- 2 cups water, milk, or buttermilk (warm if your house is cool)
- 3 cups all-purpose or bread flour
For the Dough
- 1/4 cup fat (butter, oil, melted coconut oil, or beef tallow; warm if the house is cool)
- 1/2 cup sweetener (honey or sugar)
- 4 teaspoons salt
- 3 cups milk or buttermilk (any kind; warm if the house is cool)
- 9–11 cups all-purpose or bread flour
How to Make Soft Sourdough Sandwich Bread
Step 1: Feed Sourdough Starter
Feed your sourdough starter by combining no more than 1/2 cup of starter with 2 cups flour and about 1 1/3 cups warm water. Let it sit at room temperature until it becomes active and rises to the top. Once it’s ready, move on to the next step.
Step 2: Combine Pre-ferment Ingredients
In the bowl of your stand mixer, combine 2 cups milk or buttermilk, 2 cups active sourdough starter, and 3 cups flour. Mix on low speed with the dough hook attachment for about 1 minute. Cover this mixture and allow it to ferment overnight at room temperature.
Step 3: Mix the Dough
The next morning, add the fat, sweetener, salt, and milk to the pre-ferment mixture. Start mixing on low speed until partially combined. Gradually add in 5 cups of flour while mixing on medium speed for about 5–10 minutes to develop gluten. Keep adding an additional 4–6 cups of flour until the dough pulls away from the sides of the bowl but remains slightly sticky. Continue mixing for another 2–3 minutes.
Step 4: First Rise
Transfer your dough to a large oiled mixing bowl. Cover it with a towel or plastic wrap and let it rise in a warm area for about 2–3 hours until it doubles in size. If it’s cold outside, this might take longer.
Step 5: Shape the Loaves
Once risen, punch down the dough gently and transfer it to a lightly floured surface. Divide it into four equal pieces. Flatten each piece into a rectangle before folding corner edges inward to form a triangle shape. Roll each piece away from you to create loaves while tucking edges under as necessary. Place these formed loaves into greased loaf pans.
Step 6: Second Rise
Cover your loaves again and let them rise until they are just above the edges of their pans. This typically takes around 2–3 hours; monitor closely to avoid over-proofing.
Step 7: Bake
Preheat your oven to 375°F (190°C). Using a sharp knife or lame, slash across the tops of each loaf for expansion during baking. Bake them for approximately 30 minutes or until they reach an internal temperature of 190°F (88°C).
Step 8: Cool and Enjoy
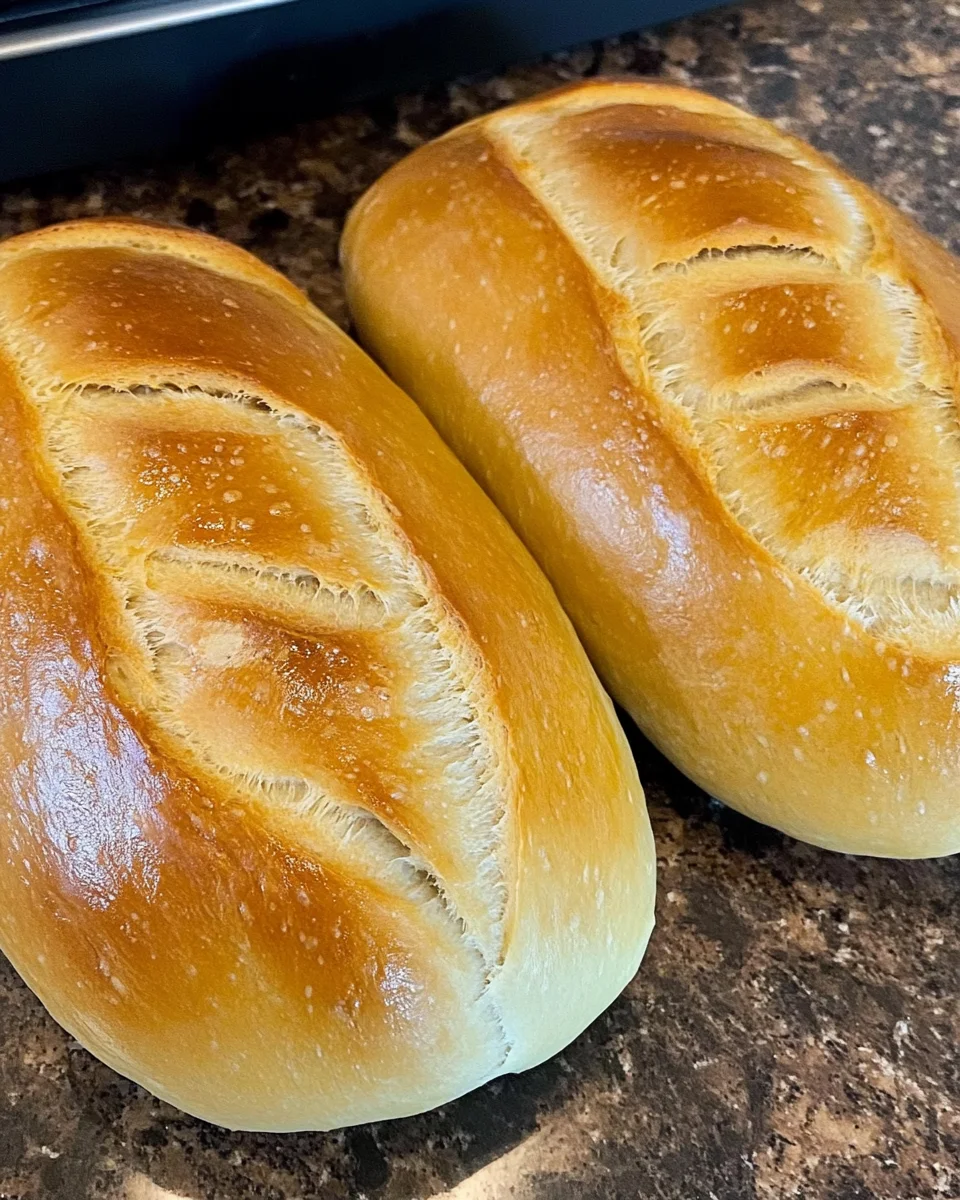
After baking, remove loaves from their pans and place them on a cooling rack. Brush tops with butter while still warm to keep crusts soft. Allow them to cool completely before slicing for best results! Enjoy with butter and jam or use in sandwiches—this soft sourdough sandwich bread shines in every application!
How to Serve Soft Sourdough Sandwich Bread
Soft sourdough sandwich bread is incredibly versatile and can elevate any meal. Here are some delicious serving suggestions that highlight its fluffy texture and soft crust.
Classic Sandwiches
- Turkey and Avocado: Layer sliced turkey, creamy avocado, and fresh spinach for a nutritious lunch.
- Grilled Cheese: Melt your favorite cheese between slices for a comforting classic.
- PB&J: Spread peanut butter and jelly for a nostalgic snack enjoyed by all ages.
Breakfast Options
- French Toast: Dip slices in egg mixture and cook on a skillet for a sweet breakfast treat.
- Toast with Toppings: Top with butter and jam, or create an avocado toast with a sprinkle of salt and pepper.
Party Platters
- Mini Sandwiches: Cut the bread into smaller pieces to make bite-sized sandwiches perfect for gatherings.
- Bread Bowls: Hollow out the center of a loaf to serve dips or soups, adding flair to your presentation.
How to Perfect Soft Sourdough Sandwich Bread
Achieving the perfect soft sourdough sandwich bread requires attention to detail and some helpful tips. Here are some ways to ensure your loaves turn out great every time.
- Bold Starter: Ensure your sourdough starter is active before beginning. A strong starter will give your bread better rise and flavor.
- Bold Temperature Control: Use warm liquids in cooler weather to help the dough rise effectively. Keep an eye on it during warmer months to avoid over-proofing.
- Bold Proper Kneading: Knead the dough until it is only slightly sticky. This helps develop gluten for a light texture.
- Bold Patience with Rises: Allow ample time for both rises; don’t rush this process as it enhances flavor and texture.
- Bold Cooling Period: Let the bread cool completely before slicing. This prevents gummy slices and helps maintain structure.
Best Side Dishes for Soft Sourdough Sandwich Bread
Soft sourdough sandwich bread pairs well with various side dishes that complement its rich flavors. Consider these options when planning your meals.
- Salad Greens: A fresh mixed greens salad adds brightness and crunch alongside sandwiches.
- Soup of the Day: Pair with a hearty soup like tomato or butternut squash for a comforting meal.
- Pickles or Olives: These tangy snacks provide a nice contrast to the soft bread.
- Roasted Vegetables: A side of roasted veggies adds color and nutrients to your meal.
- Chips or Crisps: Crunchy chips offer satisfying texture alongside any sandwich.
- Fruit Platter: Fresh fruit can balance out savory dishes with sweetness, making it an excellent side option.
Common Mistakes to Avoid
Baking soft sourdough sandwich bread can be delightful, but there are common pitfalls to watch out for.
- Bold Starter: Not using an active starter can lead to dense bread. Make sure your sourdough starter is bubbly and has been fed recently before beginning the recipe.
- Bold Temperature Control: Using cold liquids can slow down fermentation. Always use warm milk or water, especially in cooler environments, to help the dough rise properly.
- Bold Flour Measurement: Adding too much flour will make the bread dry. Measure flour accurately using the spoon-and-level method rather than scooping directly from the bag.
- Bold Over-proofing: Allowing the dough to rise for too long can result in flat loaves. Keep an eye on your dough during its rise; it should double in size but not overflow.
- Bold Skipping Cooling Time: Cutting into warm bread can lead to gummy slices. Let your bread cool completely on a rack before slicing to achieve perfect texture.
Storage & Reheating Instructions
Refrigerator Storage
- Store in a plastic bag or airtight container for up to 1 week.
- Keep it away from direct sunlight and heat sources.
Freezing Soft Sourdough Sandwich Bread
- Wrap slices individually in plastic wrap or use freezer bags.
- Freeze for up to 3 months for best quality.
Reheating Soft Sourdough Sandwich Bread
- Bold Oven: Preheat your oven to 350°F (175°C) and bake for about 10 minutes for a fresh taste.
- Bold Microwave: Heat on medium power for 10-15 seconds per slice; cover with a damp paper towel to retain moisture.
- Bold Stovetop: Toast slices in a skillet over medium heat until golden brown, enhancing flavor and texture.
Frequently Asked Questions
Here are some common questions about making soft sourdough sandwich bread.
How can I make my Soft Sourdough Sandwich Bread fluffier?
To make your bread fluffier, ensure your sourdough starter is very active before mixing the ingredients. Additionally, incorporate enough flour gradually until the dough is just slightly sticky.
Can I use whole wheat flour instead of all-purpose?
Yes, you can substitute whole wheat flour, but it may affect the texture. For best results, blend half whole wheat and half all-purpose flour.
How do I know when my dough has risen enough?
The dough should approximately double in size and feel airy when poked gently. If it springs back slowly, it’s ready to shape.
What can I use if I don’t have a stand mixer?
You can mix and knead the dough by hand using a bowl and your hands or a wooden spoon. Just be prepared for a bit more effort!
Can I add ingredients like herbs or cheese?
Absolutely! Feel free to customize your soft sourdough sandwich bread by adding herbs, cheeses, or spices during the mixing stage for extra flavor.
Final Thoughts
This soft sourdough sandwich bread recipe offers delicious versatility, ideal for sandwiches or toast. Its simple preparation process makes it accessible for any home baker. Don’t hesitate to customize it with your favorite flavors or toppings!
Did You Enjoy Making This Recipe? Please rate this recipe with ⭐⭐⭐⭐⭐ or leave a comment.
📖 Recipe Card
Print
Soft Sourdough Sandwich Bread
- Total Time: 40 minutes
- Yield: Approximately 24 servings 1x
Description
Discover the joy of baking with our Soft Sourdough Sandwich Bread, a delightful addition to any meal. This recipe yields a fluffy, tender loaf with a soft crust that elevates sandwiches, avocado toast, and even French toast. With only 10 minutes of active preparation time and a straightforward process, it’s perfect for both beginner and experienced bakers alike. The long fermentation enhances flavor and digestibility while providing beneficial probiotics. Ideal for cozy weekends or quick weekday lunches, this versatile bread is sure to become a staple in your kitchen.
Ingredients
- 2 cups active sourdough starter
- 2 cups warm milk or buttermilk
- 3 cups all-purpose flour (for pre-ferment)
- 1/4 cup fat (butter or oil)
- 1/2 cup sweetener (honey or sugar)
- 4 teaspoons salt
- 9–11 cups all-purpose flour (for dough)
Instructions
- Feed the sourdough starter and let it rise until bubbly.
- In a stand mixer, combine the starter, warm milk, and pre-ferment flour; mix and let ferment overnight.
- The next day, add fat, sweetener, salt, and additional flour; mix until dough is slightly sticky.
- Transfer to an oiled bowl, cover, and let rise until doubled (2-3 hours).
- Shape loaves and place in greased pans; allow for a second rise (2-3 hours).
- Preheat oven to 375°F (190°C), slash tops of loaves, and bake for about 30 minutes.
- Cool on racks before slicing.
- Prep Time: 10 minutes
- Cook Time: 30 minutes
- Category: Bread
- Method: Baking
- Cuisine: American
Nutrition
- Serving Size: 1 slice (45g)
- Calories: 120
- Sugar: 2g
- Sodium: 200mg
- Fat: 3g
- Saturated Fat: 1g
- Unsaturated Fat: 2g
- Trans Fat: 0g
- Carbohydrates: 22g
- Fiber: 1g
- Protein: 4g
- Cholesterol: 5mg


