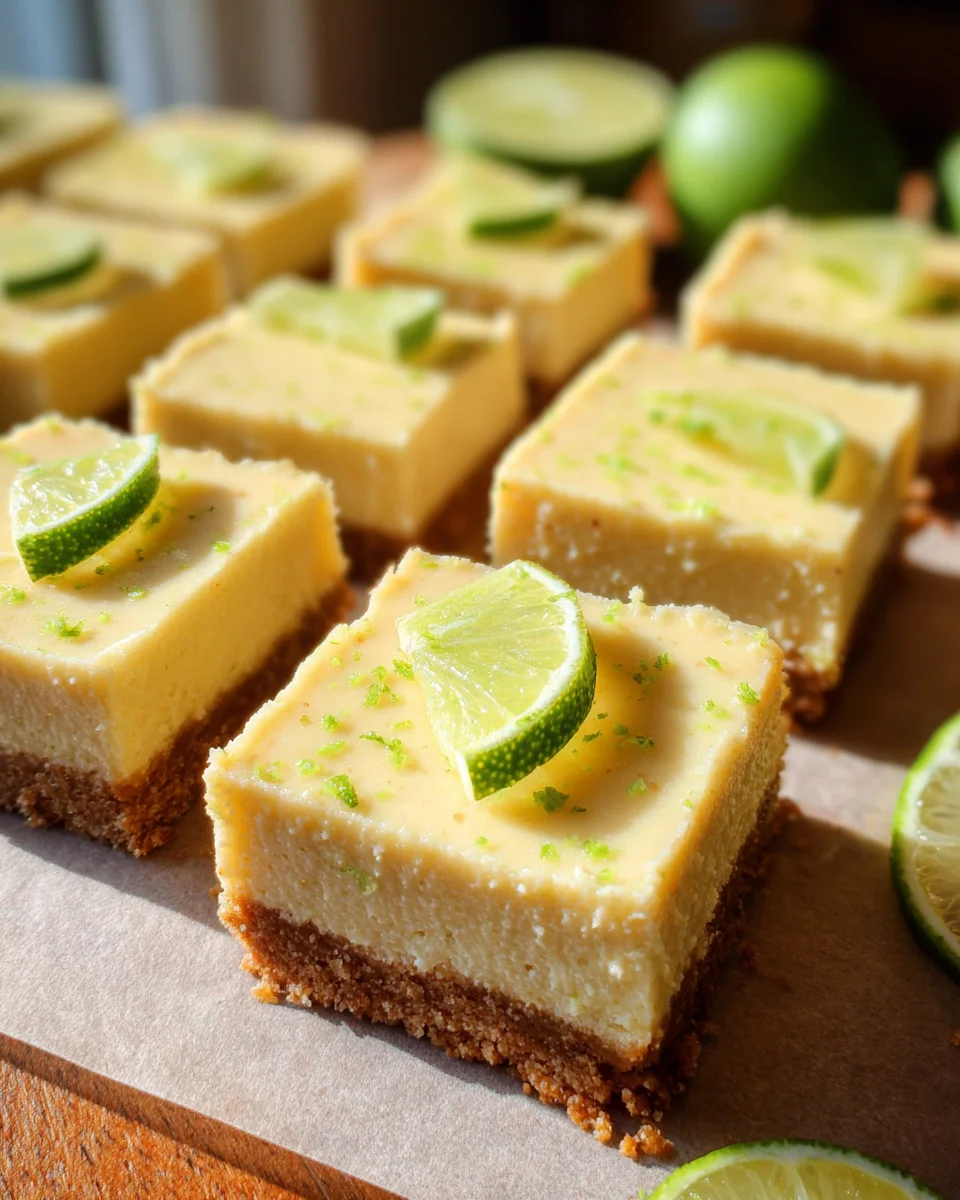
Key lime pie bars are a delightful dessert that perfectly combines a buttery graham cracker crust with a tart and creamy lime filling. These bars are not only easy to make, but they also bring a refreshing taste that is perfect for various occasions, from summer picnics to birthday parties. Their unique flavor profile and convenient bar format make them a standout choice for dessert lovers.
Jump to:
- Why You’ll Love This Recipe
- Tools and Preparation
- Essential Tools and Equipment
- Importance of Each Tool
- Ingredients
- How to Make Key Lime Pie Bars
- Step 1: Preheat the Oven
- Step 2: Prepare the Crust
- Step 3: Make the Filling
- Step 4: Bake Again
- Step 5: Chill Before Serving
- How to Serve Key Lime Pie Bars
- With Fresh Whipped Cream
- Garnished with Lime Zest
- Served with Fresh Berries
- Chilled for Hot Days
- Dusted with Powdered Sugar
- With Coconut Flakes
- How to Perfect Key Lime Pie Bars
- Best Side Dishes for Key Lime Pie Bars
- Common Mistakes to Avoid
- Storage & Reheating Instructions
- Refrigerator Storage
- Freezing Key Lime Pie Bars
- Reheating Key Lime Pie Bars
- Frequently Asked Questions
- What are Key Lime Pie Bars?
- How do I make my Key Lime Pie Bars more tart?
- Can I substitute ingredients in Key Lime Pie Bars?
- How long do Key Lime Pie Bars last?
- Can I use a different crust for my Key Lime Pie Bars?
- Final Thoughts
- 📖 Recipe Card
Why You’ll Love This Recipe
- Easy to Prepare: With simple ingredients and straightforward steps, you will have these delicious bars ready in no time.
- Refreshing Flavor: The tangy key lime filling paired with the sweet crust creates a perfect balance that excites the taste buds.
- Versatile Serving Options: Perfect for any gathering, these bars can be served as a refreshing dessert or a sweet snack.
- Make Ahead Convenience: Chill them ahead of time and serve when you’re ready, making them ideal for busy days.
- Crowd-Pleasing Treat: With their bright flavor and creamy texture, they are sure to be a hit with family and friends.
Tools and Preparation
Before starting your baking adventure, gather the essential tools needed to create these delightful key lime pie bars. Having the right equipment makes the process smoother and ensures great results.
Essential Tools and Equipment
- Food processor
- Mixing bowls
- Hand mixer or stand mixer
- 9×9-inch baking pan
- Aluminum foil or parchment paper
Importance of Each Tool
- Food processor: Ideal for quickly crushing graham crackers into fine crumbs, saving time in prep work.
- Mixing bowls: A must-have for combining ingredients effectively without making a mess.
- Hand mixer or stand mixer: Helps achieve a smooth filling by thoroughly mixing cream cheese and other ingredients effortlessly.
Ingredients
Key lime pie bars are a favorite dessert in a bar – a buttery graham cracker crust and a tart and creamy lime filling!!
Ingredients:
– 15 sheets graham crackers, (or 30 squares)
– 2 tablespoons sugar
– pinch salt
– 6 tablespoons unsalted butter, (melted)
– 6 ounces cream cheese, (room temperature)
– 1 (14-ounce) can sweetened condensed milk
– 4 egg yolks
– 1 tablespoon lime zest
– ½ cup key lime juice, (or regular lime juice)
– ½ teaspoon vanilla extract
How to Make Key Lime Pie Bars
Step 1: Preheat the Oven
Preheat your oven to 350°F. Line a 9×9-inch pan with aluminum foil or parchment paper, ensuring it covers the bottom and sides for easy removal later.
Step 2: Prepare the Crust
- In a food processor or large Ziploc bag, crush the graham crackers until fine crumbs form.
- In a medium mixing bowl, combine the crumbs with sugar, salt, and melted butter. Mix well until combined.
- Press this mixture evenly into the bottom of the lined pan. Bake in the preheated oven for about 10 minutes until slightly golden.
Step 3: Make the Filling
- In another mixing bowl, beat the cream cheese using a hand mixer until smooth.
- Add the sweetened condensed milk gradually while mixing until well incorporated.
- Add egg yolks one at a time, mixing after each addition. Then mix in lime zest, key lime juice, and vanilla extract until smooth.
Step 4: Bake Again
Pour the creamy filling over the hot crust in your pan. Return it to the oven and bake for another 15-18 minutes or until set. The top should not brown.
Step 5: Chill Before Serving
Once baked, remove from oven and allow it to cool. Chill in the refrigerator for at least 2-4 hours before cutting into bars. Store any leftovers in an airtight container in the fridge for up to five days.
Enjoy your homemade key lime pie bars!
How to Serve Key Lime Pie Bars
Key lime pie bars are versatile and can be enjoyed in various ways. Whether you’re serving them at a party or enjoying them as a sweet treat at home, here are some serving suggestions to elevate your dessert experience.
With Fresh Whipped Cream
- Top each bar with a dollop of freshly whipped cream for added creaminess and a touch of sweetness.
Garnished with Lime Zest
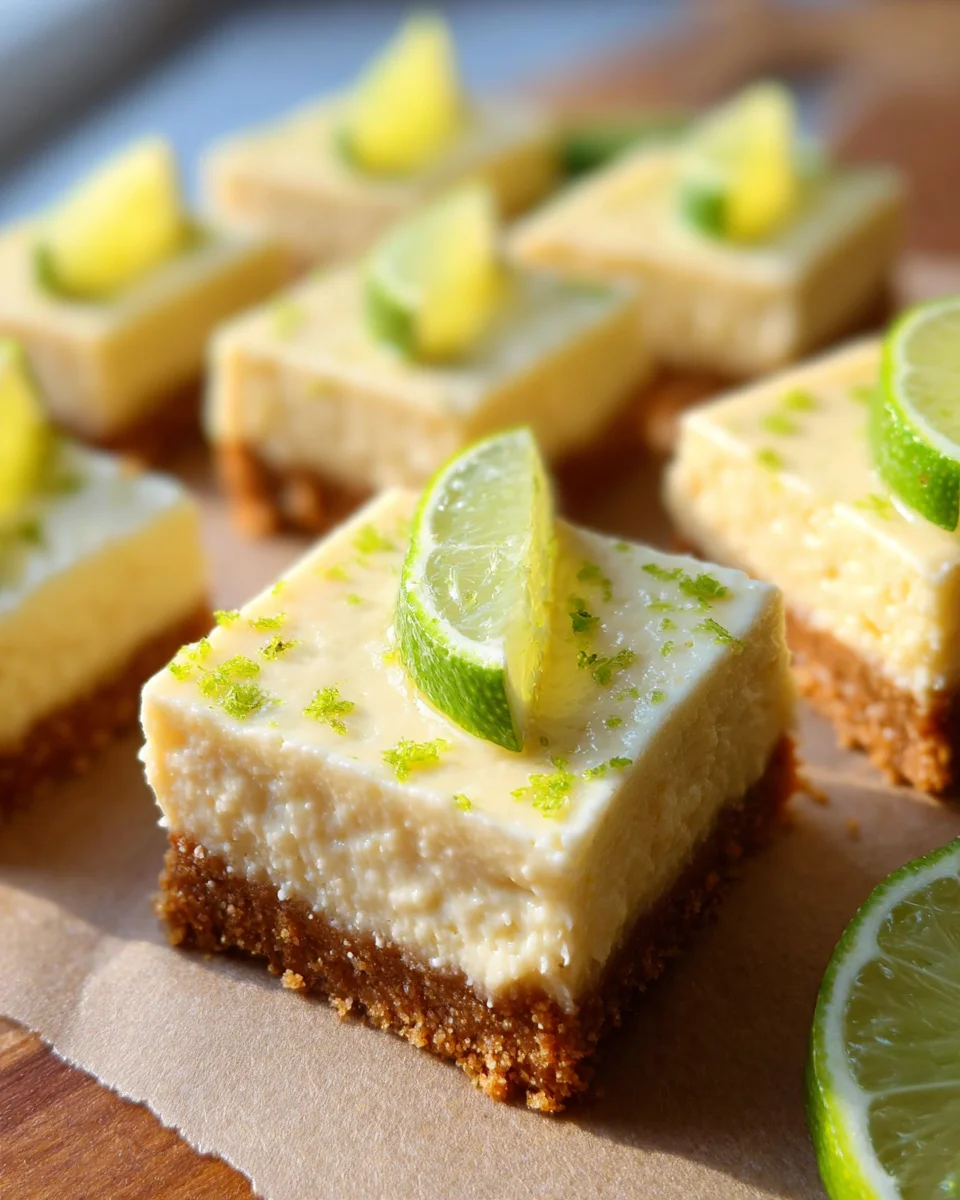
- Sprinkle some lime zest on top for a burst of color and an extra zing that complements the tartness of the key lime filling.
Served with Fresh Berries
- Accompany your bars with fresh berries like strawberries or blueberries for a refreshing contrast and added flavor.
Chilled for Hot Days
- Serve these bars chilled from the refrigerator, making them a perfect refreshing treat on warm days.
Dusted with Powdered Sugar
- Lightly dust the bars with powdered sugar before serving for an elegant touch and a hint of extra sweetness.
With Coconut Flakes
- Add toasted coconut flakes on top for a tropical twist that pairs wonderfully with the lime flavor.
How to Perfect Key Lime Pie Bars
To ensure your key lime pie bars turn out perfectly every time, consider these helpful tips.
-
Use Fresh Key Limes: For the best flavor, opt for fresh key limes instead of bottled juice. The freshness enhances the tartness.
-
Don’t Overmix: When combining ingredients, mix just until blended. Overmixing can incorporate too much air, affecting the texture.
-
Check for Doneness: The filling should be set but not browned. Keep an eye on it while baking to achieve that perfect consistency.
-
Cool Thoroughly: Allow the bars to cool completely before refrigerating. This helps them firm up properly for clean cuts.
Best Side Dishes for Key Lime Pie Bars
Key lime pie bars pair wonderfully with various side dishes. Here are some great options to enjoy alongside this delightful dessert:
-
Fresh Fruit Salad: A mix of seasonal fruits adds natural sweetness and balances the tartness of the key lime pie bars.
-
Coconut Sorbet: This light and creamy sorbet brings a tropical flair that complements the flavors of the bars beautifully.
-
Minted Yogurt Dip: A yogurt dip infused with fresh mint offers a refreshing contrast and adds creaminess.
-
Chocolate Ganache: Drizzle some rich chocolate ganache over your bars for a decadent twist that will please chocolate lovers.
-
Lemonade or Iced Tea: Serve chilled lemonade or iced tea as refreshing beverages that pair well with dessert.
-
Cheese Platter: A selection of cheeses can balance out the sweetness, providing different textures and flavors alongside your bars.
Common Mistakes to Avoid
When making key lime pie bars, it’s easy to slip up. Here are some common mistakes to keep in mind.
- Overmixing the Filling: Mixing too much can incorporate excess air, causing cracks. Mix until just combined for a smooth texture.
- Not Chilling Long Enough: Failing to chill the bars properly can lead to a runny filling. Ensure they cool for at least 2 hours before serving.
- Using Regular Limes Instead of Key Limes: While regular limes work, key limes provide the best flavor. Opt for fresh key limes for authentic taste.
- Ignoring the Crust Baking Time: Skipping or shortening the crust baking time can result in a soggy base. Bake until lightly golden for optimal texture.
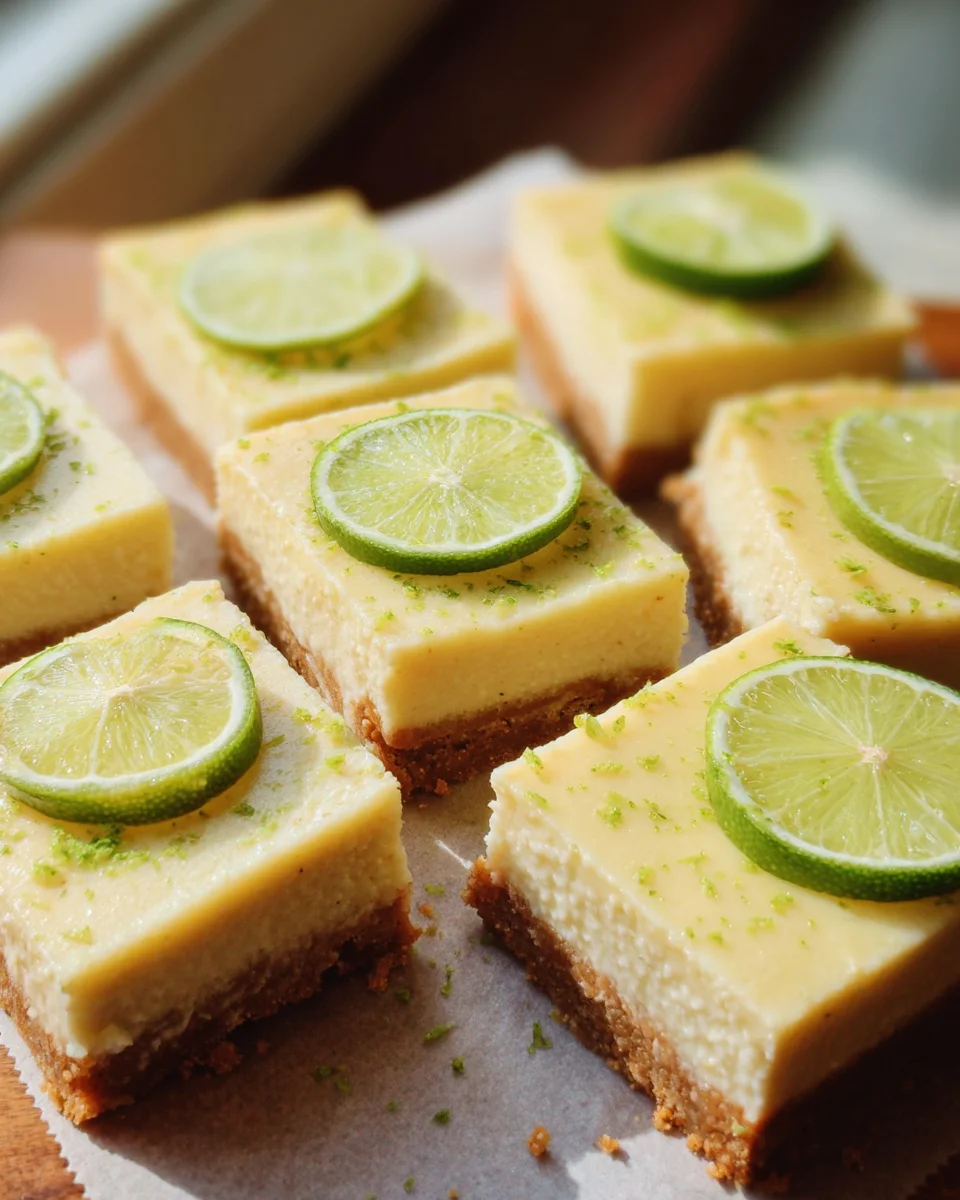
- Cutting Bars Too Soon: Cutting into warm bars can ruin their shape. Allow them to cool completely in the fridge before slicing.
Storage & Reheating Instructions
Refrigerator Storage
- Store key lime pie bars in an airtight container.
- They will stay fresh for up to 5 days in the refrigerator.
Freezing Key Lime Pie Bars
- Wrap each bar individually in plastic wrap and then place them in a freezer-safe bag.
- They can be frozen for up to 3 months without losing quality.
Reheating Key Lime Pie Bars
- Oven: Preheat your oven to 350°F and warm them for about 10 minutes.
- Microwave: Heat on low power for 20-30 seconds, checking until warmed through.
- Stovetop: Place them in a skillet over low heat, covering with a lid until warmed.
Frequently Asked Questions
What are Key Lime Pie Bars?
Key lime pie bars are a dessert that combines a buttery crust with a creamy and tart lime filling, inspired by traditional key lime pie.
How do I make my Key Lime Pie Bars more tart?
To achieve a more tart flavor, you can add additional key lime juice or zest during preparation.
Can I substitute ingredients in Key Lime Pie Bars?
Yes! You can use regular limes instead of key limes, and cream cheese can be replaced with Greek yogurt for a lighter option.
How long do Key Lime Pie Bars last?
Properly stored, they last about 5 days in the refrigerator or up to 3 months in the freezer.
Can I use a different crust for my Key Lime Pie Bars?
Absolutely! While graham crackers are classic, you could try using crushed vanilla wafers or almond flour for a gluten-free option.
Final Thoughts
Key lime pie bars are not only delicious but also versatile. You can customize them with different citrus flavors or toppings like whipped cream. Whether you’re hosting a gathering or enjoying some quiet time at home, these bars bring joy and satisfaction with every bite. Give this recipe a try and indulge in its amazing flavors!
Did You Enjoy Making This Recipe? Please rate this recipe with ⭐⭐⭐⭐⭐ or leave a comment.
📖 Recipe Card
Print
Key Lime Pie Bars
- Total Time: 43 minutes
- Yield: Approximately 9 servings 1x
Description
Key lime pie bars are a delightful twist on the classic dessert, featuring a buttery graham cracker crust paired with a tangy, creamy key lime filling. This easy recipe is perfect for any occasion, from summer gatherings to cozy family dinners. The refreshing citrus flavor and convenient bar format make these treats a hit among dessert lovers of all ages. Not only are they simple to whip up, but they also boast a vibrant taste that will leave everyone asking for seconds. Serve them chilled for an irresistible dessert experience!
Ingredients
- 15 sheets graham crackers
- 2 tablespoons sugar
- pinch salt
- 6 tablespoons unsalted butter
- 6 ounces cream cheese
- 1 can sweetened condensed milk
- 4 egg yolks
- 1 tablespoon lime zest
- ½ cup key lime juice
- ½ teaspoon vanilla extract
Instructions
- Preheat your oven to 350°F (175°C). Line a 9×9-inch baking pan with foil or parchment paper.
- Crush graham crackers in a food processor and combine with melted butter, sugar, and salt. Press into the bottom of the pan and bake for 10 minutes until golden.
- In a mixing bowl, beat cream cheese until smooth. Gradually add sweetened condensed milk, then mix in egg yolks one at a time. Stir in lime juice and zest until well combined.
- Pour the filling over the baked crust and return to the oven for another 15-18 minutes until set.
- Allow to cool before chilling in the refrigerator for at least 2 hours before slicing.
- Prep Time: 15 minutes
- Cook Time: 28 minutes
- Category: Dessert
- Method: Baking
- Cuisine: American
Nutrition
- Serving Size: 1 bar (54g)
- Calories: 190
- Sugar: 14g
- Sodium: 160mg
- Fat: 10g
- Saturated Fat: 6g
- Unsaturated Fat: 4g
- Trans Fat: 0g
- Carbohydrates: 23g
- Fiber: 0g
- Protein: 2g
- Cholesterol: 55mg
