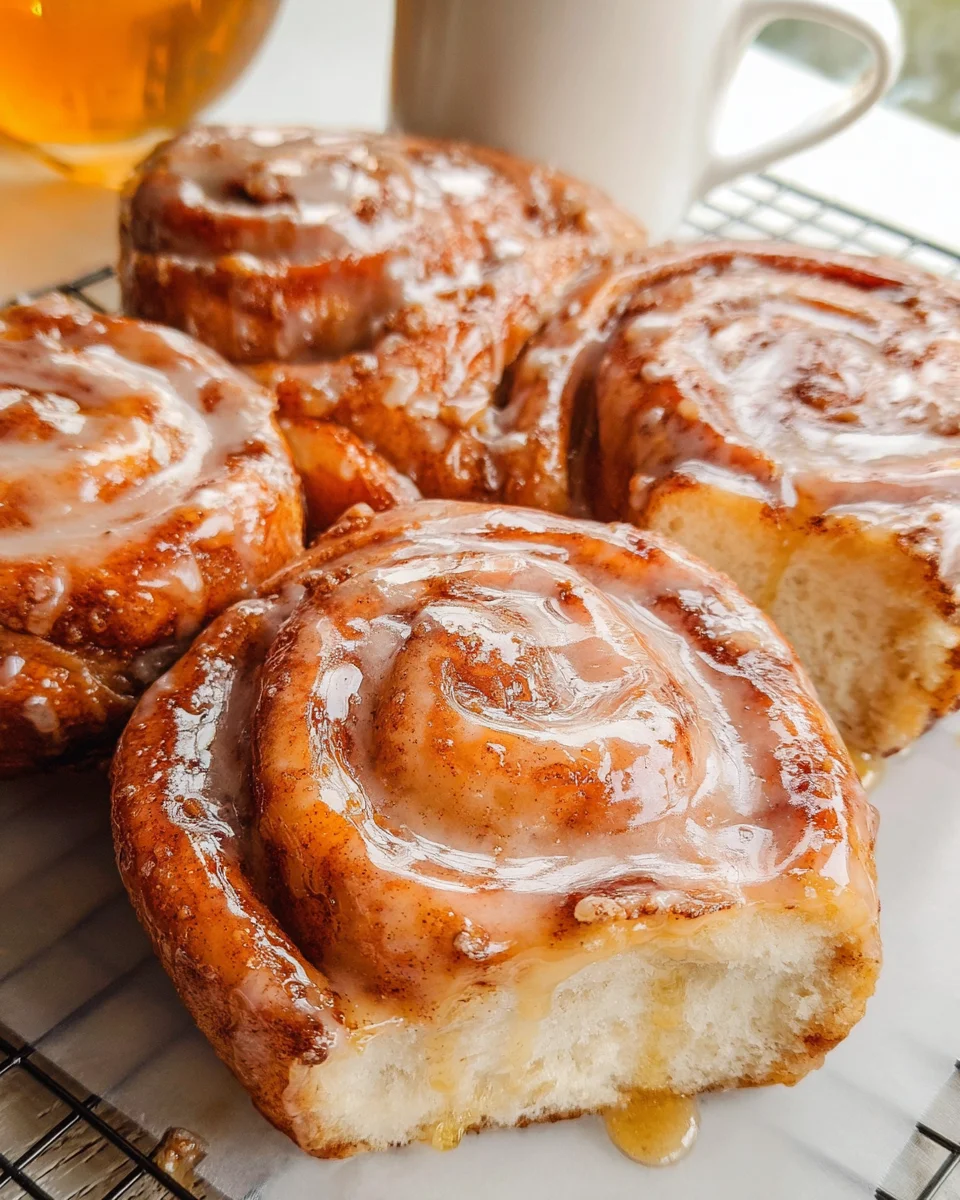
These Homemade Honey Buns are a delightful treat that brings the joy of fresh-baked goods to your kitchen! With their soft, sweet texture and rich cinnamon flavor, they make the perfect addition to any breakfast table or dessert spread. Whether baked or fried, these honey buns are sure to impress at gatherings, family brunches, or simply as an indulgent snack. Their melt-in-your-mouth quality and creamy glaze will keep everyone coming back for more!
Jump to:
- Why You’ll Love This Recipe
- Tools and Preparation
- Essential Tools and Equipment
- Importance of Each Tool
- Ingredients
- How to Make Homemade Honey Bun Recipe (Baked or Fried)
- Step 1: Prepare Dry Ingredients
- Step 2: Combine Wet Ingredients
- Step 3: Mix Dough
- Step 4: First Rise
- Step 5: Prepare Cinnamon Sugar Mixture
- Step 6: Roll Out Dough
- Step 7: Shape Honey Buns
- Step 8: Cut Dough Pieces
- Step 9: Second Rise
- How to Serve Homemade Honey Bun Recipe (Baked or Fried)
- With Coffee
- As a Dessert
- With Fresh Fruits
- Cream Cheese Spread
- Ice Cream Topping
- How to Perfect Homemade Honey Bun Recipe (Baked or Fried)
- Best Side Dishes for Homemade Honey Bun Recipe (Baked or Fried)
- Common Mistakes to Avoid
- Storage & Reheating Instructions
- Refrigerator Storage
- Freezing Homemade Honey Bun Recipe (Baked or Fried)
- Reheating Homemade Honey Bun Recipe (Baked or Fried)
- Frequently Asked Questions
- Can I make this Homemade Honey Bun Recipe (Baked or Fried) ahead of time?
- What type of flour should I use for this recipe?
- Is it better to bake or fry the honey buns?
- Can I customize the filling of my honey buns?
- How do I know when my honey buns are done?
- Final Thoughts
- 📖 Recipe Card
Why You’ll Love This Recipe
- Easy to Make: With straightforward instructions, even novice bakers can create these delicious honey buns at home.
- Versatile Serving Options: Enjoy them warm for breakfast, as a snack throughout the day, or serve them at parties.
- Melt-in-Your-Mouth Texture: The combination of soft dough and sweet filling makes each bite heavenly.
- Homemade Glaze: A creamy glaze enhances the flavor and adds that perfect finishing touch.
- Customizable: Feel free to add nuts, fruit fillings, or chocolate chips for a personal twist on this classic recipe.
Tools and Preparation
To create your homemade honey buns, you’ll need some essential kitchen tools. Having the right equipment will make the process smoother and more enjoyable.
Essential Tools and Equipment
- Stand mixer with dough hook
- Mixing bowls
- Rolling pin
- Parchment paper
- Sharp serrated knife
- Pastry brush
Importance of Each Tool
- Stand mixer with dough hook: Makes kneading effortless and ensures consistent dough texture.
- Mixing bowls: Essential for combining ingredients without making a mess.
- Rolling pin: Helps achieve an even thickness in your dough for uniform baking.
Ingredients
Here are the ingredients you’ll need for this delightful Homemade Honey Bun Recipe (Baked or Fried):
- 3 cups all-purpose flour (plus more for rolling)
- 3 tablespoons granulated sugar
- 1 tablespoon instant yeast
- 1/2 teaspoon salt
- 1/2 cup warm water (between 105°F-115°F)
- 1/3 cup honey
- 1 large egg
- 1 teaspoon vanilla extract
- 1/4 cup shortening (melted)
- Vegetable or peanut oil (for frying)
- 1/4 cup granulated sugar
- 1 1/2 teaspoon cinnamon
- 4 2/3 cup powdered sugar
- 2 1/2 tablespoons honey
- 1 tablespoon melted butter
- 1/2 teaspoon vanilla extract
- 1/4 teaspoon salt
- Warm water (as needed)
How to Make Homemade Honey Bun Recipe (Baked or Fried)
Step 1: Prepare Dry Ingredients
Whisk together the flour, sugar, yeast, and salt in a mixing bowl. Set aside.
Step 2: Combine Wet Ingredients
In another bowl, whisk to combine:
The warm water
Honey (heat if necessary for pourability)
Egg
Vanilla extract
Add the melted shortening to the wet mixture and mix until well combined.
Step 3: Mix Dough
Using a stand mixer fitted with a dough hook:
1. Add the wet ingredients to the dry ingredients.
2. Mix on low speed until fully combined.
3. Increase speed to medium and knead for about eight minutes until somewhat sticky but workable.
Step 4: First Rise
Shape the dough into a ball and place it in a lightly oiled glass bowl. Cover with plastic wrap or a clean kitchen towel. Let it rise in a warm spot for about one to two hours until it has almost doubled in size.
Step 5: Prepare Cinnamon Sugar Mixture
While the dough rises, combine cinnamon and sugar in a small bowl. Set aside.
Step 6: Roll Out Dough
Once risen, turn out the dough onto a floured surface:
1. Roll it into a rectangle about 12” long by 8” wide.
2. Dust with cinnamon sugar mixture while leaving edges clean.
Step 7: Shape Honey Buns
Roll up the dough from one long side toward the clean edge:
1. Brush clean edge with water.
2. Pinch edge into roll and smooth together.
Step 8: Cut Dough Pieces
Using a sharp serrated knife:
1. Cut off pinched ends about an inch and half from each end.
2. Cut remaining roll into one-inch pieces and place on parchment-lined baking sheet with space between them.
Step 9: Second Rise
Let cut pieces rise for about forty-five minutes until puffy but not doubled in size.
Now you’re ready to bake or fry your delicious homemade honey buns! Enjoy their rich flavors fresh from your oven or fryer!
How to Serve Homemade Honey Bun Recipe (Baked or Fried)
Homemade Honey Buns are a delightful treat that can be enjoyed in many ways. Whether you prefer them warm from the oven or fried to a golden crisp, these sweet buns pair perfectly with various accompaniments.
With Coffee
- A warm honey bun and a cup of freshly brewed coffee create a comforting morning ritual.
As a Dessert
- Drizzle your honey bun with extra glaze for a sweet finish after dinner.
With Fresh Fruits
- Serve alongside slices of fresh strawberries or blueberries for a refreshing contrast.
Cream Cheese Spread
- A light cream cheese spread adds a creamy texture that enhances the sweetness of the buns.
Ice Cream Topping
- Warm honey buns served with a scoop of vanilla ice cream create an indulgent dessert experience.
How to Perfect Homemade Honey Bun Recipe (Baked or Fried)
To achieve the best results with your homemade honey buns, follow these helpful tips for perfecting your recipe.
- Use fresh yeast: Always check the expiration date on your yeast; fresh yeast will help your dough rise properly.
- Knead well: Knead the dough until it is smooth and elastic, as this will ensure fluffy honey buns.
- Control the temperature: Ensure your water is at the right temperature (105°F-115°F) to activate the yeast effectively.
- Don’t rush the rise: Allowing enough time for the dough to rise is crucial for achieving that light and airy texture.
- Experiment with fillings: Feel free to add nuts or chocolate chips into your cinnamon sugar mixture for added flavor.
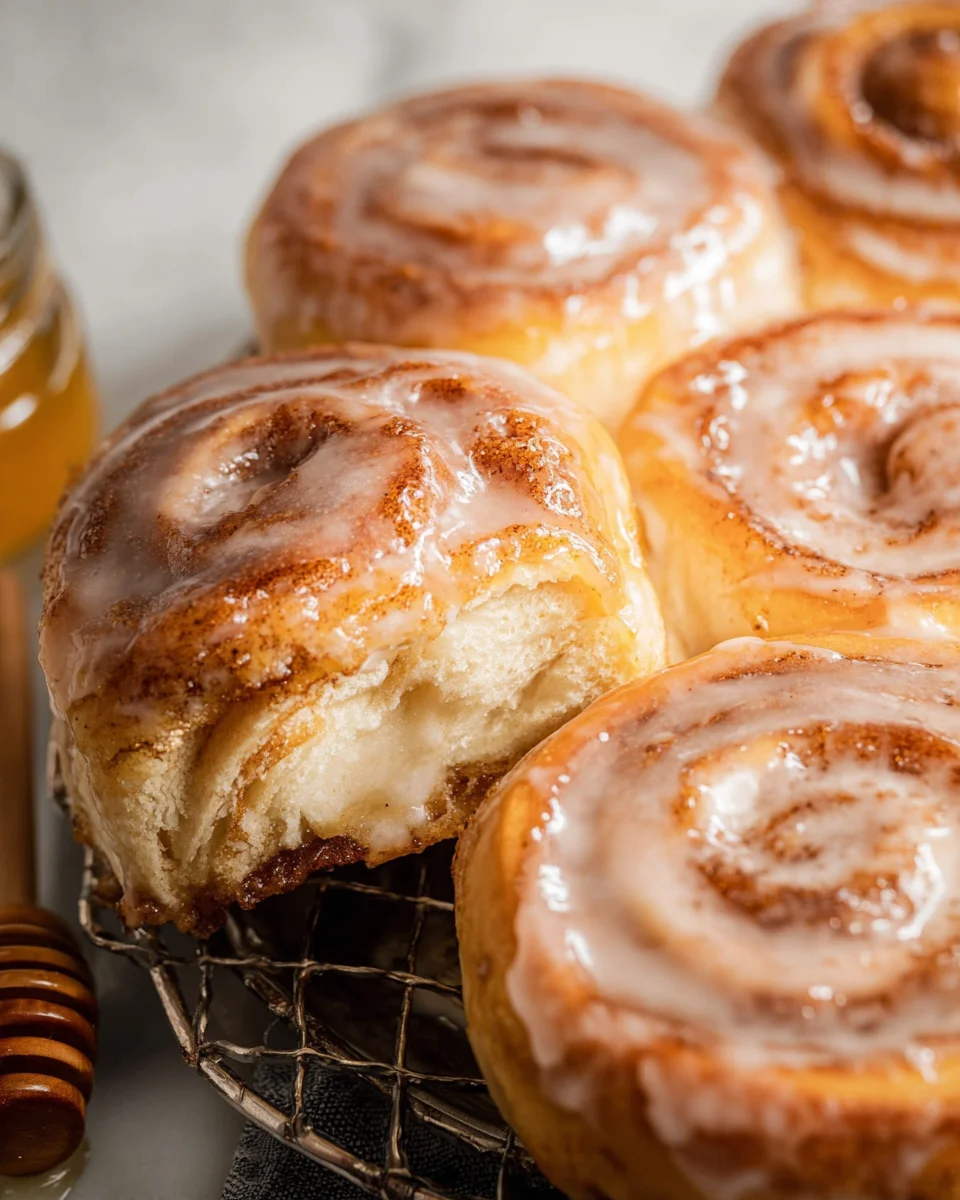
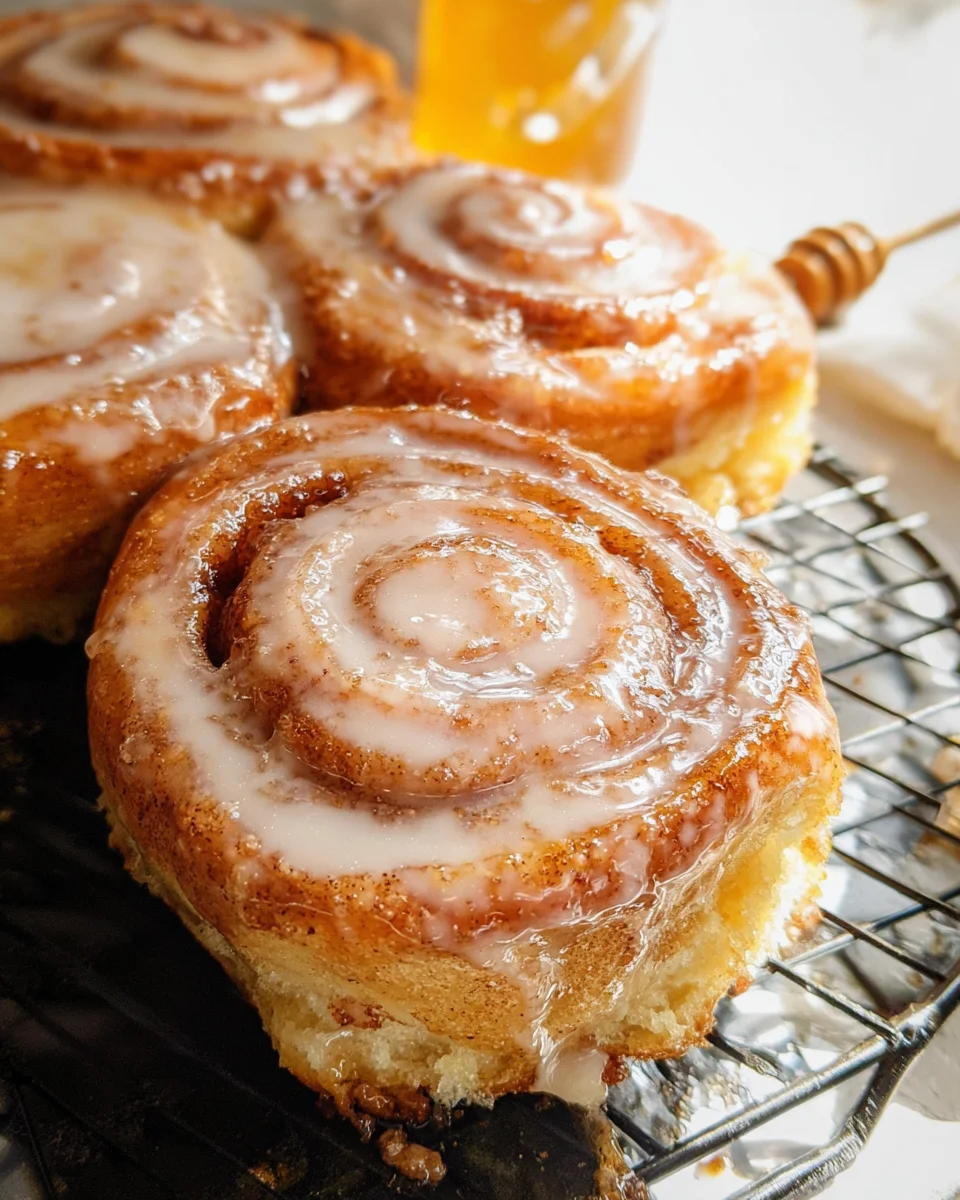
- Glaze while warm: For a deliciously sticky finish, apply the glaze while the honey buns are still warm.
Best Side Dishes for Homemade Honey Bun Recipe (Baked or Fried)
Pairing side dishes with your Homemade Honey Buns can elevate your meal experience. Here are some delightful options to complement this sweet treat.
- Scrambled Eggs: Lightly seasoned scrambled eggs provide a savory balance to the sweetness of honey buns.
- Fruit Salad: A mix of seasonal fruits adds freshness and color, making it an appealing side.
- Yogurt Parfait: Layer yogurt with granola and berries for a healthy option that pairs well with honey buns.
- Sausage Links: The savory flavor of sausage links contrasts beautifully with sweet honey buns, making it a hearty breakfast choice.
- Hash Browns: Crispy hash browns add texture and flavor, creating a satisfying brunch plate.
- Oatmeal: A warm bowl of oatmeal topped with fruit provides an additional wholesome element to your meal.
Common Mistakes to Avoid
Making honey buns at home can be a delightful experience, but a few common mistakes can lead to disappointing results. Here are some pitfalls to watch out for:
- yeast usage: Using expired yeast will prevent your dough from rising. Always check the expiration date and store it properly.
- water temperature: Adding water that is too hot or too cold can kill the yeast. Aim for a temperature between 105°F-115°F for optimal activation.
- dough handling: Over-kneading or under-kneading can affect the texture. Knead just until the dough is smooth and elastic—about 8 minutes with a stand mixer.
- rolling technique: Not rolling the dough evenly may lead to uneven baking. Roll it out uniformly for consistent cooking and filling distribution.
- rise time: Rushing the rising process can yield dense buns. Allow the dough to rise in a warm, draft-free space until it nearly doubles in size.
Storage & Reheating Instructions
Refrigerator Storage
- Store homemade honey buns in an airtight container.
- They can last up to 3 days in the fridge.
Freezing Homemade Honey Bun Recipe (Baked or Fried)
- To freeze, place honey buns in a single layer on a baking sheet until firm, then transfer them to an airtight container or freezer bag.
- They can be stored for up to 2 months.
Reheating Homemade Honey Bun Recipe (Baked or Fried)
- Oven: Preheat to 350°F and warm for about 10 minutes until heated through.
- Microwave: Heat each bun for 15-20 seconds on medium power, checking regularly to avoid overheating.
- Stovetop: Place in a pan over low heat with a lid, warming gently for about 5 minutes.
Frequently Asked Questions
Here are some common questions about making this delicious homemade honey bun recipe:
Can I make this Homemade Honey Bun Recipe (Baked or Fried) ahead of time?
Yes! You can prepare the dough and refrigerate it overnight before shaping and baking or frying.
What type of flour should I use for this recipe?
All-purpose flour works best for achieving soft and fluffy honey buns.
Is it better to bake or fry the honey buns?
Both methods yield delicious results! Baking offers a lighter option, while frying results in a crispy texture outside with a soft inside.
Can I customize the filling of my honey buns?
Absolutely! Feel free to add nuts, chocolate chips, or other spices like nutmeg for variation in flavor.
How do I know when my honey buns are done?
Honey buns are done when they are golden brown on top and sound hollow when tapped on the bottom.
Final Thoughts
This Homemade Honey Bun Recipe (Baked or Fried) is perfect for breakfast, brunch, or as a delightful snack. The combination of soft dough with sweet cinnamon filling makes these treats irresistible. Feel free to customize your honey buns with different fillings or glazes for even more fun variations. Give them a try; you won’t be disappointed!
Did You Enjoy Making This Recipe? Please rate this recipe with ⭐⭐⭐⭐⭐ or leave a comment.
📖 Recipe Card
Print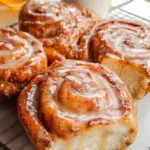
Homemade Honey Bun Recipe (Baked or Fried)
- Total Time: 50 minutes
- Yield: Makes about 12 servings 1x
Description
Indulge in the delightful flavors of homemade honey buns with this easy recipe that caters to both baked and fried preferences. These soft, sweet treats are infused with a rich cinnamon filling and topped with a luscious creamy glaze, making them perfect for breakfast, brunch, or as an irresistible snack. Whether you enjoy them warm from the oven or crispy from the fryer, these honey buns are sure to impress family and friends during gatherings or cozy mornings at home. With simple ingredients and straightforward instructions, even novice bakers can create these nostalgic comfort treats that bring smiles with every bite.
Ingredients
- 3 cups all-purpose flour
- 3 tablespoons granulated sugar
- 1 tablespoon instant yeast
- 1/2 teaspoon salt
- 1/2 cup warm water (105°F-115°F)
- 1/3 cup honey
- 1 large egg
- 1 teaspoon vanilla extract
- 1/4 cup melted shortening
- Cinnamon sugar mixture (1/4 cup granulated sugar + 1.5 teaspoons cinnamon)
- Glaze: powdered sugar, honey, melted butter, vanilla extract, salt
Instructions
- In a mixing bowl, whisk together flour, sugar, yeast, and salt.
- In another bowl, combine warm water, honey, egg, and vanilla; add melted shortening.
- Mix wet ingredients into dry ingredients using a stand mixer until dough forms. Knead on medium speed for about 8 minutes.
- Shape dough into a ball and let rise in a warm spot for 1 to 2 hours until nearly doubled.
- Roll out dough into a rectangle; sprinkle with cinnamon sugar.
- Roll up tightly and cut into pieces; place on parchment-lined sheet.
- Let rise again for about 45 minutes before baking or frying.
- Prep Time: 30 minutes
- Cook Time: 20 minutes
- Category: Dessert
- Method: Baking/Frying
- Cuisine: American
Nutrition
- Serving Size: 1 serving
- Calories: 240
- Sugar: 12g
- Sodium: 130mg
- Fat: 9g
- Saturated Fat: 3g
- Unsaturated Fat: 5g
- Trans Fat: 0g
- Carbohydrates: 35g
- Fiber: 1g
- Protein: 4g
- Cholesterol: 25mg
