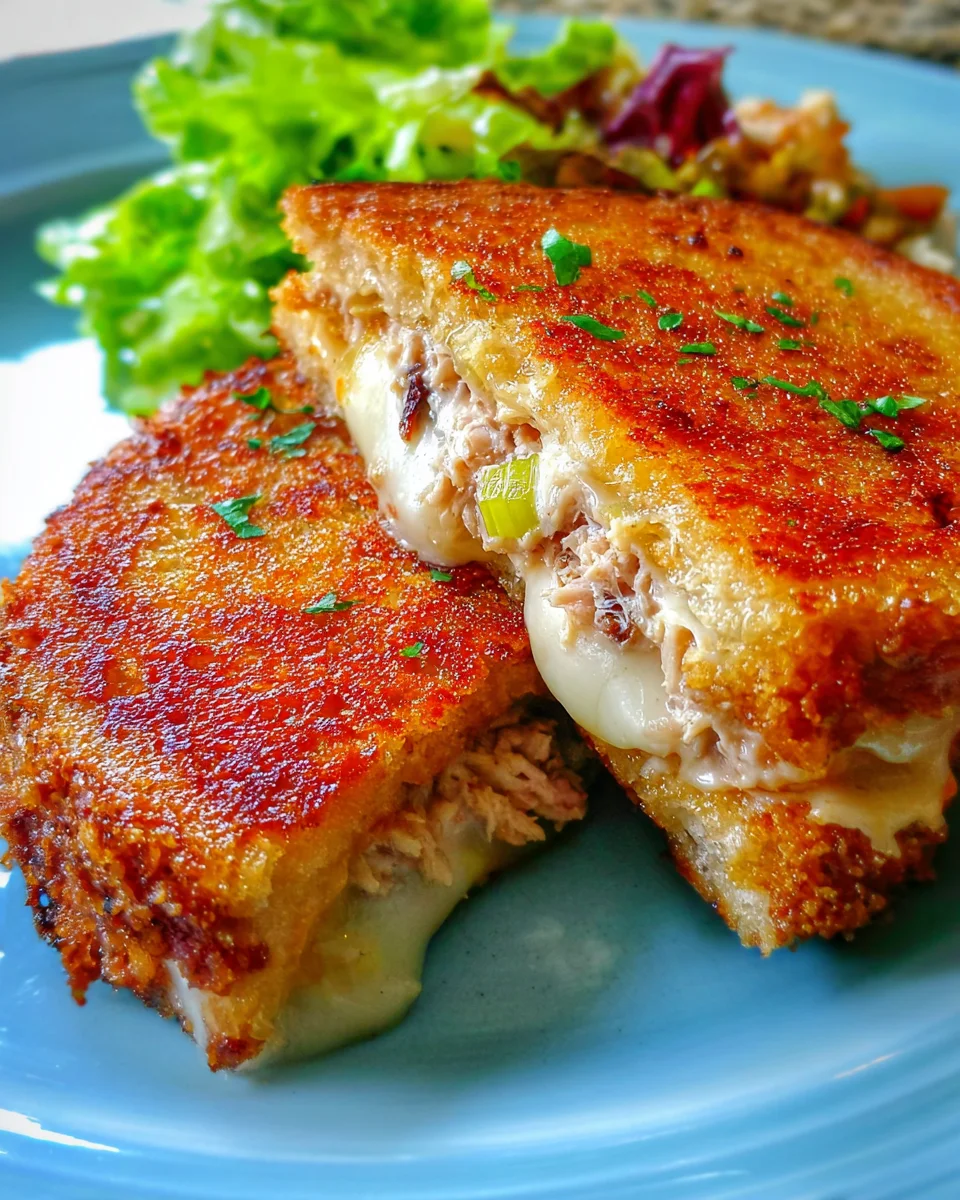
The Perfect Tuna Melt is a delightful and satisfying dish that brings together rich flavors and creamy textures. This classic comfort food is perfect for lunch or a quick dinner, making it an ideal choice for busy weeknights or casual gatherings. With its warm, melted cheese and savory tuna filling, this recipe is sure to please everyone at the table.
Jump to:
- Why You’ll Love This Recipe
- Tools and Preparation
- Essential Tools and Equipment
- Importance of Each Tool
- Ingredients
- How to Make The Perfect Tuna Melt
- Step 1: Prepare the Tuna Mixture
- Step 2: Combine Ingredients
- Step 3: Grill the Bread
- Step 4: Assemble the Tuna Melt
- Step 5: Complete the Sandwich
- Step 6: Finish Cooking
- How to Serve The Perfect Tuna Melt
- Pair with a Fresh Salad
- Add Some Crunch
- Enjoy with a Beverage
- How to Perfect The Perfect Tuna Melt
- Best Side Dishes for The Perfect Tuna Melt
- Common Mistakes to Avoid
- Storage & Reheating Instructions
- Refrigerator Storage
- Freezing The Perfect Tuna Melt
- Reheating The Perfect Tuna Melt
- Frequently Asked Questions
- How do I customize The Perfect Tuna Melt?
- Can I use canned chicken instead of tuna?
- What type of bread is best for a tuna melt?
- How do I know when my tuna melt is done?
- Can I make The Perfect Tuna Melt ahead of time?
- Final Thoughts
- 📖 Recipe Card
Why You’ll Love This Recipe
- Quick and Easy: This recipe takes just 30 minutes from start to finish, making it perfect for busy days.
- Crowd-Pleaser: The combination of creamy tuna and gooey mozzarella appeals to both kids and adults.
- Customizable Flavors: You can easily tweak the ingredients to suit your taste preferences or dietary needs.
- Healthy Option: Packed with protein and essential nutrients, this tuna melt can be a guilt-free indulgence.
- Versatile Meal: Enjoy it as a sandwich, served with salad, or even as a toasted open-faced melt.
Tools and Preparation
Before you start making The Perfect Tuna Melt, gather your essential tools and equipment. A little preparation goes a long way in ensuring a smooth cooking process.
Essential Tools and Equipment
- Non-stick skillet
- Medium mixing bowl
- Spoon
- Spatula
- Chopping board
- Knife
Importance of Each Tool
- Non-stick skillet: Ensures even cooking and prevents the bread from sticking while grilling.
- Medium mixing bowl: Provides enough space to mix all ingredients thoroughly without spilling.
- Spatula: Helps flip the tuna melt easily without breaking it apart.
Ingredients
For The Perfect Tuna Melt, gather these simple yet flavorful ingredients:
- Tuna, 2 x 5oz cans, drained
- Onion, medium size, chopped
- Celery, 1/2 a stalk, chopped
- Garlic, 1 clove, minced
- Parsley, 1 tablespoon, chopped
- Mayonnaise, 3-4 tablespoons
- Extra Virgin Olive Oil, 3 tablespoons, divided
- Mozzarella, 1/3 cup, shredded
- Bread, sliced
- Butter, softened
- Salt and Pepper to taste
How to Make The Perfect Tuna Melt
Step 1: Prepare the Tuna Mixture
- Drain water from the tuna and put it into a medium bowl.
- Chop onion, celery, and parsley. Mince garlic and add all ingredients to the bowl with tuna.
Step 2: Combine Ingredients
- Add mayonnaise, olive oil, and mozzarella cheese to the bowl.
- Mix all ingredients until well incorporated. Season with salt and pepper to taste.
Step 3: Grill the Bread
- Place a non-stick skillet on the stove over medium heat.
- Add 1 tablespoon of olive oil to the skillet.
- Take a slice of bread and generously spread butter on one side.
Step 4: Assemble the Tuna Melt
- Place the bread (buttered side down) in the hot skillet.
- Using a spoon, scoop about 2 tablespoons of tuna salad onto the bread while it browns.
Step 5: Complete the Sandwich
- Butter another slice of bread on one side.
- Place non-buttered side on top of the tuna mixture.
Step 6: Finish Cooking
- Check if the bottom slice is toasted brown using a spatula.
- If so, flip the sandwich over and grill until both sides are golden brown.
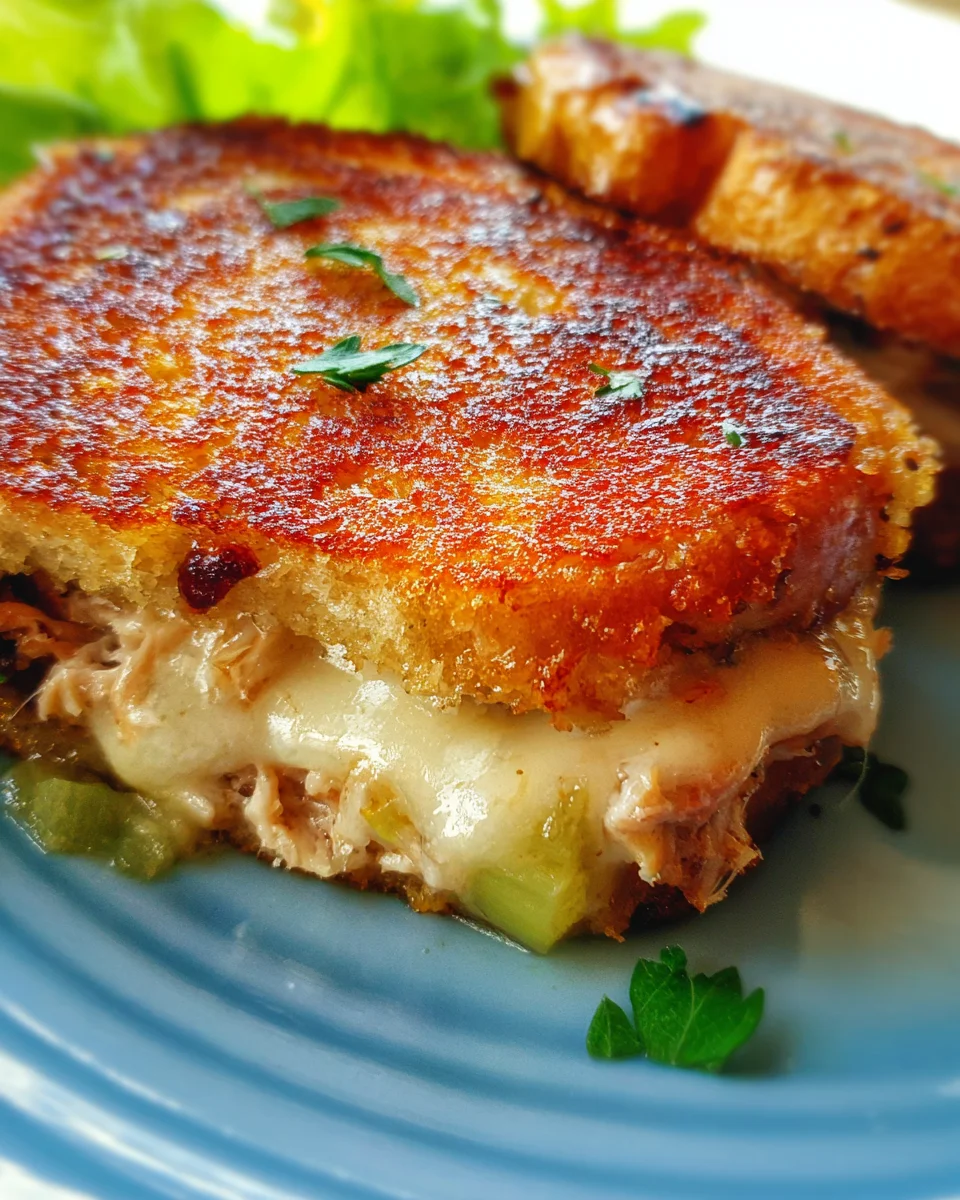
Now you have The Perfect Tuna Melt ready to enjoy! Serve it warm alongside your favorite sides for an unforgettable meal experience.
How to Serve The Perfect Tuna Melt
Serving The Perfect Tuna Melt can be an enjoyable experience for both you and your guests. This classic dish pairs well with various sides and drinks, enhancing its delicious flavors.
Pair with a Fresh Salad
- Green Salad: A light green salad with mixed greens and a tangy vinaigrette complements the richness of the tuna melt.
- Caesar Salad: The creamy dressing and crunchy croutons add a delightful contrast to the soft tuna melt.
- Coleslaw: The crunch and acidity of coleslaw provide a refreshing balance to the dish.
Add Some Crunch
- Potato Chips: Choose your favorite chips for a satisfying crunch that contrasts beautifully with the creamy tuna melt.
- Pickles: A side of pickles offers a zesty bite that enhances the flavors of the melt.
- Veggie Sticks: Carrot and cucumber sticks can add freshness alongside the richness of the sandwich.
Enjoy with a Beverage
- Iced Tea: A cold glass of iced tea can refresh your palate while enjoying this hearty meal.
- Lemonade: A zesty lemonade adds a sweet-tart flavor that pairs well with the savory tuna melt.
How to Perfect The Perfect Tuna Melt
To ensure you create The Perfect Tuna Melt every time, consider these helpful tips. With just a few adjustments, you can elevate your dish to new heights.
- Use Fresh Ingredients: Fresh tuna and vegetables will enhance flavor and texture, making your melt more enjoyable.
- Toast Your Bread Properly: Ensure your bread is golden brown on both sides for the perfect crunch and appearance.
- Experiment with Cheese: While mozzarella is delicious, try adding cheddar or pepper jack for added flavor depth.
- Stay Mindful of Seasoning: Adjust salt and pepper to your preference, as this can make or break your tuna melt’s taste.
- Add Extra Flavor: Consider mixing in spices like cayenne pepper or paprika for an extra kick in your tuna mixture.
- Don’t Overfill Your Sandwich: Keep it manageable; too much filling can make it difficult to handle and eat.
Best Side Dishes for The Perfect Tuna Melt
Pairing The Perfect Tuna Melt with side dishes can enhance your meal experience. Here are some great options that complement this classic sandwich perfectly.
- French Fries: Crispy fries are always a favorite companion, providing that satisfying crunch alongside your melt.
- Sweet Potato Fries: For a healthier option, sweet potato fries offer sweetness and texture that pairs well with savory flavors.
- Tomato Soup: A warm bowl of tomato soup is a comforting side that balances the richness of tuna melts beautifully.
- Corn on the Cob: Grilled or boiled corn adds a sweet touch, making it an ideal summer side dish for your meal.
- Fruit Salad: A refreshing fruit salad gives a sweet contrast to the savory sandwich—great for warmer days!
- Potato Wedges: Seasoned potato wedges provide both heartiness and flavor, creating a fulfilling dining experience.
Common Mistakes to Avoid
Making The Perfect Tuna Melt can be simple, but a few common mistakes can lead to subpar results. Here are some pitfalls to steer clear of:
- Not draining the tuna properly – Leaving excess water in the tuna can make your melt soggy. Always drain and press the tuna to remove as much moisture as possible.
- Skipping seasoning – A bland tuna melt lacks flavor. Be sure to add salt and pepper, and don’t hesitate to experiment with spices that suit your taste.
- Using stale bread – Stale bread can ruin your sandwich’s texture. Opt for fresh, high-quality bread for that perfect crunch and flavor.
- Overloading on mayonnaise – While mayo adds creaminess, too much can make the mixture greasy. Start with less and adjust according to your taste.
- Neglecting the heat – Cooking on too low heat can result in uneven cooking. Make sure your skillet is hot enough for a golden-brown crust.
Storage & Reheating Instructions
Refrigerator Storage
- Store leftover The Perfect Tuna Melt in an airtight container.
- It will keep well in the fridge for up to 2 days.
Freezing The Perfect Tuna Melt
- You can freeze the tuna mixture separately from the bread.
- Use freezer-safe containers or bags and it should last up to 3 months.
Reheating The Perfect Tuna Melt
- Oven – Preheat your oven to 350°F (175°C). Place the melt on a baking sheet for about 10-15 minutes until heated through.
- Microwave – Heat on medium power for 1-2 minutes, but this may make the bread soggy.
- Stovetop – Place in a skillet over medium heat, covering it with a lid. Heat until warmed, about 5-7 minutes per side.
Frequently Asked Questions
Here are some common questions about making The Perfect Tuna Melt that might help you out:
How do I customize The Perfect Tuna Melt?
You can add ingredients like jalapeños for spice or switch up cheeses for different flavors. Experiment with herbs like dill or basil!
Can I use canned chicken instead of tuna?
Absolutely! While it’s not traditional, using canned chicken can create a similar delicious melt.
What type of bread is best for a tuna melt?
Sourdough or whole grain bread works wonderfully. Choose something sturdy that can hold up to the filling without getting soggy.
How do I know when my tuna melt is done?
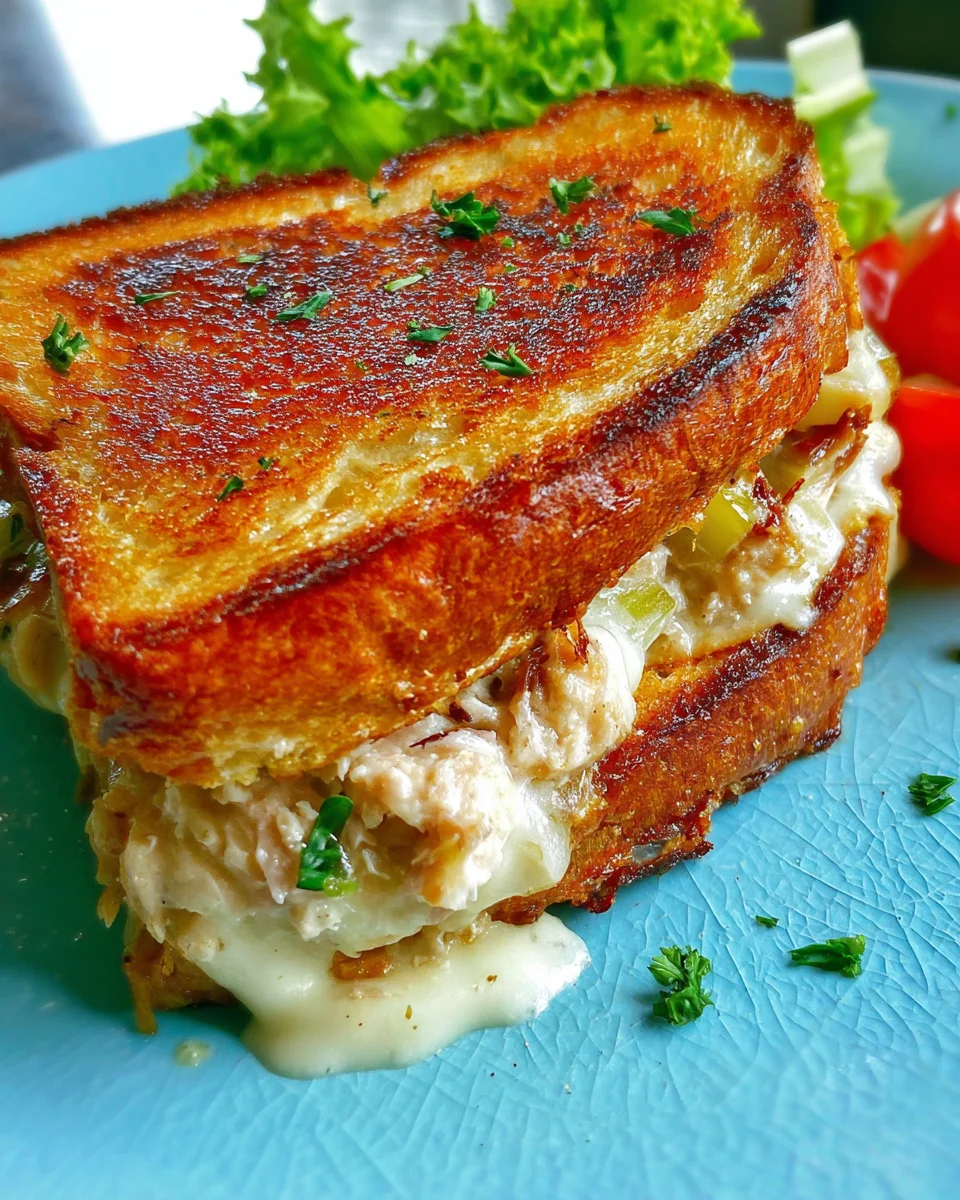
The bread should be golden brown and crispy, while the cheese inside should be melted and gooey.
Can I make The Perfect Tuna Melt ahead of time?
Yes! Prepare the filling in advance and assemble just before cooking for optimal freshness.
Final Thoughts
The Perfect Tuna Melt is not only comforting but also incredibly versatile! You can customize it with various ingredients based on your taste preferences. Whether you enjoy it classic or with unique twists, this recipe is sure to satisfy any craving. Give it a try today!
Did You Enjoy Making This Recipe? Please rate this recipe with ⭐⭐⭐⭐⭐ or leave a comment.
📖 Recipe Card
Print
The Perfect Tuna Melt
- Total Time: 30 minutes
- Yield: Serves 2
Description
The Perfect Tuna Melt is a delectable fusion of rich flavors and creamy textures, making it a go-to comfort food. This classic dish is quick to prepare, ideal for busy weeknights or casual get-togethers. With warm, melted cheese enveloping a savory tuna filling, it’s guaranteed to be a hit at any meal. Enjoy it as a sandwich or an open-faced melt paired with your favorite sides for an unforgettable dining experience.
Ingredients
- 2 (5oz) cans tuna, drained
- 1 medium onion, chopped
- 1/2 stalk celery, chopped
- 1 clove garlic, minced
- 1 tablespoon parsley, chopped
- 3–4 tablespoons mayonnaise
- 3 tablespoons extra virgin olive oil, divided
- 1/3 cup mozzarella cheese, shredded
- Sliced bread
- Butter (softened)
- Salt and pepper to taste
Instructions
- In a medium bowl, combine the drained tuna, onion, celery, garlic, and parsley.
- Add mayonnaise, olive oil, mozzarella cheese, salt, and pepper. Mix until well combined.
- Heat a non-stick skillet over medium heat and add 1 tablespoon of olive oil.
- Butter one side of a slice of bread and place it in the skillet.
- Spoon about 2 tablespoons of the tuna mixture onto the bread while it grills until golden brown.
- Butter another slice of bread on one side and place it on top (buttered side up).
- Flip once the bottom is toasted brown; cook until both sides are golden.
- Prep Time: 10 minutes
- Cook Time: 20 minutes
- Category: Main
- Method: Frying
- Cuisine: American
Nutrition
- Serving Size: 1 sandwich (150g)
- Calories: 380
- Sugar: 2g
- Sodium: 780mg
- Fat: 22g
- Saturated Fat: 5g
- Unsaturated Fat: 15g
- Trans Fat: 0g
- Carbohydrates: 30g
- Fiber: 3g
- Protein: 17g
- Cholesterol: 40mg
